Elderberry Ink
“your mother was a hamster and your father smelled of elderberries” — Monty Python and the Holy Grail
We have had an incredible amount of rain this year. This came with some epic flooding in our Hudson Valley region. Fortunately for us, we haven’t experienced much negativity. We had a couple of roof leaks but I count us lucky in comparison to others in our town!
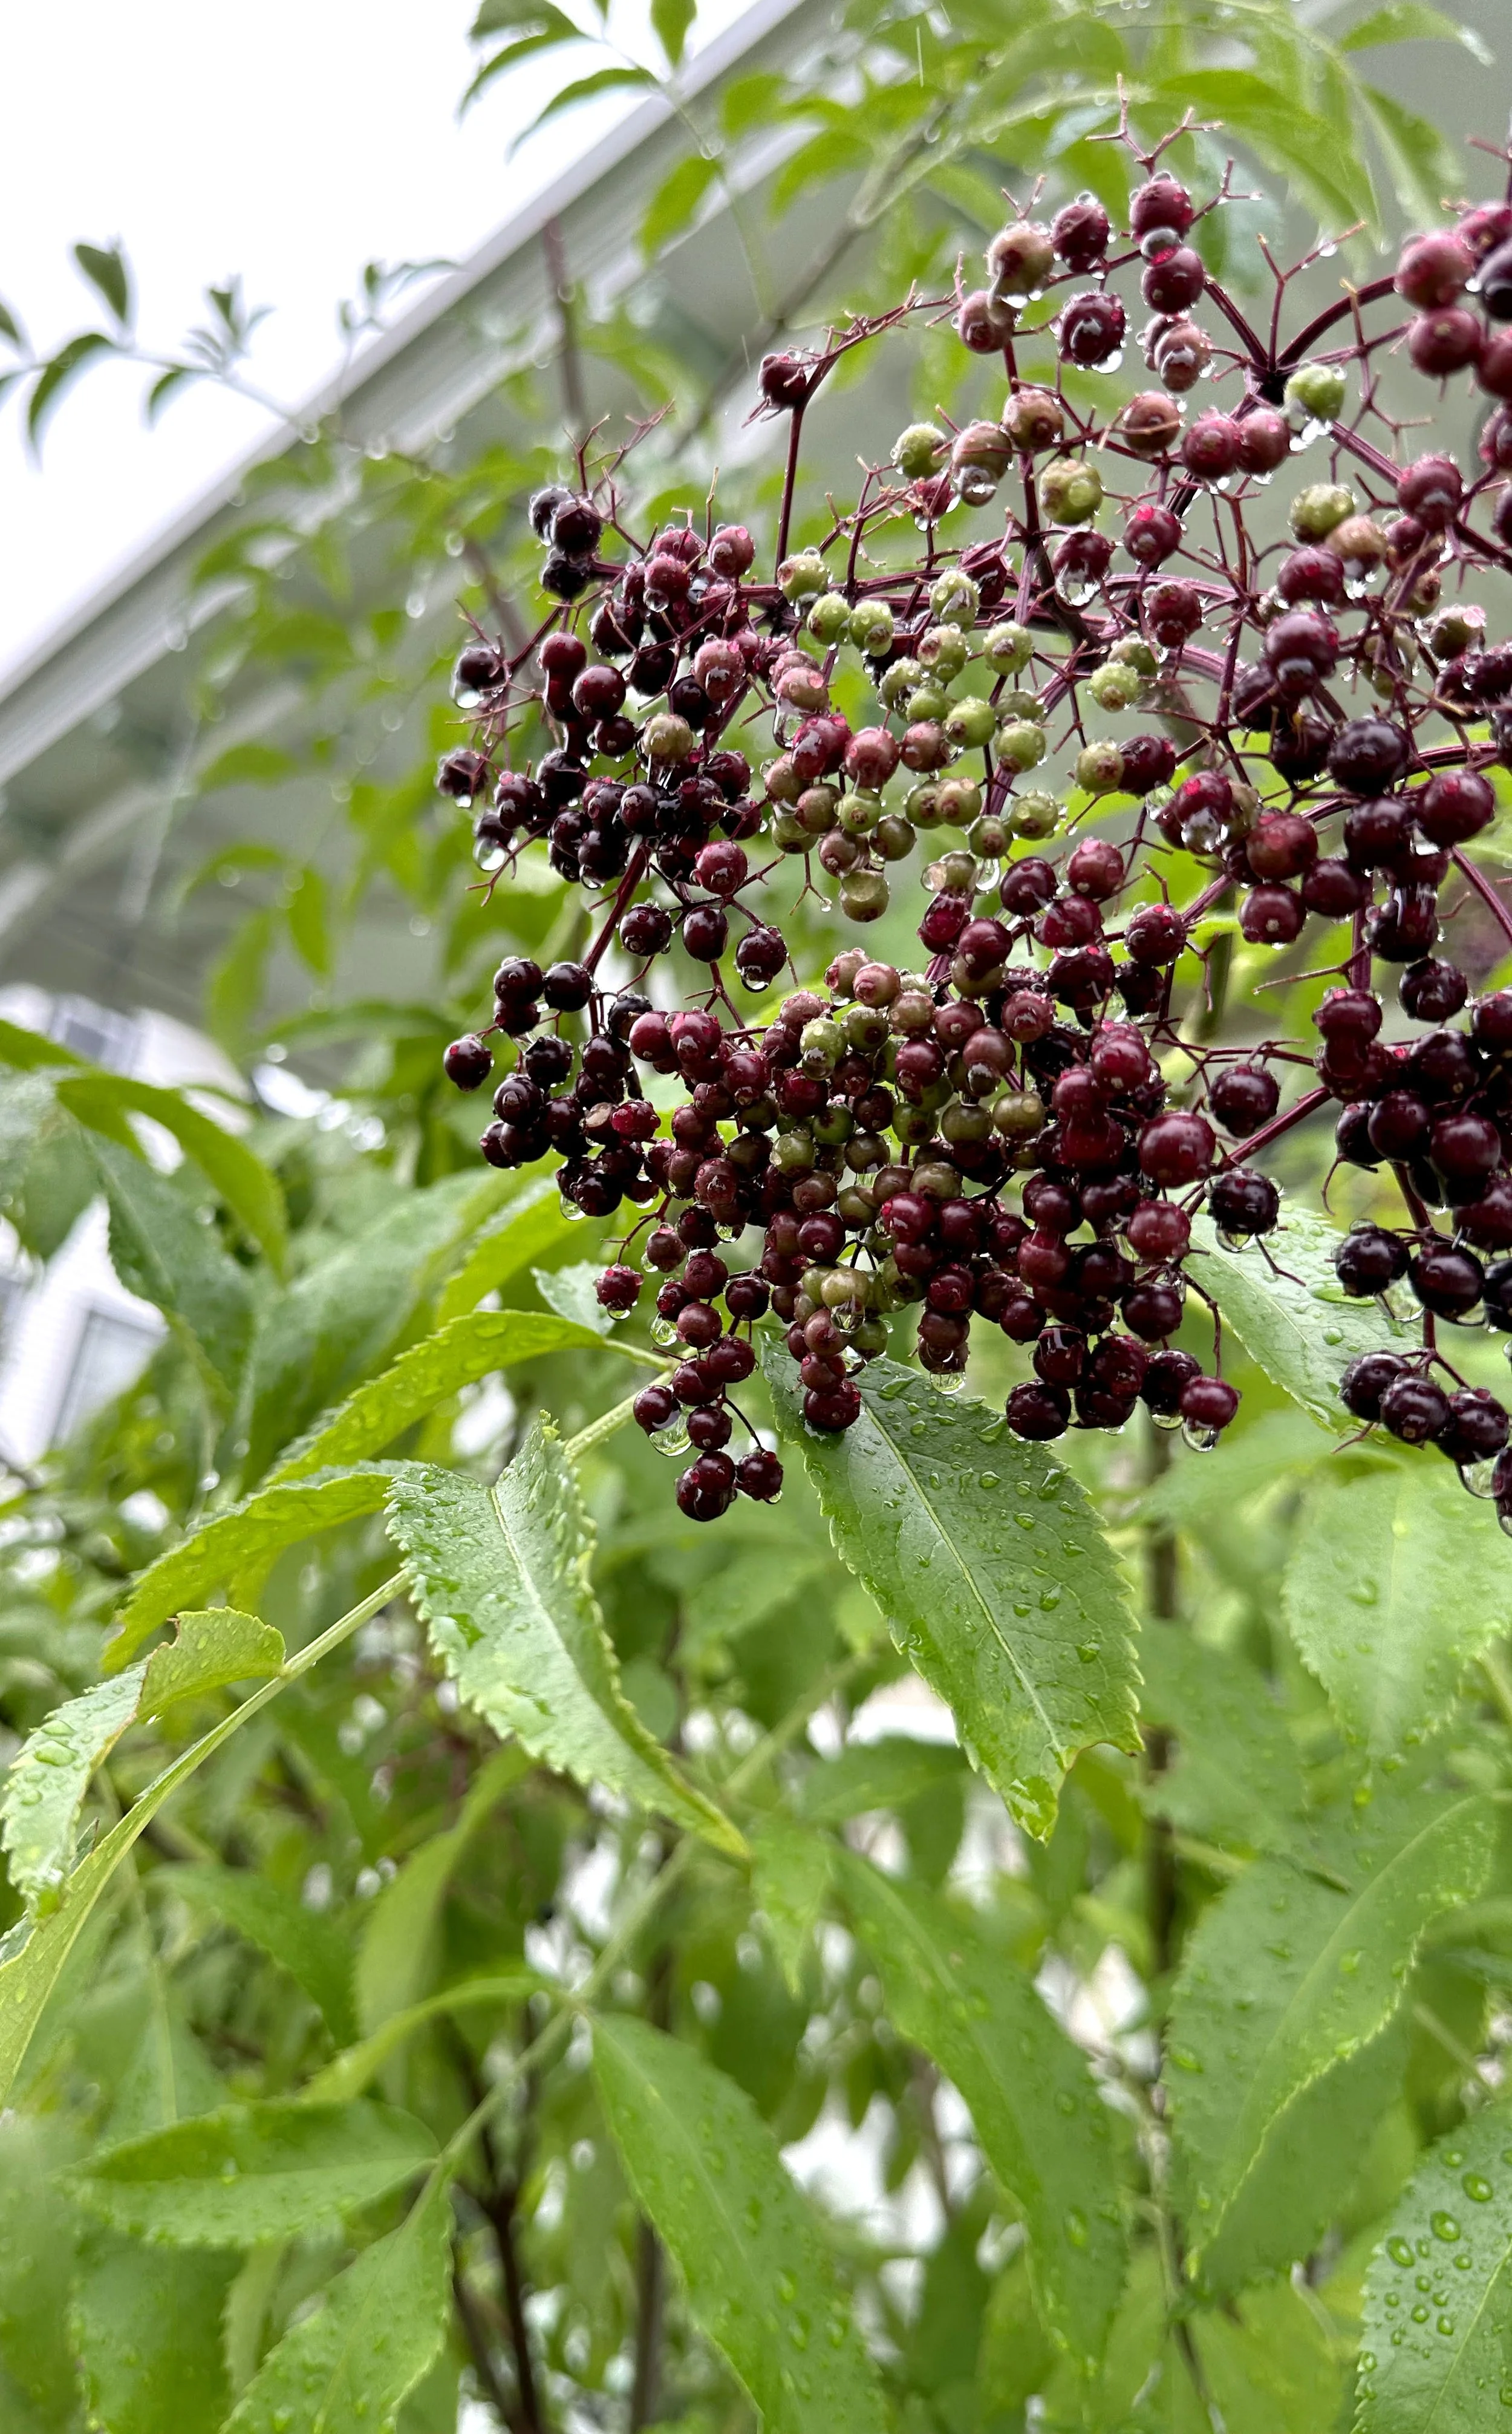
Thanks to the rain, our yard has really grown this year. I can especially see the difference in the elderberry bush we planted two years ago. This year we had enough elderflowers to make a fermented champagne with them and enough elderberries to make several pints of jam! Both were delicious.
A few fun facts about elderberries:
Elderberries are an effective poison. They contain cyanide and cannot be eaten raw. If you decide to harvest some elderberries for food purposes please make sure to cook them first. Cooking elderberries removes the cyanide from them and makes them safe for consumption.
Elderberries are considered a superfood due to their high antioxidant count.
Ancient Romans created a hair dye using the dark purple color that can be extracted from the berries.
This last fact is particularly interesting! Elderberries create a gorgeous blue-violet that would be a perfect addition to my film’s natural color palette.
COLLECTING AND PREPPING INGREDIENTS:
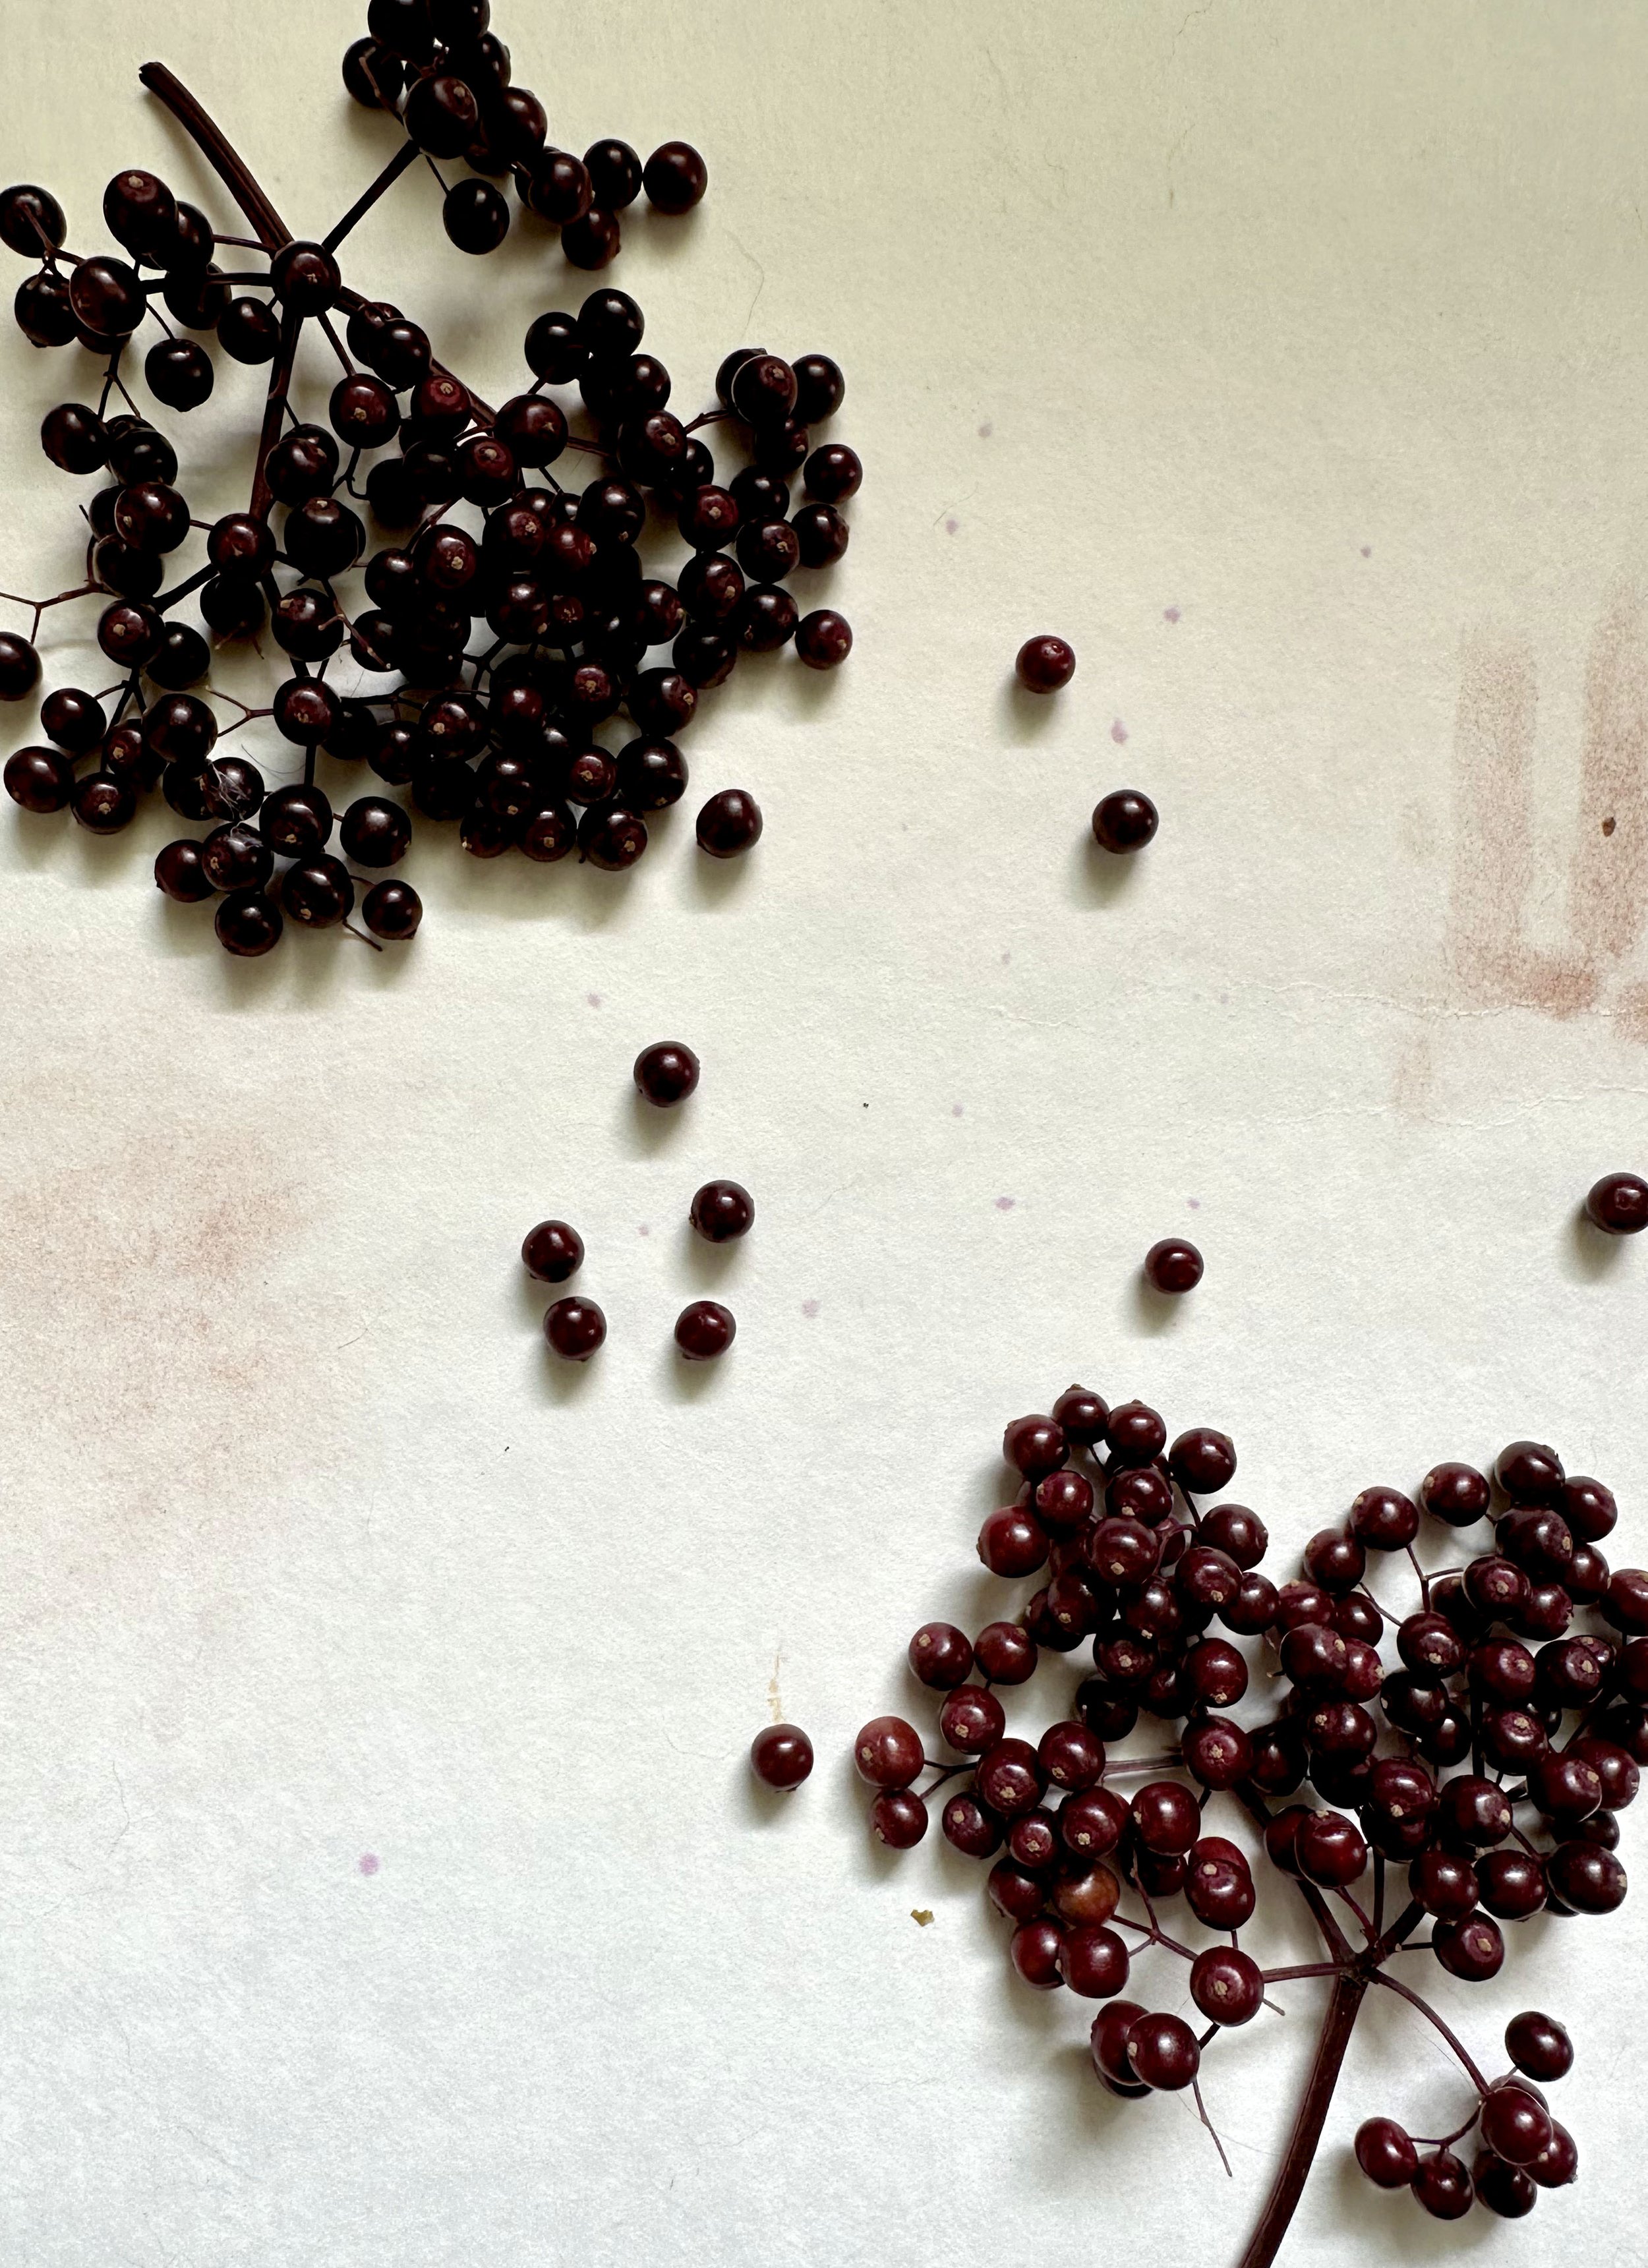
Elderberries are incredibly tiny and come clustered with 50+ tiny berries per bunch. The best way to harvest these is to clip each bunch then use a fork to pull the berries from the stems.
SUPPLIES NEEDED:
You will need to have an extra set of utensils that you will no longer use for cooking food or food consumption when making dye. It’s still best practice to have two sets of supplies: for cooking and for ‘other’.
I recommend collecting the following:
12 qt pot with lid
measuring cups
measuring spoons
funnels
mesh strainer
various glass jars to store dye liquid
pH strips.
stainless steel tongs
large spoon
paper and fabric strips for testing
It’s best to use supplies made out of environmentally neutral materials like stainless steel and glass for the best results and most accurate color.
For pH strips, I recommend these.
MATERIALS NEEDED:
Elderberries. I recommend between 1-3 cups of petals total.
1 quart of water
OPTIONAL: wintergreen oil, clove oil or whole cloves
OPTIONAL: alum and iron mordant
OPTIONAL: gum arabic (if this will be used as an ink or watercolor)
A NOTE ON MORDANTS:
Adding alum will help adhere the dye to fabrics moreso, but isn’t necessary. Iron is a great mordant to add if you want to ‘sadden’ the color.
For more on mordants/color modifiers, check out this post on creating dyes with turmeric.
PROCESS:
add the elderberries to 1 quart of water.
simmer for up to 60 minutes. Make sure to stir every 10-15 minutes.
once the desired color is reached, take the mixture off heat.
leave the mixture overnight so that the color can continue to strengthen. I added a piece of fabric to see how the color would absorb over a long dye period.
the next day: strain all contents into a bowl. If you would like to experiment with mordants, split the contents into two separate bowls.
OPTIONAL: In bowl #1: leave as is. Or, add 1 tsp or more of alum. This will not do anything to the dye color, but will make the dye a little more colorfast / lightfast as it is used on fabric, paper and more.
In bowl #2: add a small (and I do mean small!) pinch of iron to start. Stir this in. Continue adding small amounts of iron until the desired color is achieved. A small amount of iron will “sadden” the color. For elderberries, the color will become more of a denim-blue in color, truly beautiful!
add gum arabic if this will be used as an ink or watercolor. I recommend 2-3 drops per 2 oz. bottle, but it’s up to you!
the dye/watercolor/ink is ready for use! Use it now, or store it later!
REMINDER: if you choose to store it for later, make sure to sterilize your containers and add 1 drop of wintergreen or clove oil per oz. Or, you can add 1-2 whole cloves per oz to reduce mold growth.

I am especially pleased with how the elderberry and iron mixture turned out. It is a perfect addition to my film, and will be used in many of the scenes!