Malabar Spinach Ink
“Honesty is the best policy and spinach is the best vegetable.” — Popeye
My husband and I love spinach. This year, when we expanded our garden, we wanted to add more spinach-like varieties. We came across something called “malabar spinach” which thrives in warm weather and is also a climbing vine!
Well, it turns out we like the flavor, but do not like the texture of it at all. It’s very slimy sort of like nopales, okra or aloe. We certainly found a use for it in pestos but didn’t like to eat it in a salad.

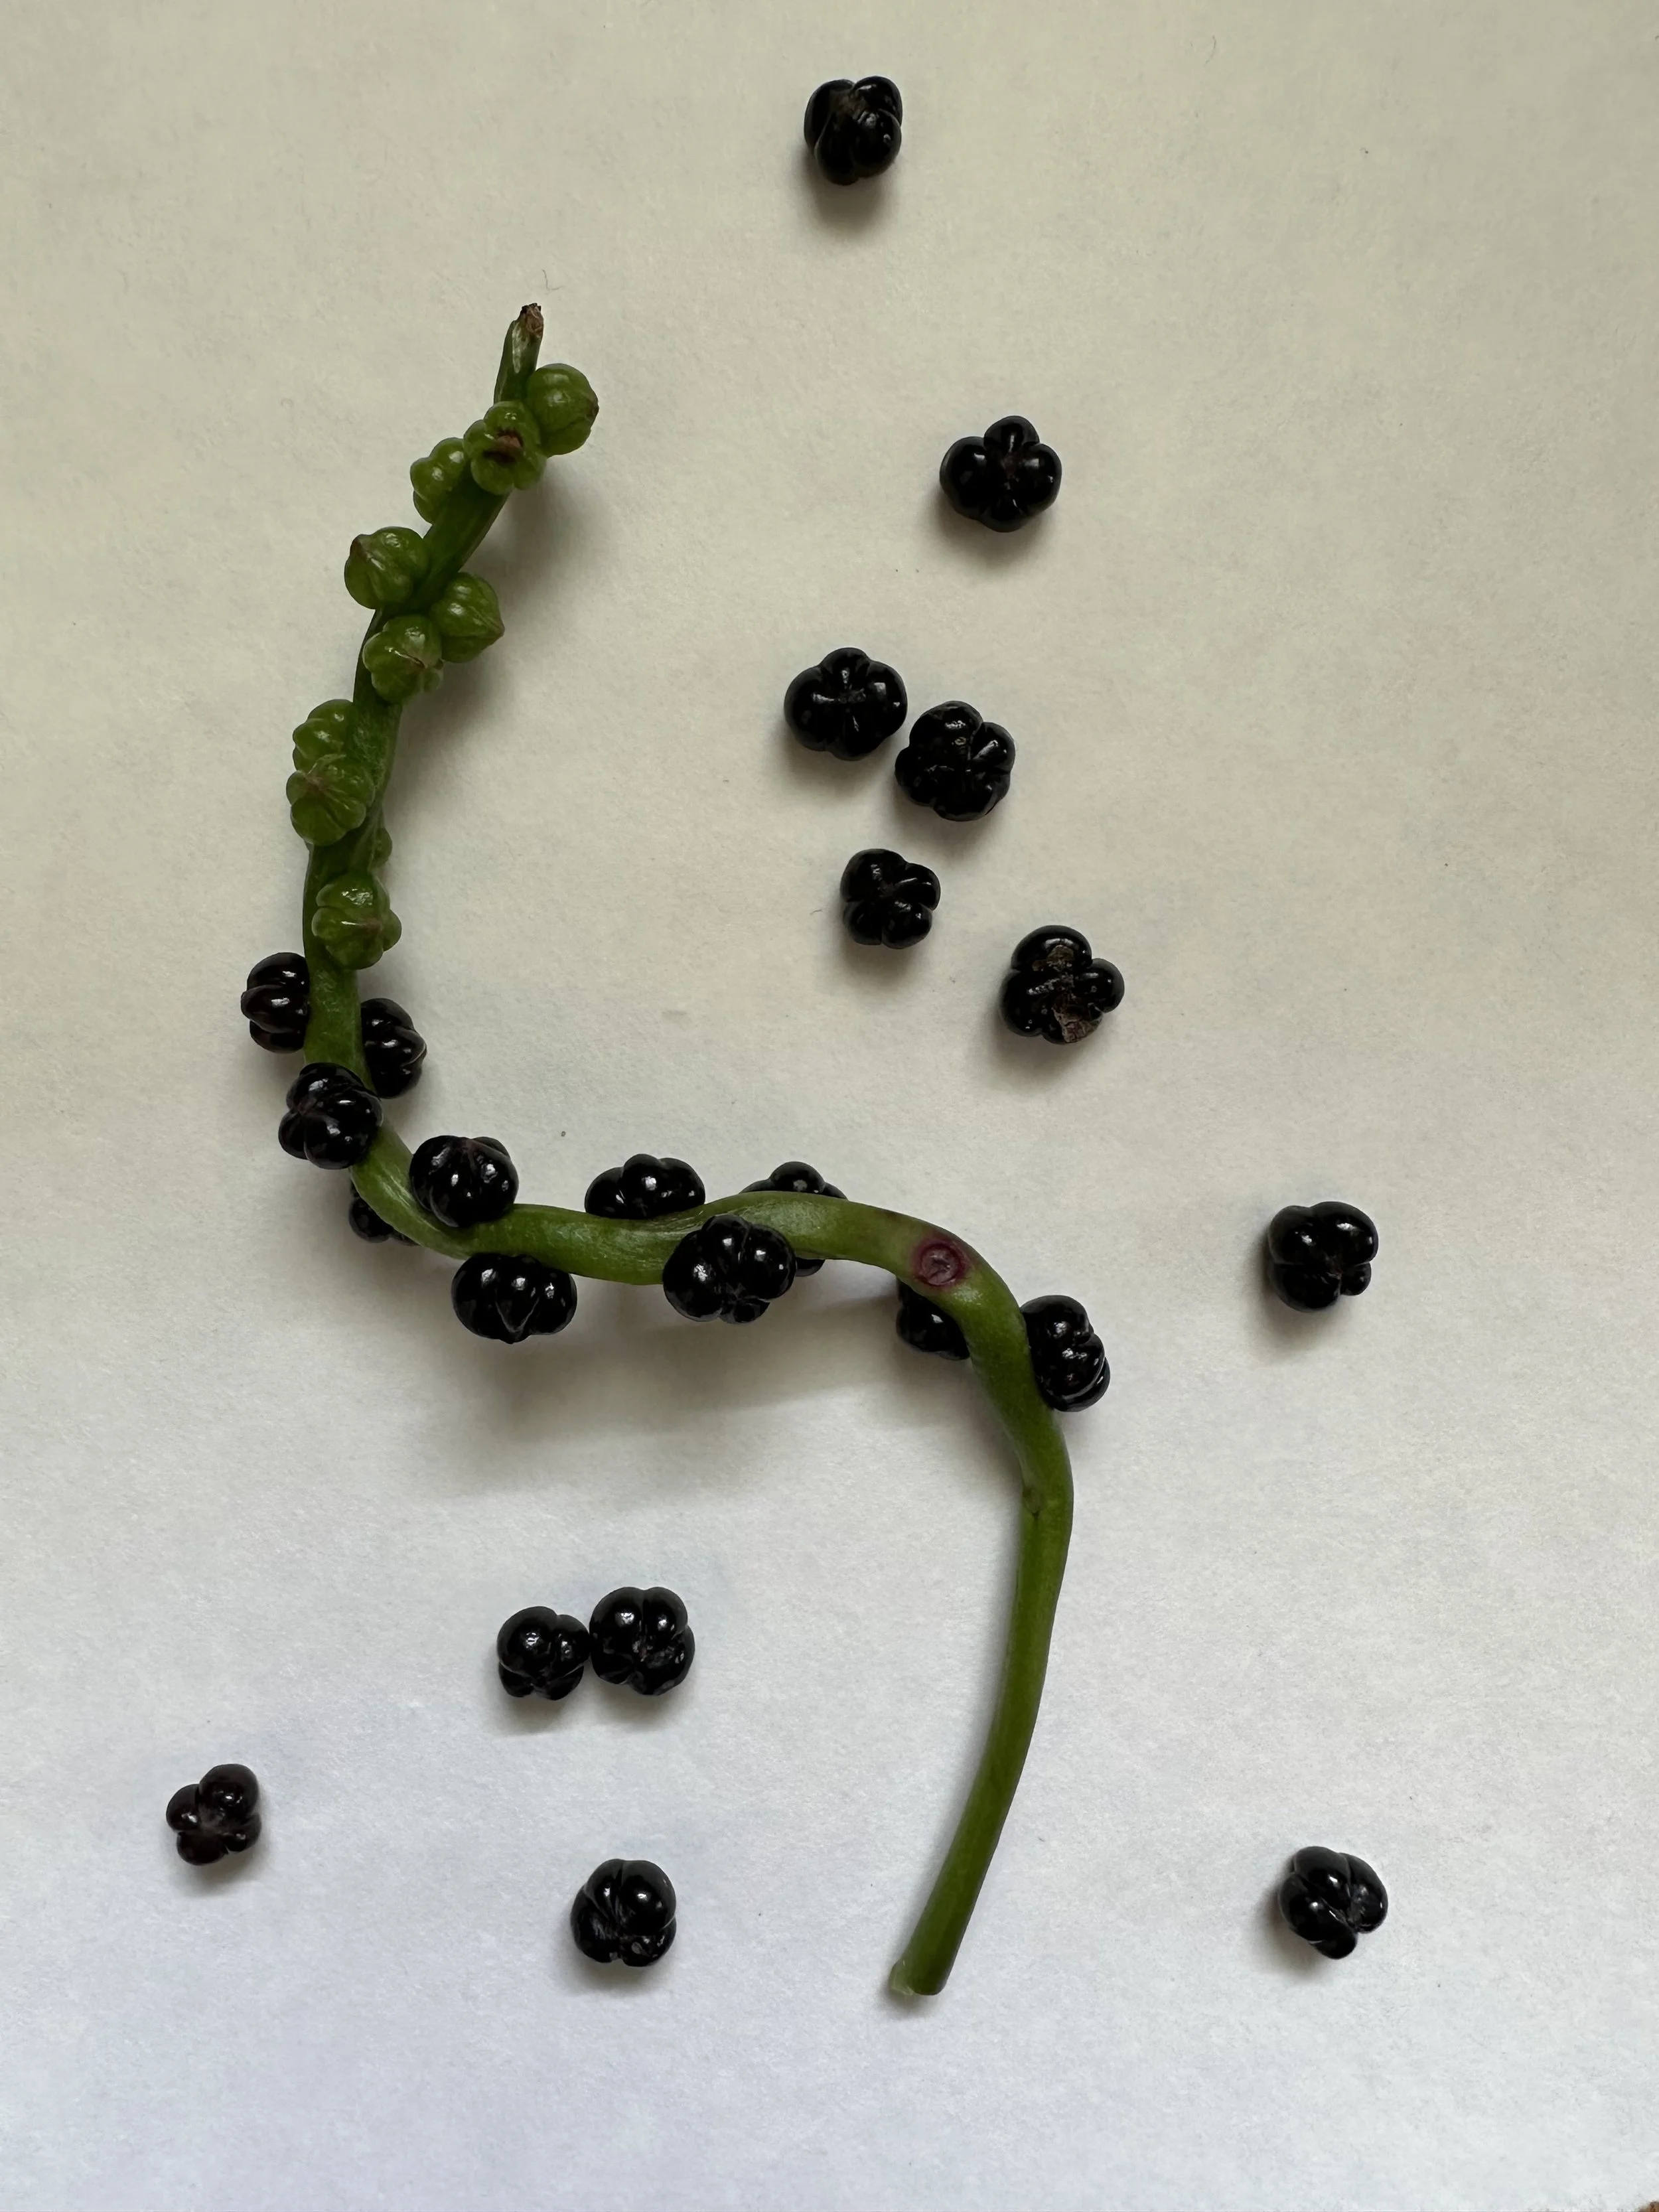
I found another surprising use for our malabar spinach! At the end of the summer, the ends of the vine grew beautiful violet berries full of pigment. After some research I learned that it is a common berry to die fabric and food with. Especially in India where the malabar spinach plant grows naturally.
I knew this would be perfect for my ever growing color collection!
COLLECTING AND PREPPING INGREDIENTS:
I slowly collected a cup full of the malabar spinach berries from August - October in my region (Zone 6b). I kept my growing collection of berries stored in the freezer to keep them fresh for use.
SUPPLIES NEEDED:
You will need to have an extra set of utensils that you will no longer use for cooking food or food consumption when making dye. It’s still best practice to have two sets of supplies: for cooking and for ‘other’.
I recommend collecting the following:
12 qt pot with lid
measuring cups
measuring spoons
funnels
mesh strainer
various glass jars to store dye liquid
pH strips.
stainless steel tongs
large spoon
paper and fabric strips for testing
It’s best to use supplies made out of environmentally neutral materials like stainless steel and glass for the best results and most accurate color.
For pH strips, I recommend these.

MATERIALS NEEDED:
Malabar spinach berries. I recommend between 1-3 cups total.
1 quart of water
OPTIONAL: wintergreen oil, clove oil or whole cloves
OPTIONAL: alum and iron mordant
OPTIONAL: gum arabic (if this will be used as an ink or watercolor)
A NOTE ON MORDANTS:
Adding alum will help adhere the dye to fabrics moreso, but isn’t necessary. Iron is a great mordant to add if you want to ‘sadden’ the color.
For more on mordants/color modifiers, check out this post on creating dyes with turmeric.
PROCESS:
add the berries to 1 quart of water.
simmer for up to 60 minutes. Make sure to stir every 10-15 minutes.
once the desired color is reached, take the mixture off heat.
leave the mixture overnight so that the color can continue to strengthen. I added a piece of fabric to see how the color would absorb over a long dye period.
the next day: strain all contents into a bowl. If you would like to experiment with mordants, split the contents into two separate bowls.
OPTIONAL: In bowl #1: leave as is. Or, add 1 tsp or more of alum. This will not do anything to the dye color, but will make the dye a little more colorfast / lightfast as it is used on fabric, paper and more.
In bowl #2: add a small (and I do mean small!) pinch of iron to start. Stir this in. Continue adding small amounts of iron until the desired color is achieved. A small amount of iron will “sadden” the color. I did not try this step for the malabar spinach berries.
add gum arabic if this will be used as an ink or watercolor. I recommend 2-3 drops per 2 oz. bottle, but it’s up to you!
the dye/watercolor/ink is ready for use! Use it now, or store it later!
REMINDER: if you choose to store it for later, make sure to sterilize your containers and add 1 drop of wintergreen or clove oil per oz. Or, you can add 1-2 whole cloves per oz to reduce mold growth.
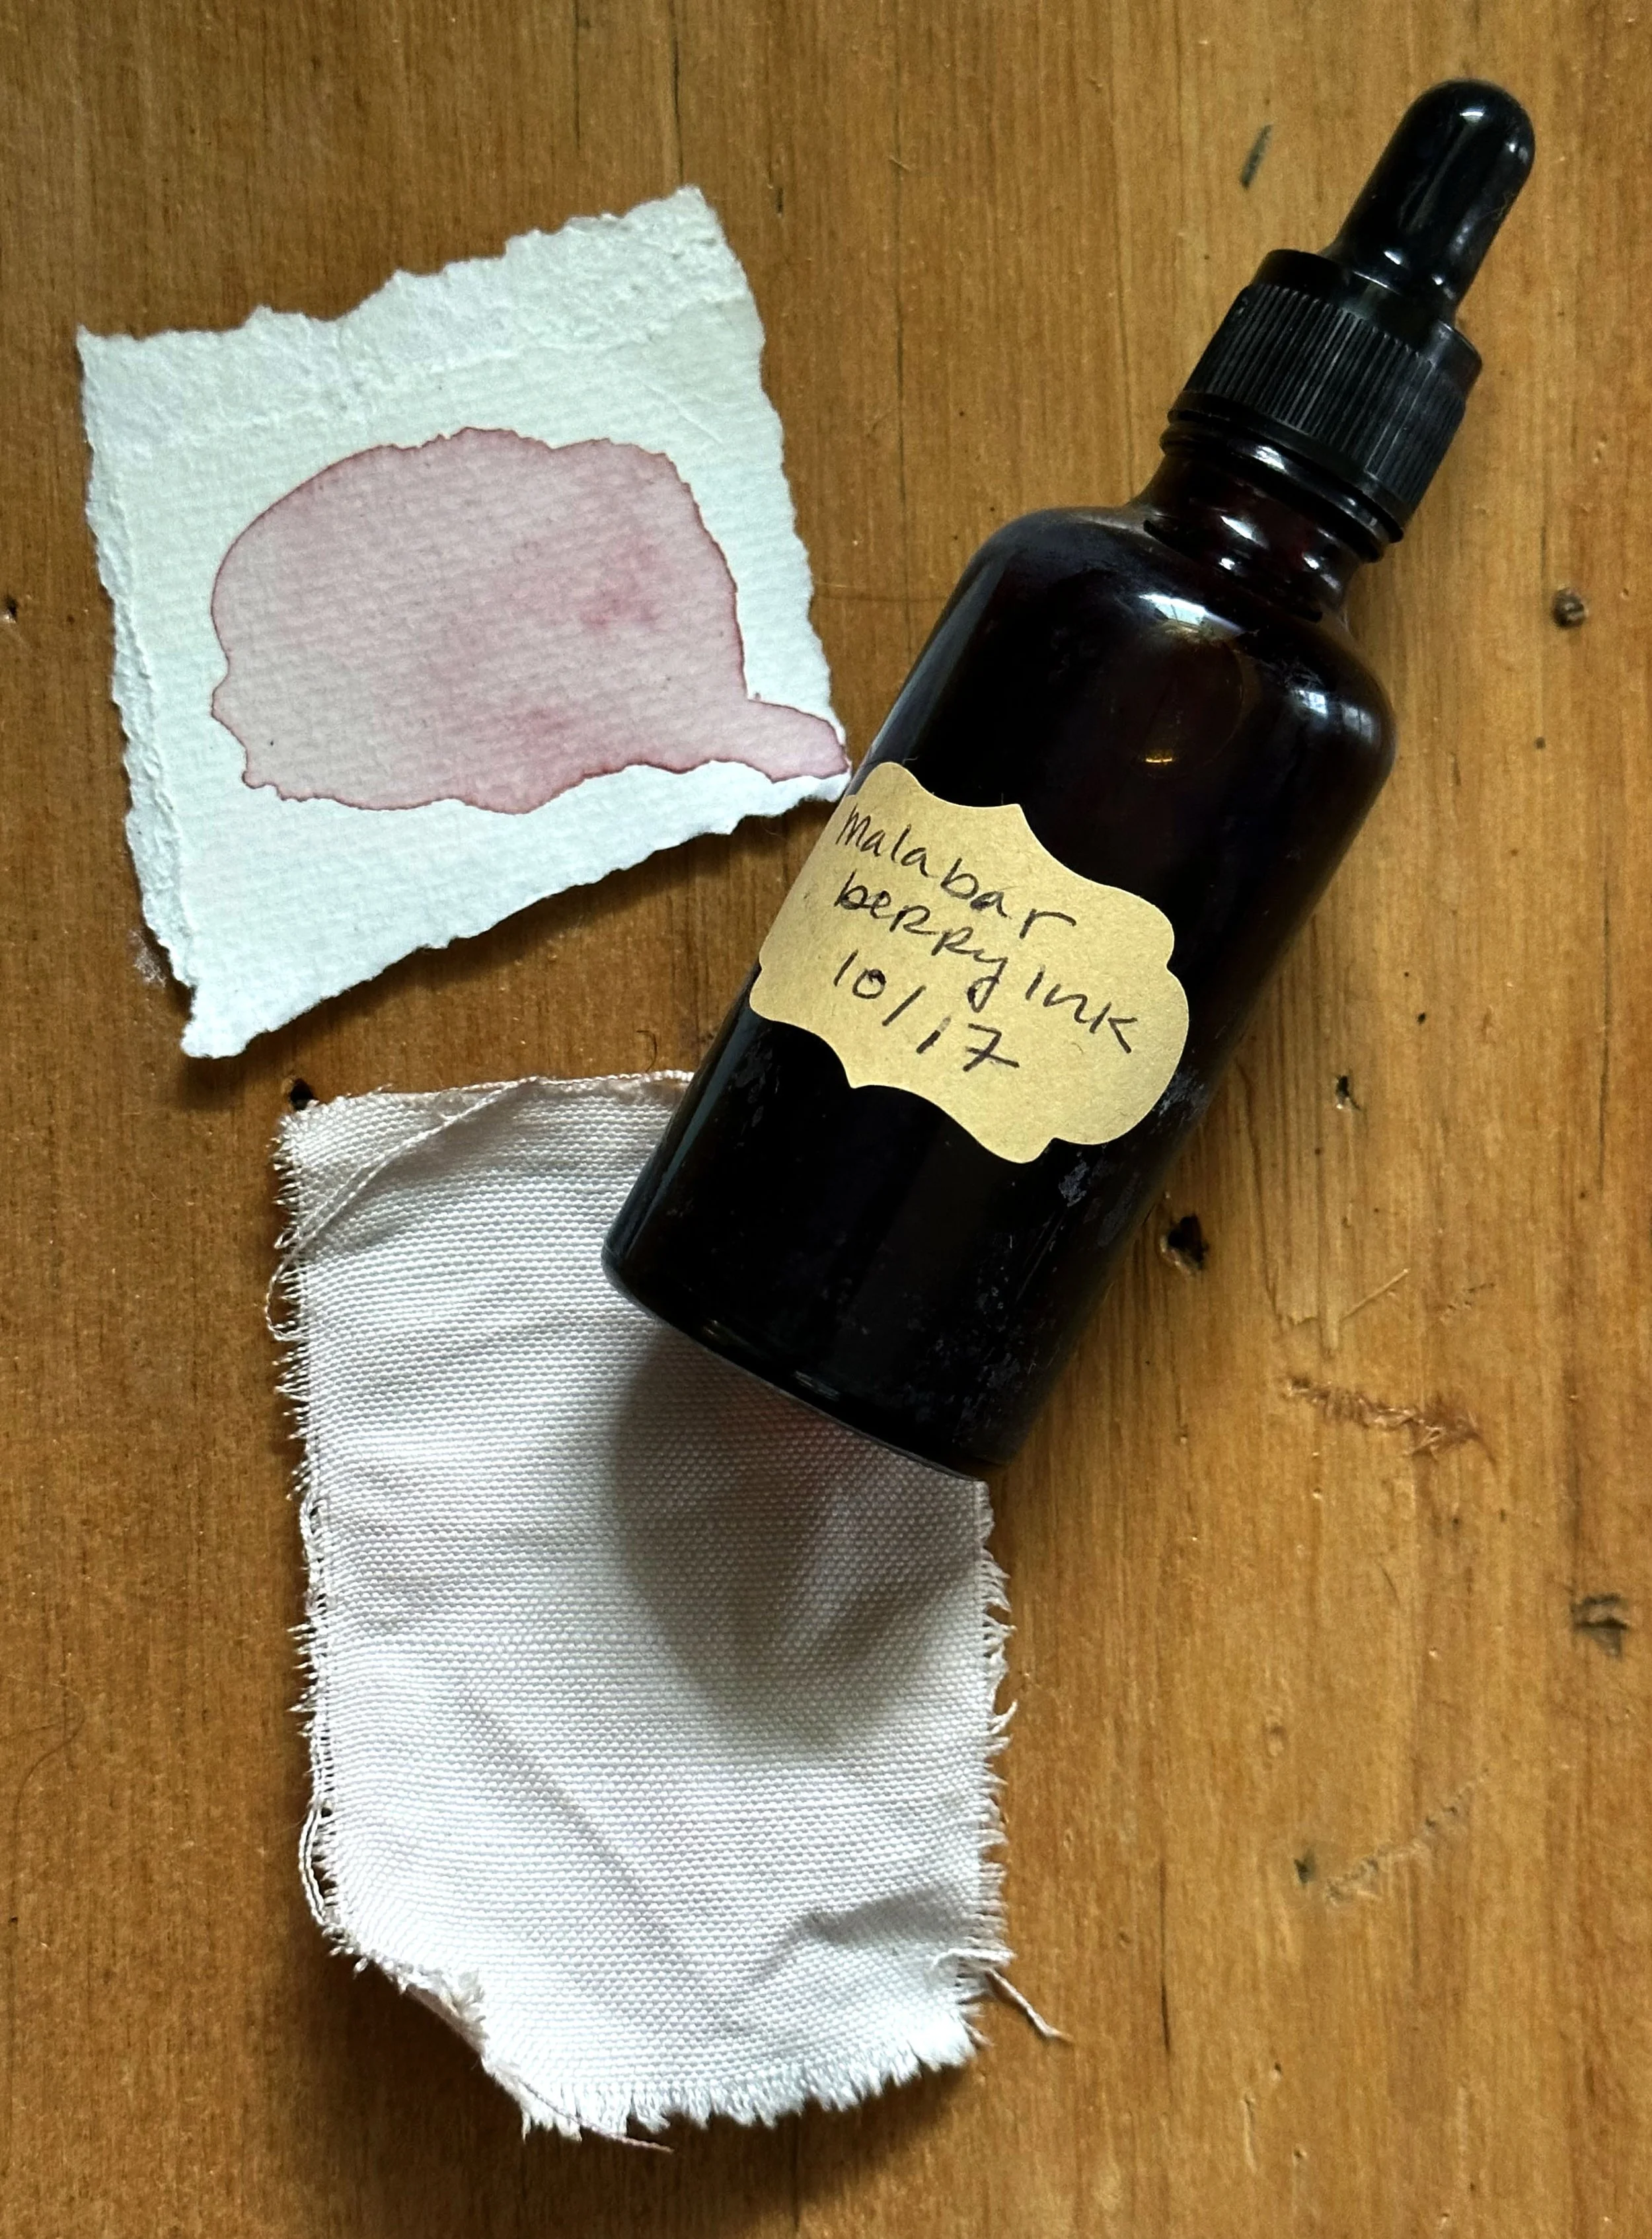
I love how this turned out - it will be a fantastic addition to my film: Sundays!