A Western Road Trip - Part 2: Kansas, Nebraska and Iowa
“Where you get them farm hands to work my earth
(Tell me, Tell me)
Where you get that tractor to caress my dirt
I'm not gon' settle for soy and green beans
There's no love in Iowa for me
So I'm changing scenes
Gon' buy myself a little ranch in Nebraska
And over there I'll be dippin' food in Chipotle Mayonnaise
I'm gon' plant some seeds and watch some stuff grow
While you're raising babies I'm gettin' a high heel price at market
For my vegetables, crops, and casseroles
I-O-W-A
Failed me so I'm movin' away” — Leslie and the Lys, Moving Out of Iowa
This quote is from one of my favorite satirical, jazzy musicians: Leslie and the Lys. I have had the opportunity to see her concert and it is truly amazing.
She is an Iowa-based artist, and more of her work can be found here. If you’re interested in going down the magical rabbit hole that is her music videos, definitely start with this one. It’s been over a decade since she posted it and it got me through all of the all-nighters I put myself through in grad-school.
Her full musical collection can be found on Spotify. You won’t be disappointed.

Windfarms were an interesting experience for me. While I have seen windmills, seeing a farm of hundreds of them was something else. Most of our drive through Kansas was foggy and rainy which made coming upon these extra interesting. They would sort of appear out of nowhere.
We also made sure to stop in Wichita to check out the Aviation Museum.

I was especially excited by the exhibit in the photograph above.
I still tend to surprised and impressed by how much animation reaches into the daily lives of others. It could be a favorite character, or a movie that helped someone overcome their feelings, where someone feels they were well-represented, or even a Disney-designed badge that commemorated high production during WWII!

I will admit, I found Kansas much more exciting than I expected to! There is a significant amount of rich history there. Unfortunately, we weren’t able to see it all.
But, we did make sure to stop for rocky mountain oysters - I was the only one adventurous enough to try it. They were OK. I think that I need to try them again at a better restaurant before I can really pass judgement on something that seems to be a western staple, though.
What impressed me the most, out of our time in Kansas, was Coronado:
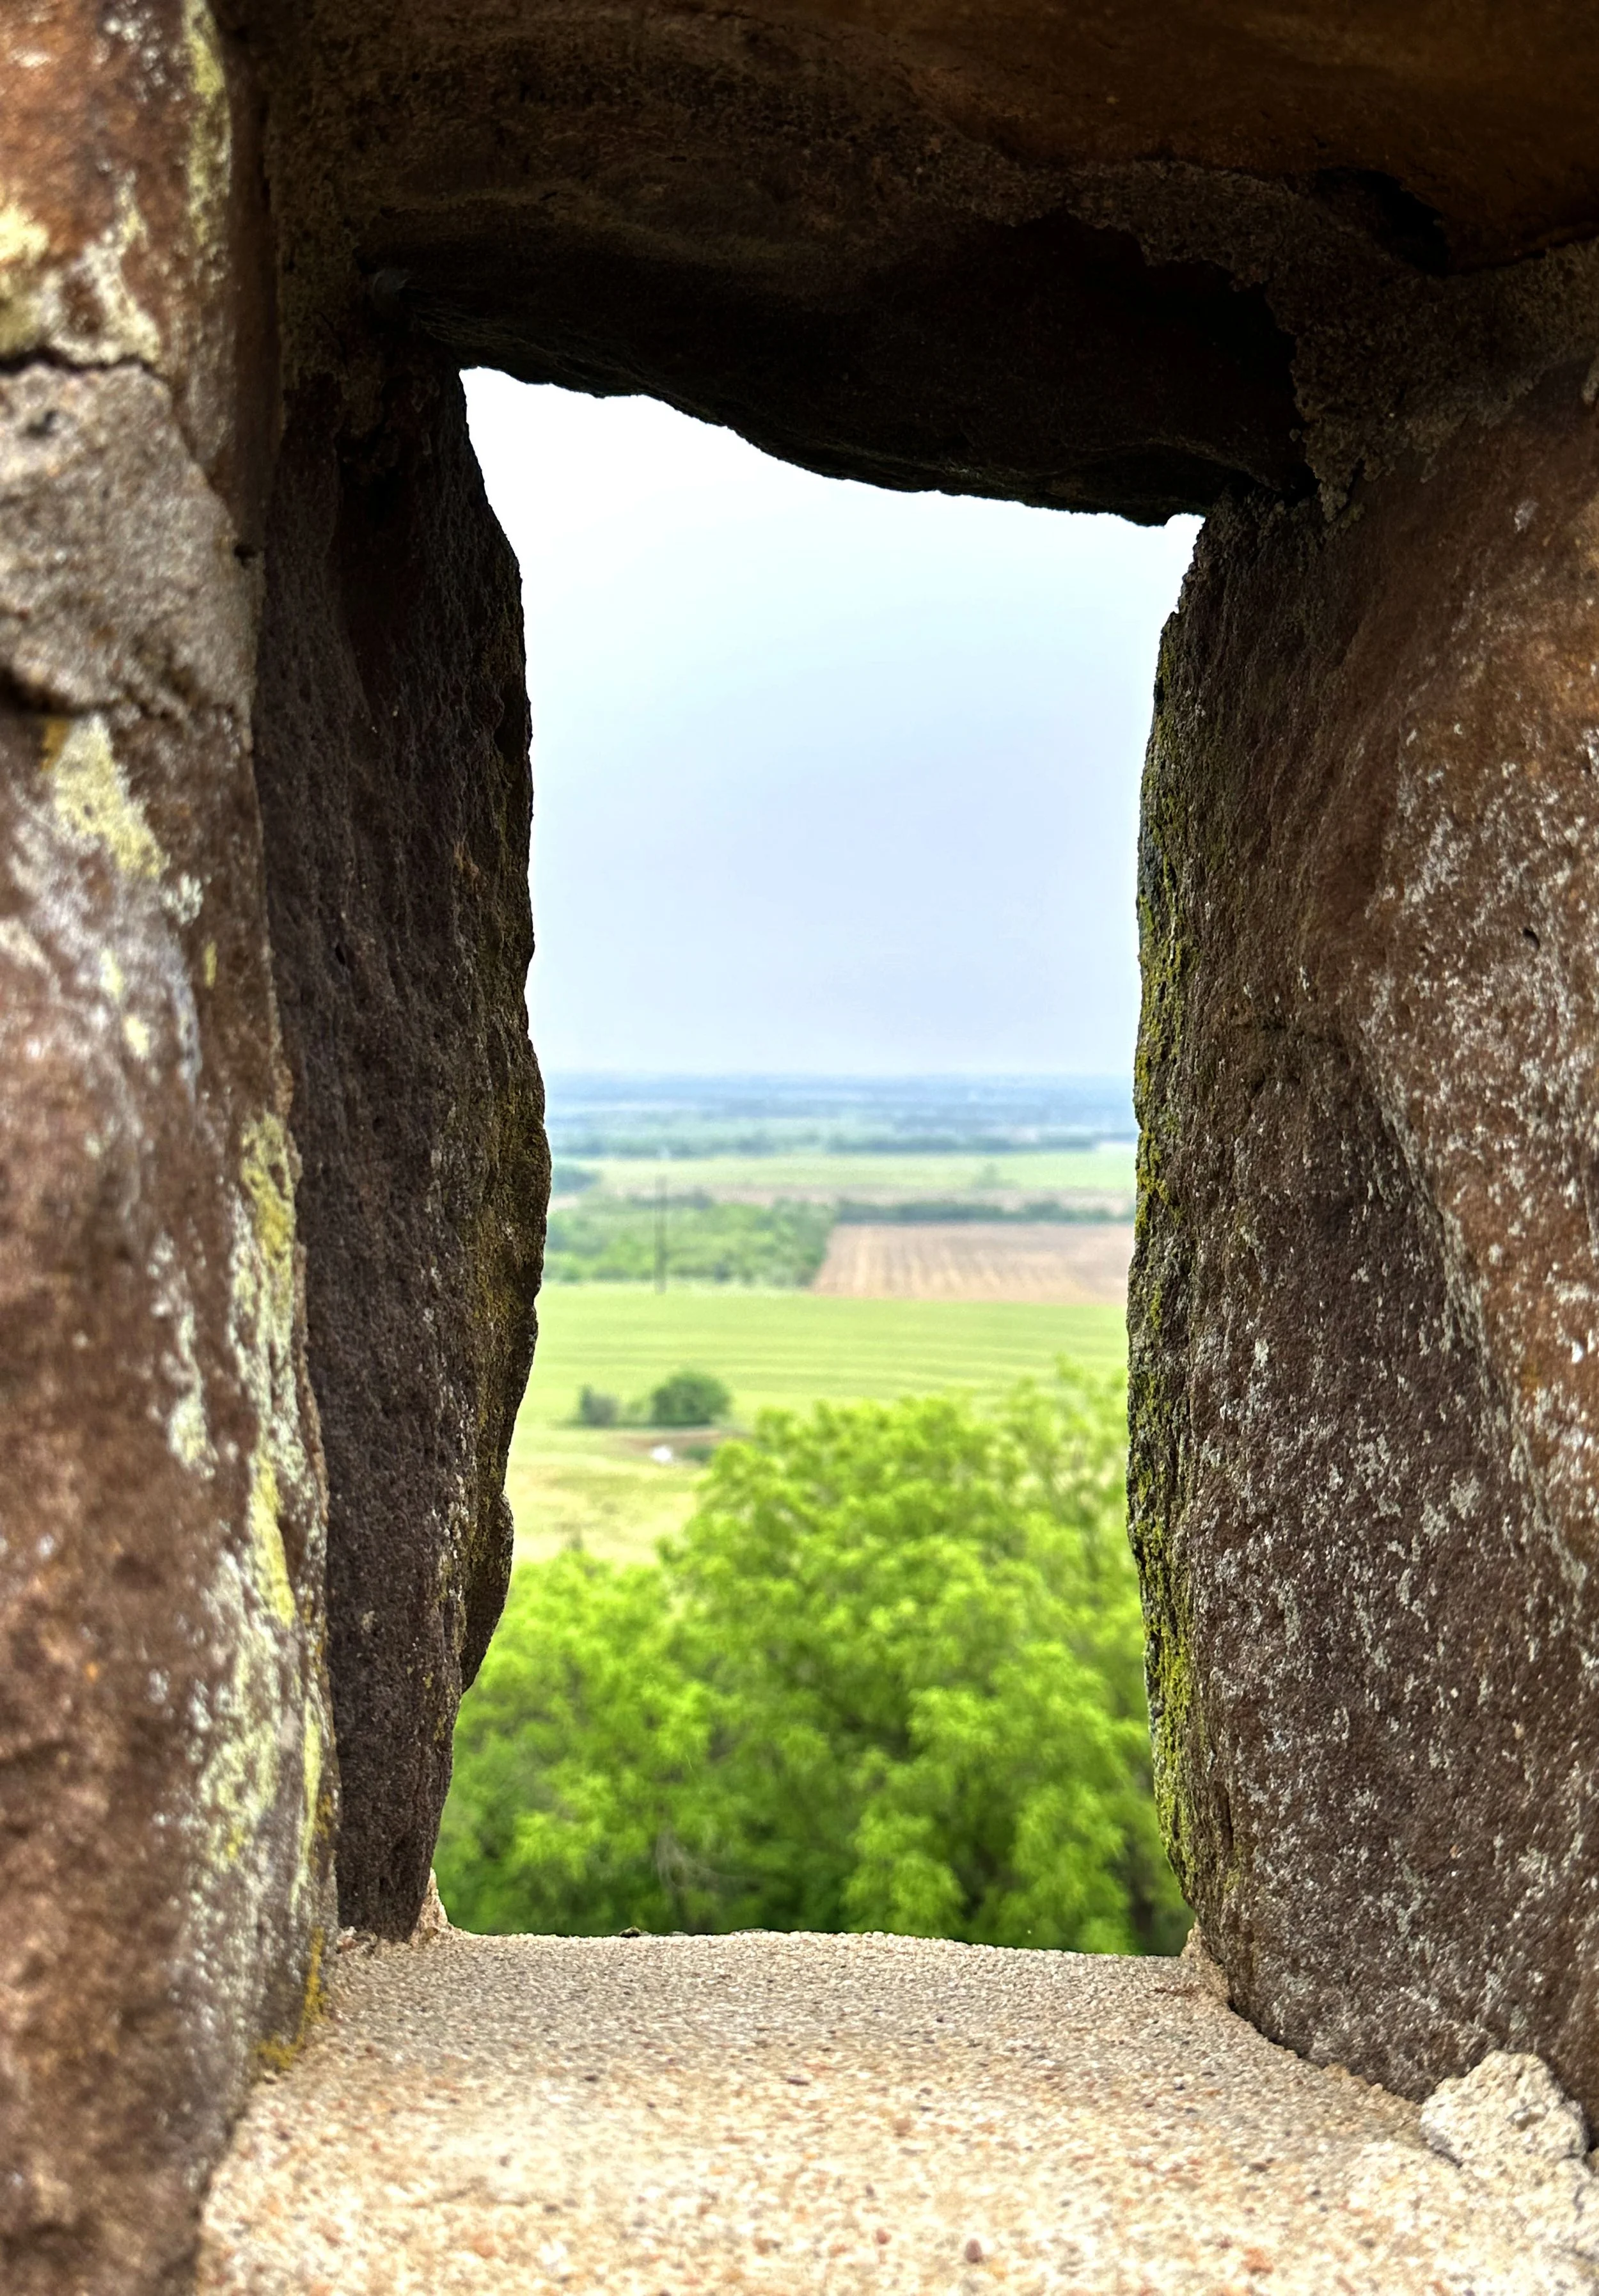
CORONADO HEIGHTS:
It is thanks to Atlas Obscura that we came across Coronado Heights. The structure itself was built in 1930 as a part of the Works Progress Administration (WPU) on a hilltop near Lindsborg, Kansas. The WPA was a federal agency created to provide employment opportunities during the Great Depression.
The site is named after the Spanish conquistador: Fransisco Vasquez de Coronado. He explored the area in 1541 while searching for the Seven Cities of Gold. He never found the mythical cities but this hill is where Coronado and his men surveyed the area during their search.
I understand why Coronado used this hill to survey the surrounding area. The view is exquisite!
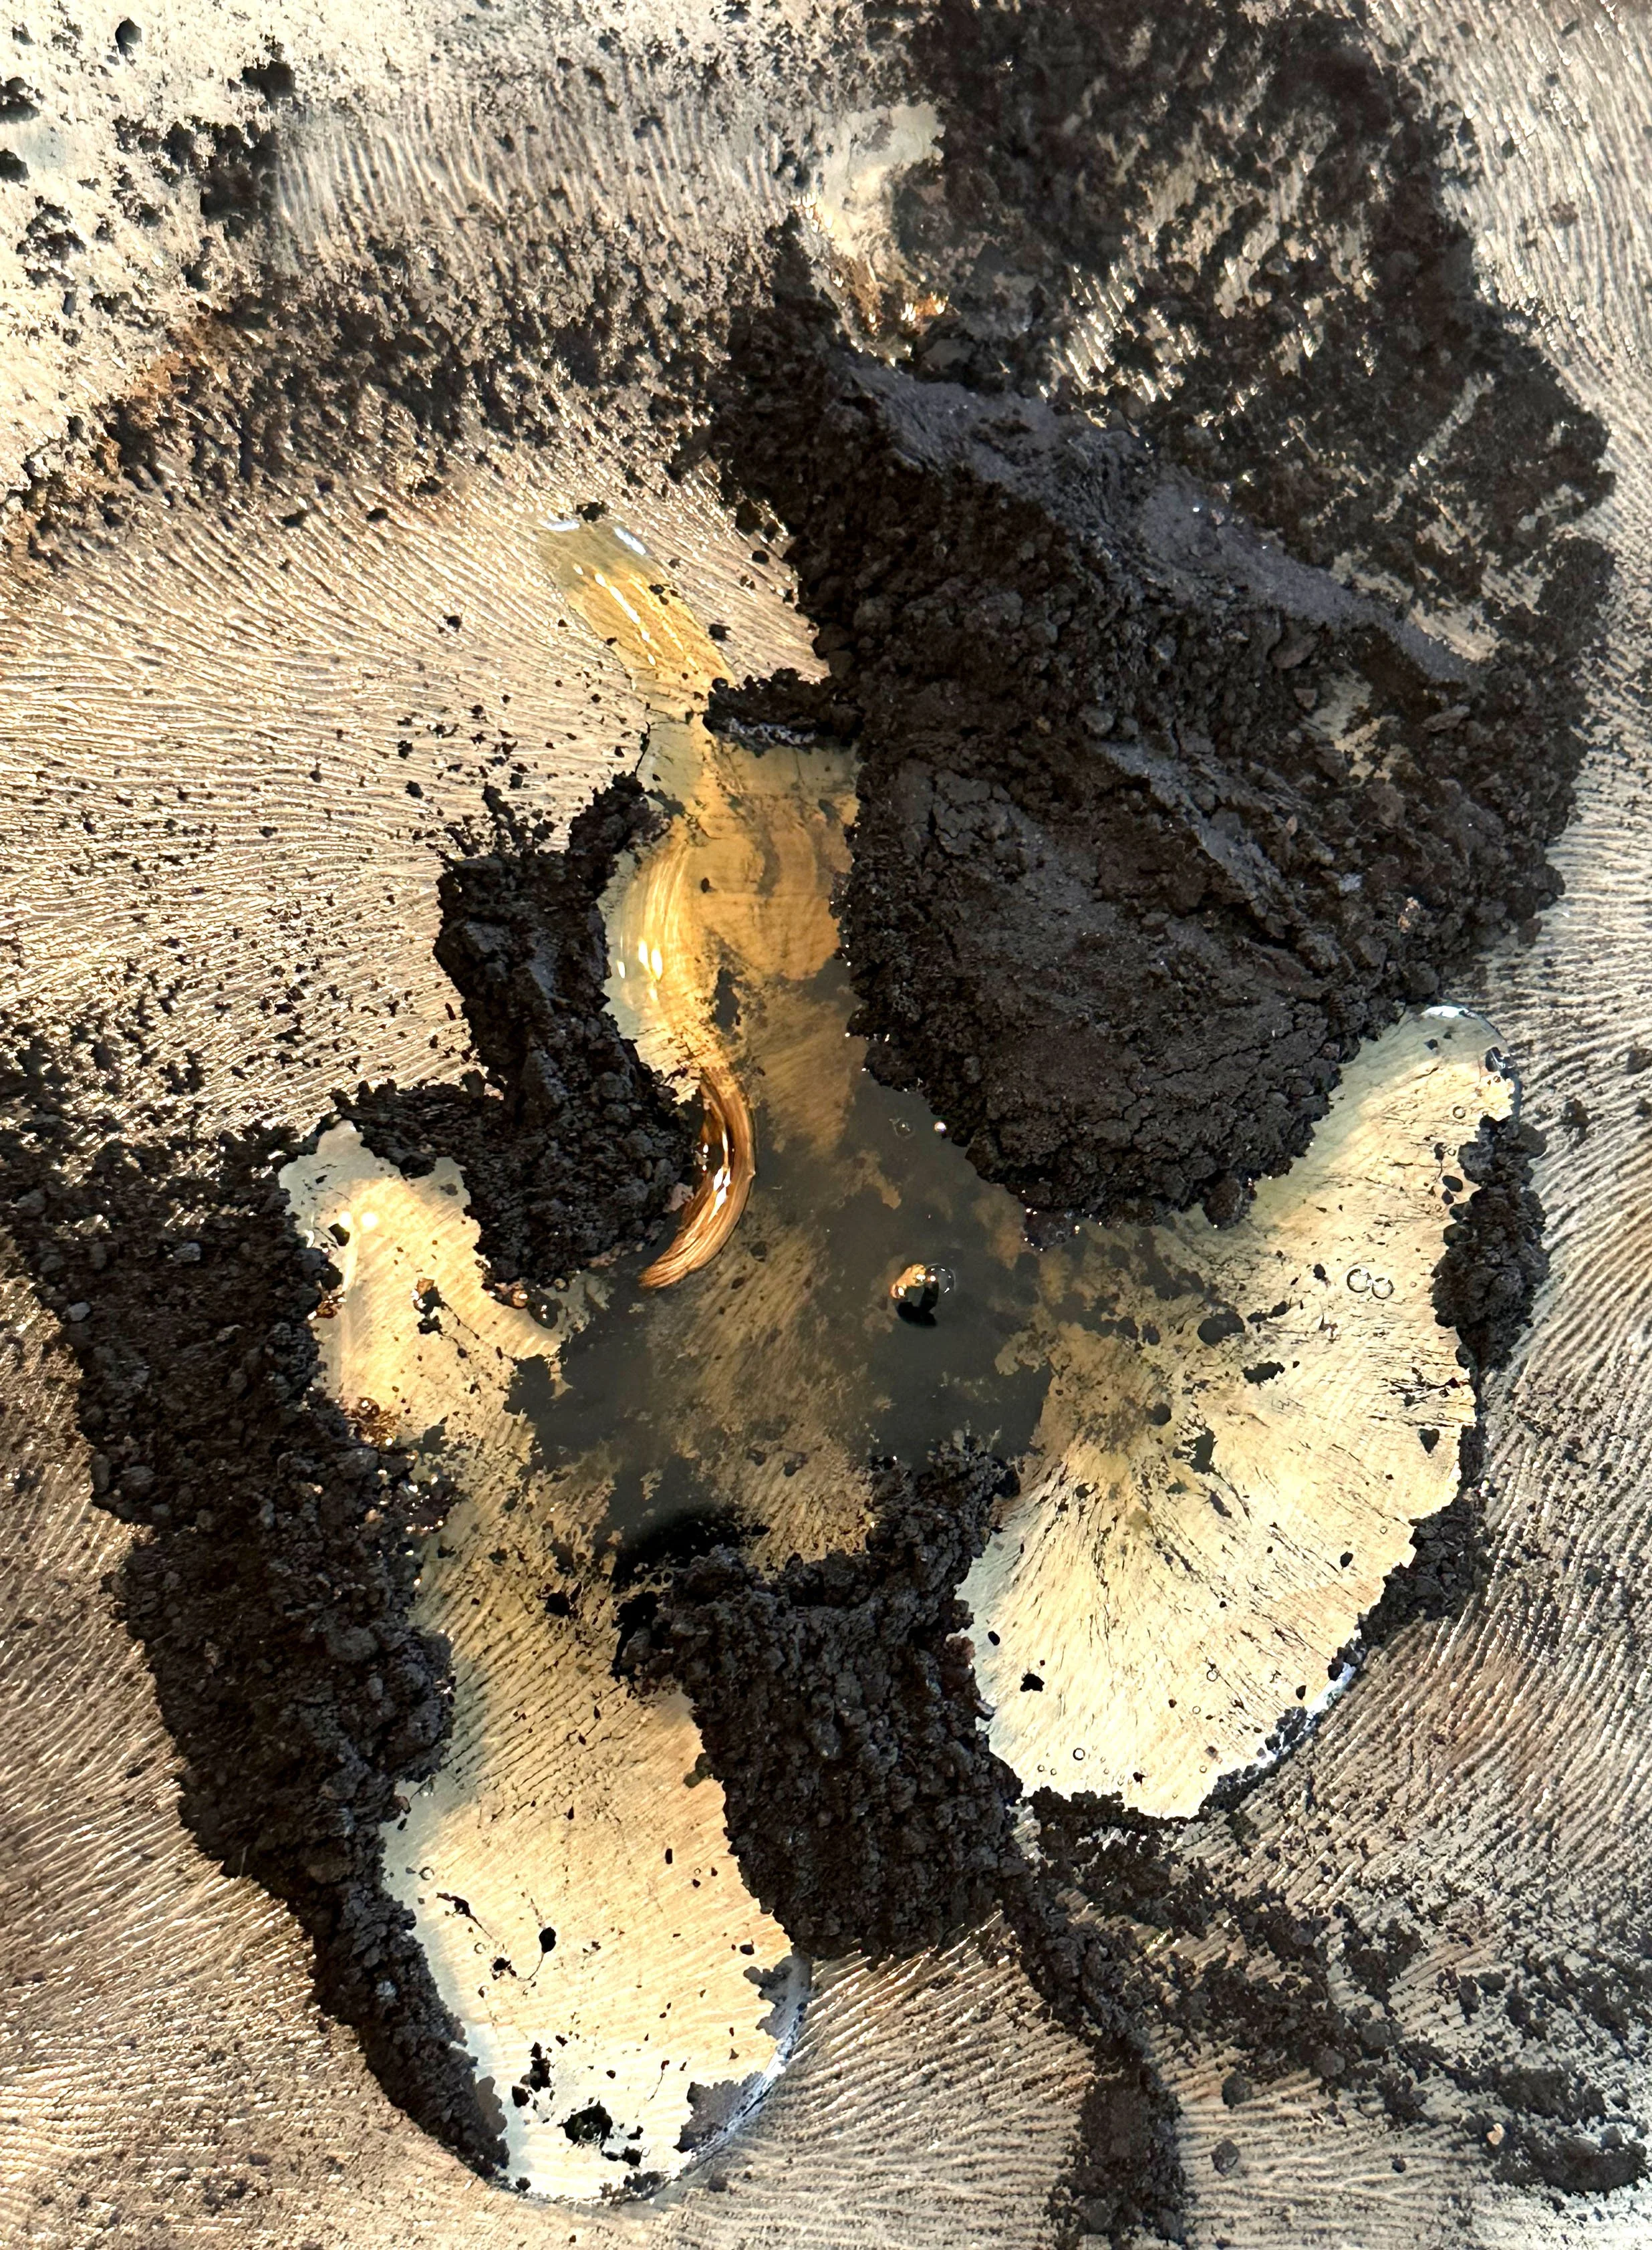
Not only that, but the soil in the surrounding area was a shocking bright orange. I sampled some to use as a pigment for my film.

OMAHA, NEBRASKA:
We continued our drive to Omaha, Nebraska to visit our friends Marc and Caitlin!
Honestly, I was so surprised that the eastern area of Nebraska was so hilly. I expected flat cornfields. Caitlin assured me that it was pretty flat further west than Omaha!
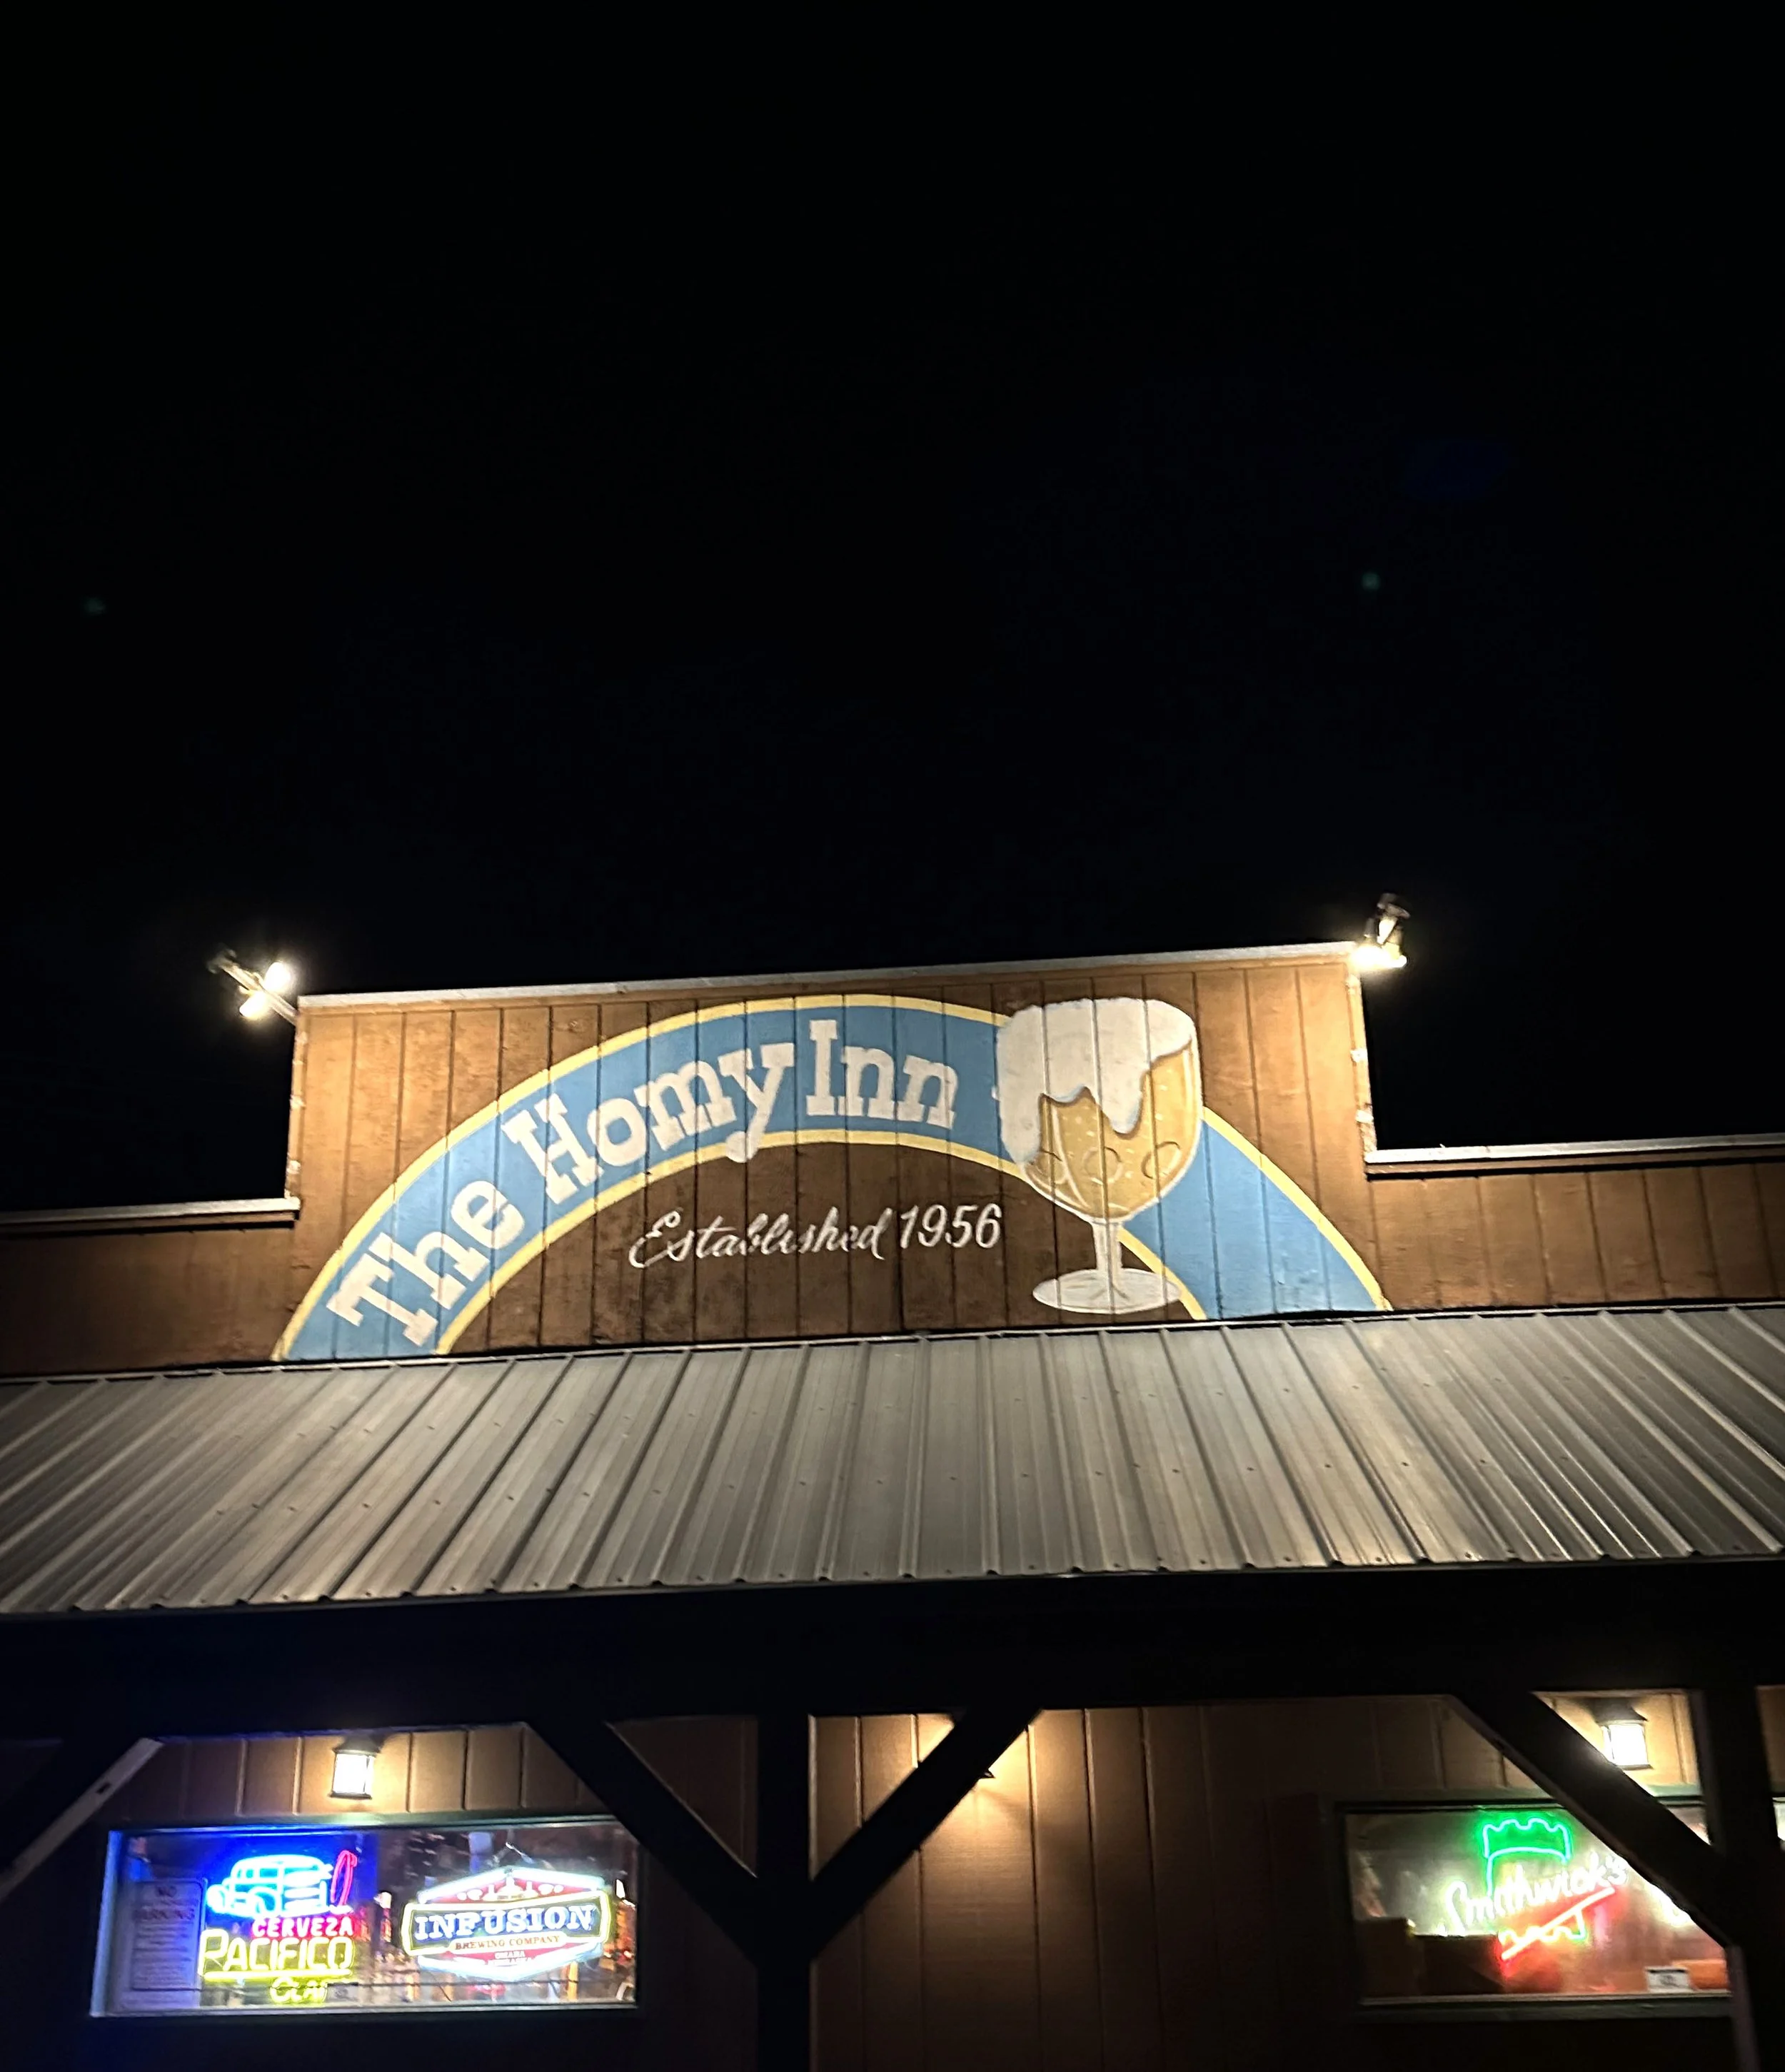
One of my favorite places we visited was a bar called “The Homy Inn”! They have champagne on tap, and a claw machine filled with dildoes.
THE HITCHCOCK NATURE CENTER:
The four of us also went hiking at the Hitchcock Nature Center, located in Honey Creek, Iowa.
Located in the Loess Hills region, it has over 1,268 acres of woodlands, wetlands and prairie with hiking trails to explore them all.
It’s also a significant birdwatching destination. Thanks to Caitlin and Marc, I am now familiar with Cornell’s Merlin Bird App! It helps identify birds through photographs, sounds, and descriptions. It eats up a good bit of space on your phone, (about 1 or more gigs) but it’s totally worth it.

WHAT ARE THE LOESS HILLS?
Pronounced ‘luss', the Loess Hills are very interesting and unusual in terms of their formation. THey were formed by wind-deposited sediment, called loess, that accumulated during the Ice Age. As the glaciers melted, winds carried the loess deposits to their location. This created thick layers and resulted in the formation of the US’s Loess Hills.
Due to the unique nature of their creation, these hills do not have a rocky base inside them. Because of this, they feel a little hollow when walked on!
PRESCRIBED PRARIE BURNS:
I noticed several burned trees during our hike in the Hitchcock Nature Center. These are caused by a controlled prairie burn, or an intentional fire that is carefully planned and managed to benefit the prairie ecosystem. These fires help maintain and restore the health of a prairie landscape. They help promote the growth of fresh vegetation while also helping to eliminate non-native plants.
I sampled some of the burnt bark from these to make a pigment similar to ‘vine black’.
I also sampled some of the blue-gray, finely powdered dirt found on the trails at the Hitchcock Nature Center.

COLLECTING YOUR MATERIALS:
Just about anything can become paint, even rocks and dirt!
Dirt will create the color you already see. Rocks, however; can be a bit more tricky! Some of the most beautifully colored rocks are not ‘pigment rich’. This means that, when broken up into a dust, they produce a fairly boring color. But, there is a quick test you can do to determine if a rock will give you an interesting color. Take the rock and drag it across cement, asphalt or even another rock. If it leaves a mark, it can be ground into pigment. The mark’s color s is a good indicator on what you can expect once it’s ground up, too!
On this part of the trip, I was able to collect a bright orange soil from the Coronado Heights Castle as well as blue-gray soil and charred wood from the Loess Hills in Iowa.

MATERIAL PREP:
If you are working with rocks, they will need to be broken up into small pieces: gravel size or smaller. This can be done with a hammer. Once they are broken up, you can use a mortar and pestle to turn them into a rough powder. Or, you can use a blender, like I did!
Once the pigment is ground up, siphon the powder through a mesh strainer. This will help remove any larger chunks of dirt or rock that were not ground up. Set this aside so you can make more pigment later.
Now that these steps are complete, we can create a mineral pigment.
NOTE: I recommend doing this outdoors - it creates a lot of dust!
SUPPLIES NEEDED:
You will need to have an extra set of utensils that you will not longer use for cooking food or food consumption when making dyes and pigments.
I recommend collecting the following:
a mortar and pestle
a Magic Bullet Blender or similar
funnels
measuring spoons
glass bowls
coffee filters
a hair tie
mesh strainer
various small jars to hold the final mixture (plastic or glass)
palette knife
glass cutting board (the Dollar Store has a great selection of these!)
glass muller
It’s best to use supplies made out of environmentally neutral materials like stainless steel and glass for the best results and the most accurate color.
MATERIALS NEEDED:
dirt or rocks (a few tablespoons, ground up into a powder)
a binder of your choice (I used gum arabic to create a watercolor binder)
water
For more on binders, check out my blogpost: Making Paint with Eggshells.

MINERAL PIGMENT PROCESS:
If you haven’t done so already, make sure to grind up the rocks, minerals or dirt into a fine dust using the mortar and pestle or a blender.
Siphon the dust through a fine mesh strainer to remove any large pieces that remain. Save these large pieces just in case you need to make more in the future. We only want to keep the finest particles of dust / pigment for the next steps.
Fill a jar with water and add the dust to it. Stir. The finest particles will float in the water. The heavier particles, that you wouldn’t want to use, will sink to the bottom.
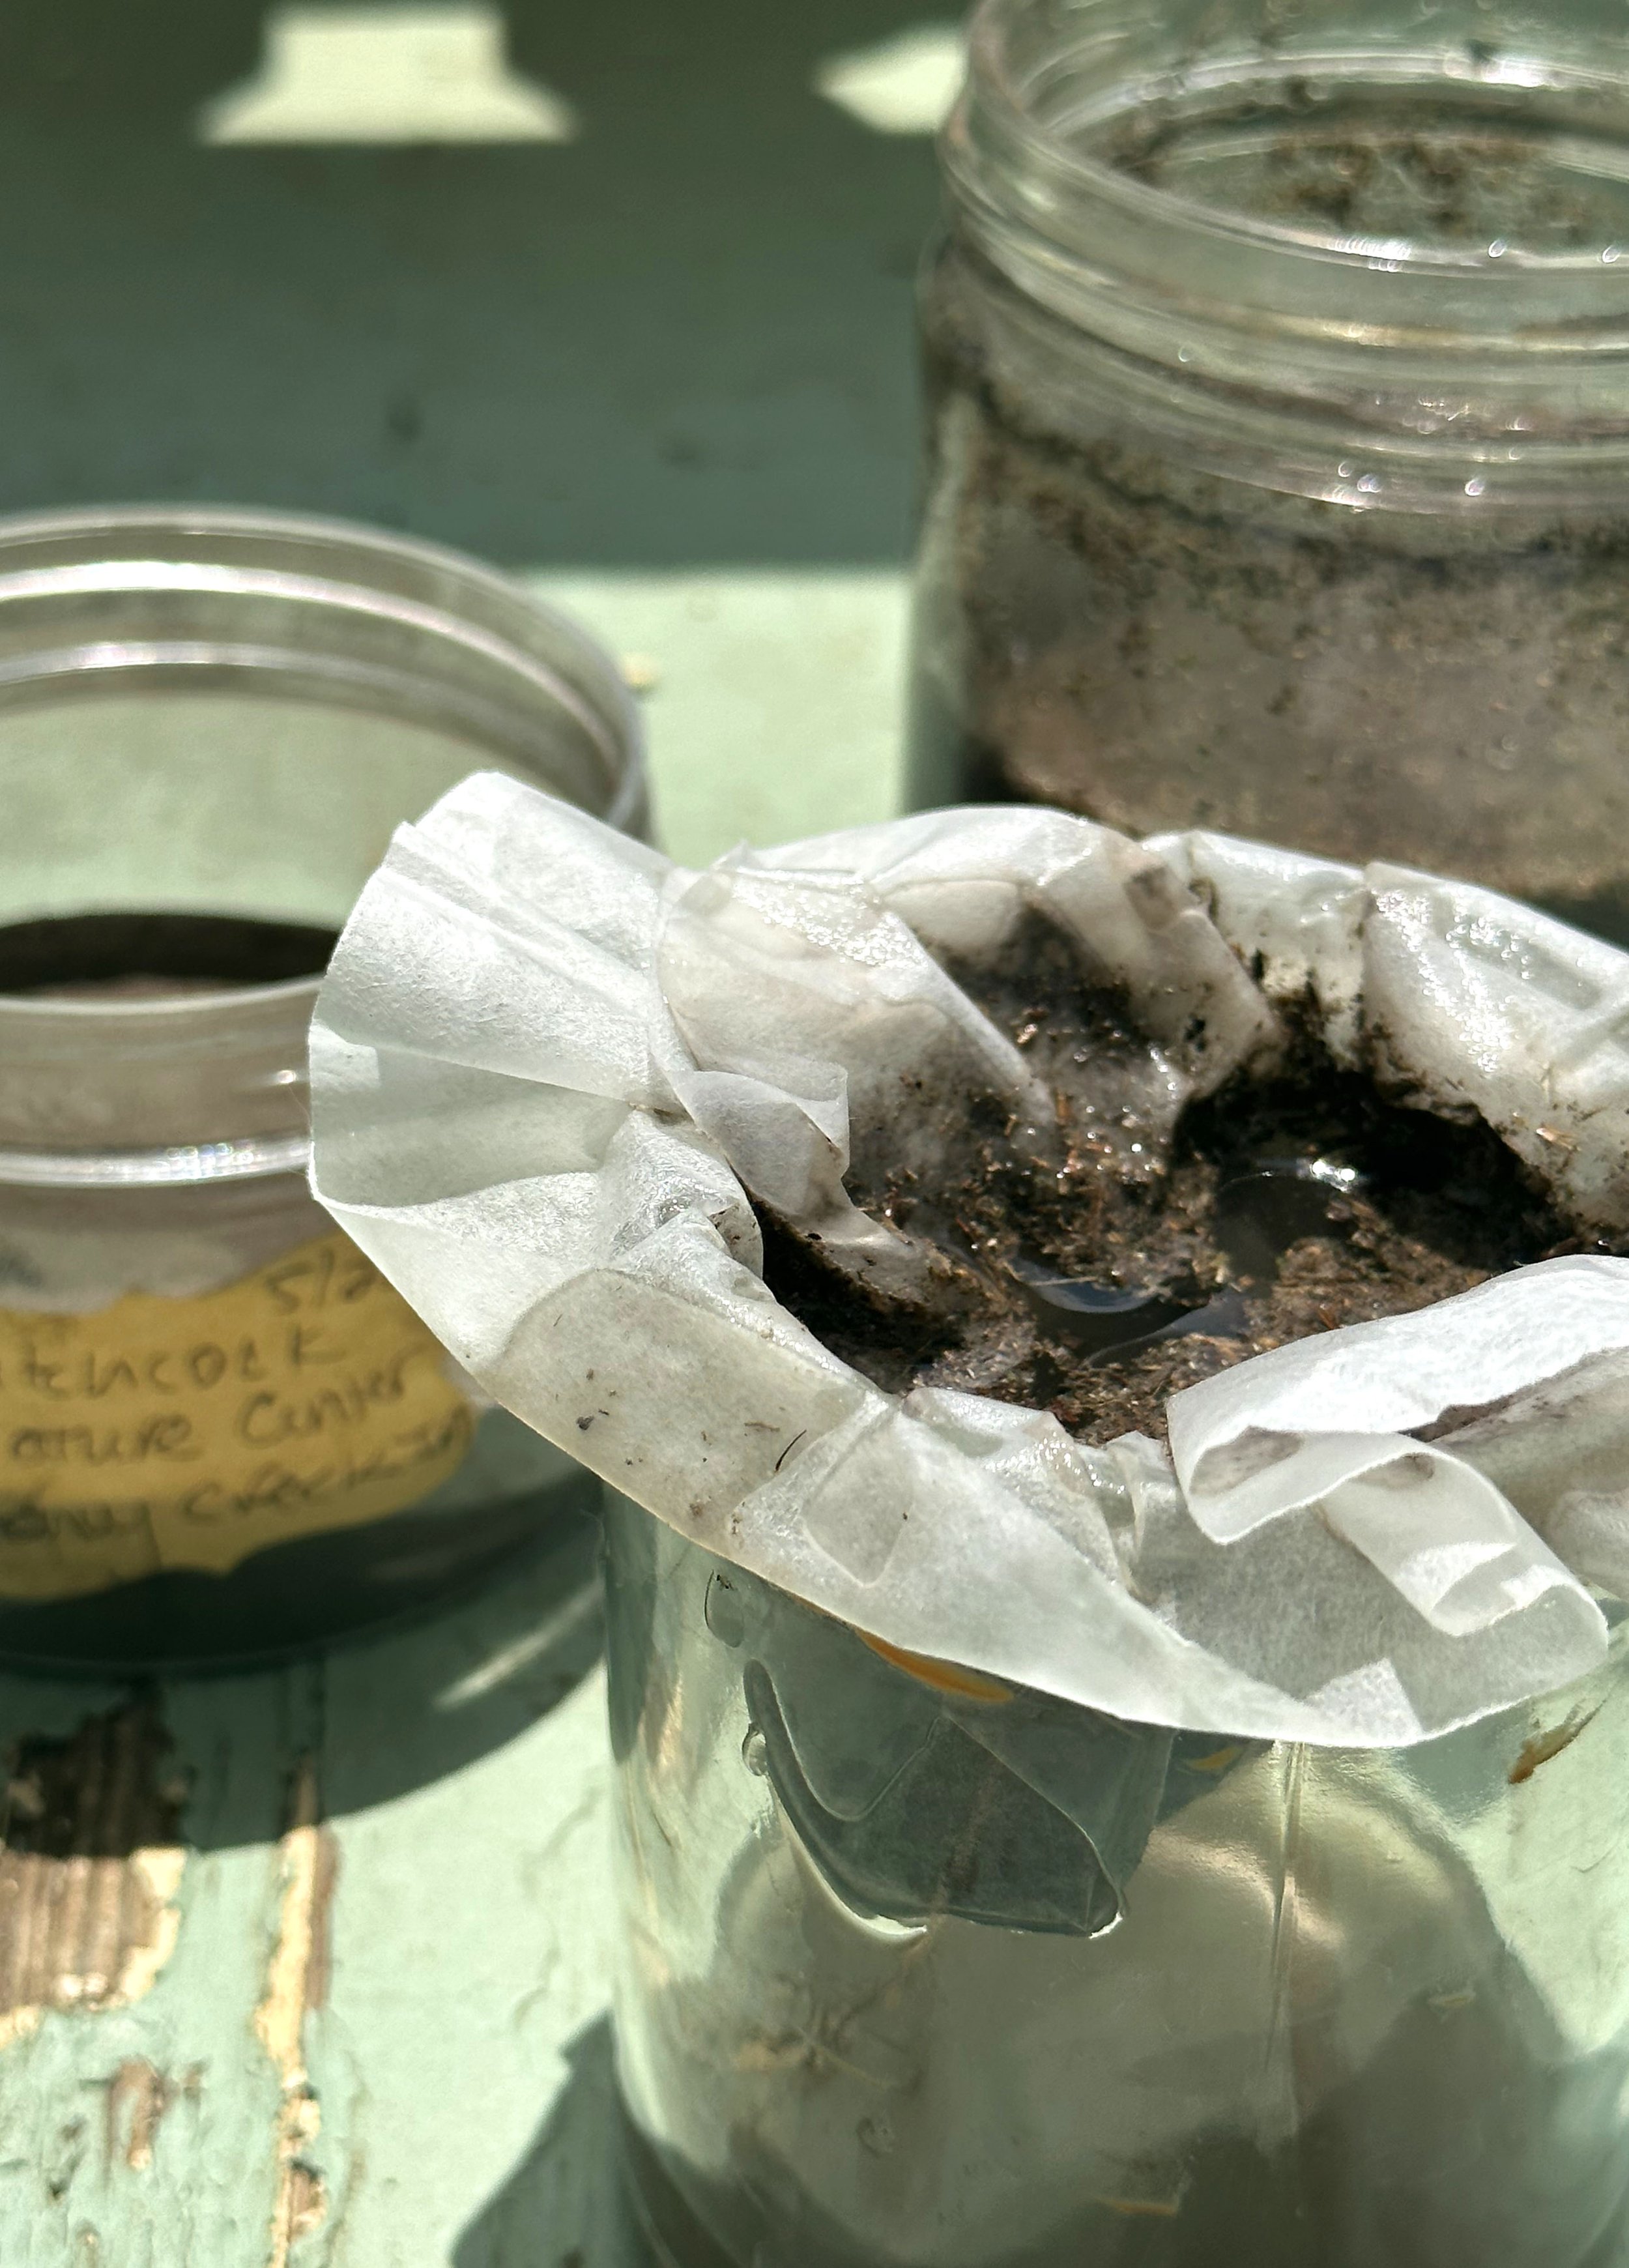
Add a coffee filter to the top of another, empty jar.
Begin slowly pouring the water mixed with your pigment into the coffee filter. The coffee filter will help separate the water (and filter it, which is interesting to see!) from the fine particles of pigment floating in it!
Continue to add the mixture of water and dirt/rock dust to the coffee filter until there is no water left and only a sludge of sediment remains at the bottom.
For the remaining sediment: you can store this for later use. It will need to be dried and ground again to be effective as a pigment.
Carefully remove the coffee filter and lay the contents out to dry in the sun. This will take quite a few hours, or even days to complete.
PRO TIP: Use a hair tie or rubber band to hold the coffee filter in place. This will help keep the coffee filter holding your pigment from slipping into the jar of filtered water!
CREATING BLACK PAINT THROUGH HISTORY:
I am a nerd for color history. This is not to be confused with color theory! I love to learn about how paints were made and used during different periods of time. This isn’t limited to art-making, but can also include fabric dyes as well as house paint.
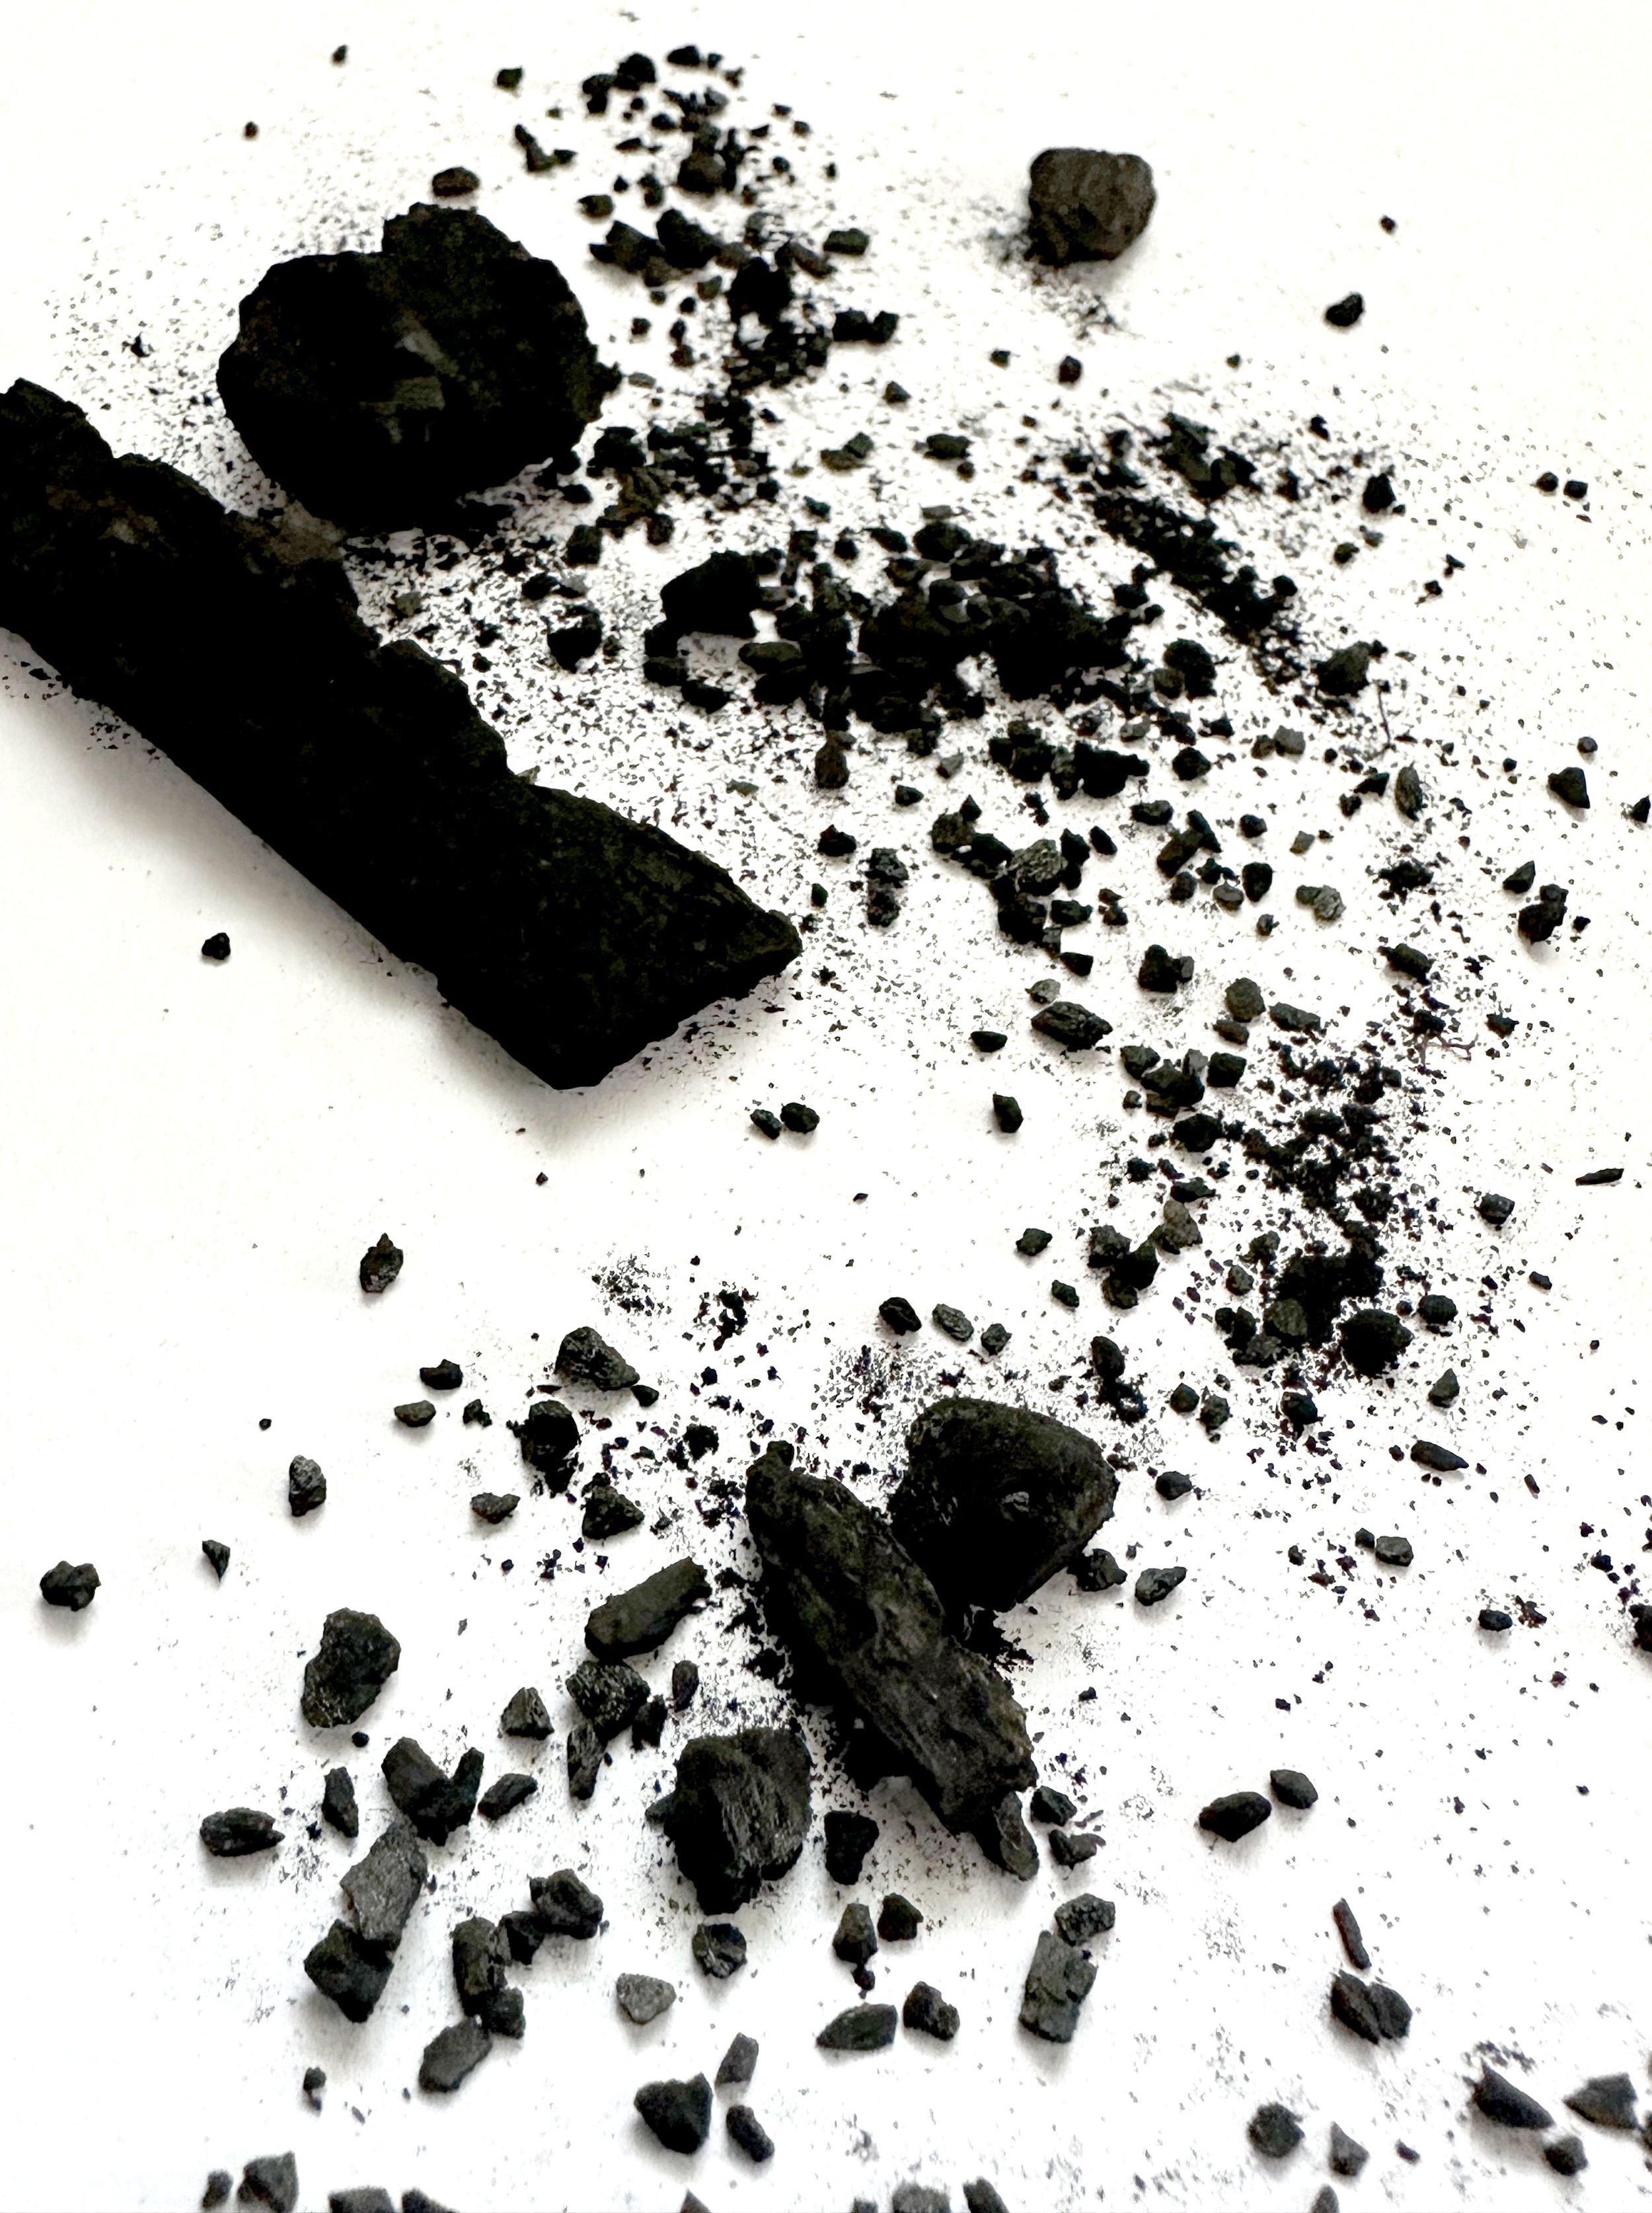
A historically popular ways to render the color black was through the charred remains of…. things: vines, stonefruit pits and the soot from lamps to name a few. Basically anything charred to a black color can be used to create a rich black pigment.
Vine black is typically made from the carbonized residue of grapevines (aka: burning them). This is also how drawing charcoal is created.
Lampblack was, and still is, another way to create black pigment. But, in this case it is the collection of soot generated by lamps. Usually this would be comprisde of oil, wood or coal.
If you have a fire pit, you can collect a plethora of charred wood from it to create a black pigment!
NOTE: charcoal gets everywhere. Glitter gets a bad rap for this sort of thing: once you use it, it’s everywhere. But, charcoal is very much the same! I recommend wearing clothing that you don’t mind getting charcoal on and also working in an area that you don’t mind being permanently dirty from turning your charred materials into a powdered form.
MINERAL PIGMENT PROCESS:
If you haven’t done so already, make sure to grind up the charcoal pieces into a fine dust. This can be done using a mortar and pestle or by using a blender.
Siphon the dust through a fine mesh strainer to remove any large pieces that remain. Save these large pieces just in case you need to make more in the future. We only want to keep the finest particles of dust / pigment for the next steps.
PRO TIP: The charcoal dust doesn’t need to be put through the water filtration process. The water filtration process will not work since it is so light weight, even the larger chunks will float, leaving no sediment at the bottom.
TURNING OUR PIGMENT INTO PAINT:
Once our pigment (again, you can skip the water filtration step with the charcoal) is dried, we can either add a binder to it and turn it into useable paint or we can save it as a refined, dry pigment for later use. I did both of these!
If you’re interested in creating a paint using your pigment, you will need:
1 part pigment
2 parts binder (I used gum arabic to create a watercolor paint)
I prefer to blend the pigment with a palette knife, slowly mixing the two together until the correct consistency is met. Larger pieces of pigment can be broken down with the muller, too.
Your finished pigments can be stored in a recycled makeup compac, watercolor trays, or other small jars.

I added three more colors to my watercolor tray. I plan to fill it with each pigment from this inspiring trip.
If you missed Part 1: Texas and Oklahoma, click here.
Stay tuned for Part 3: South Dakota.