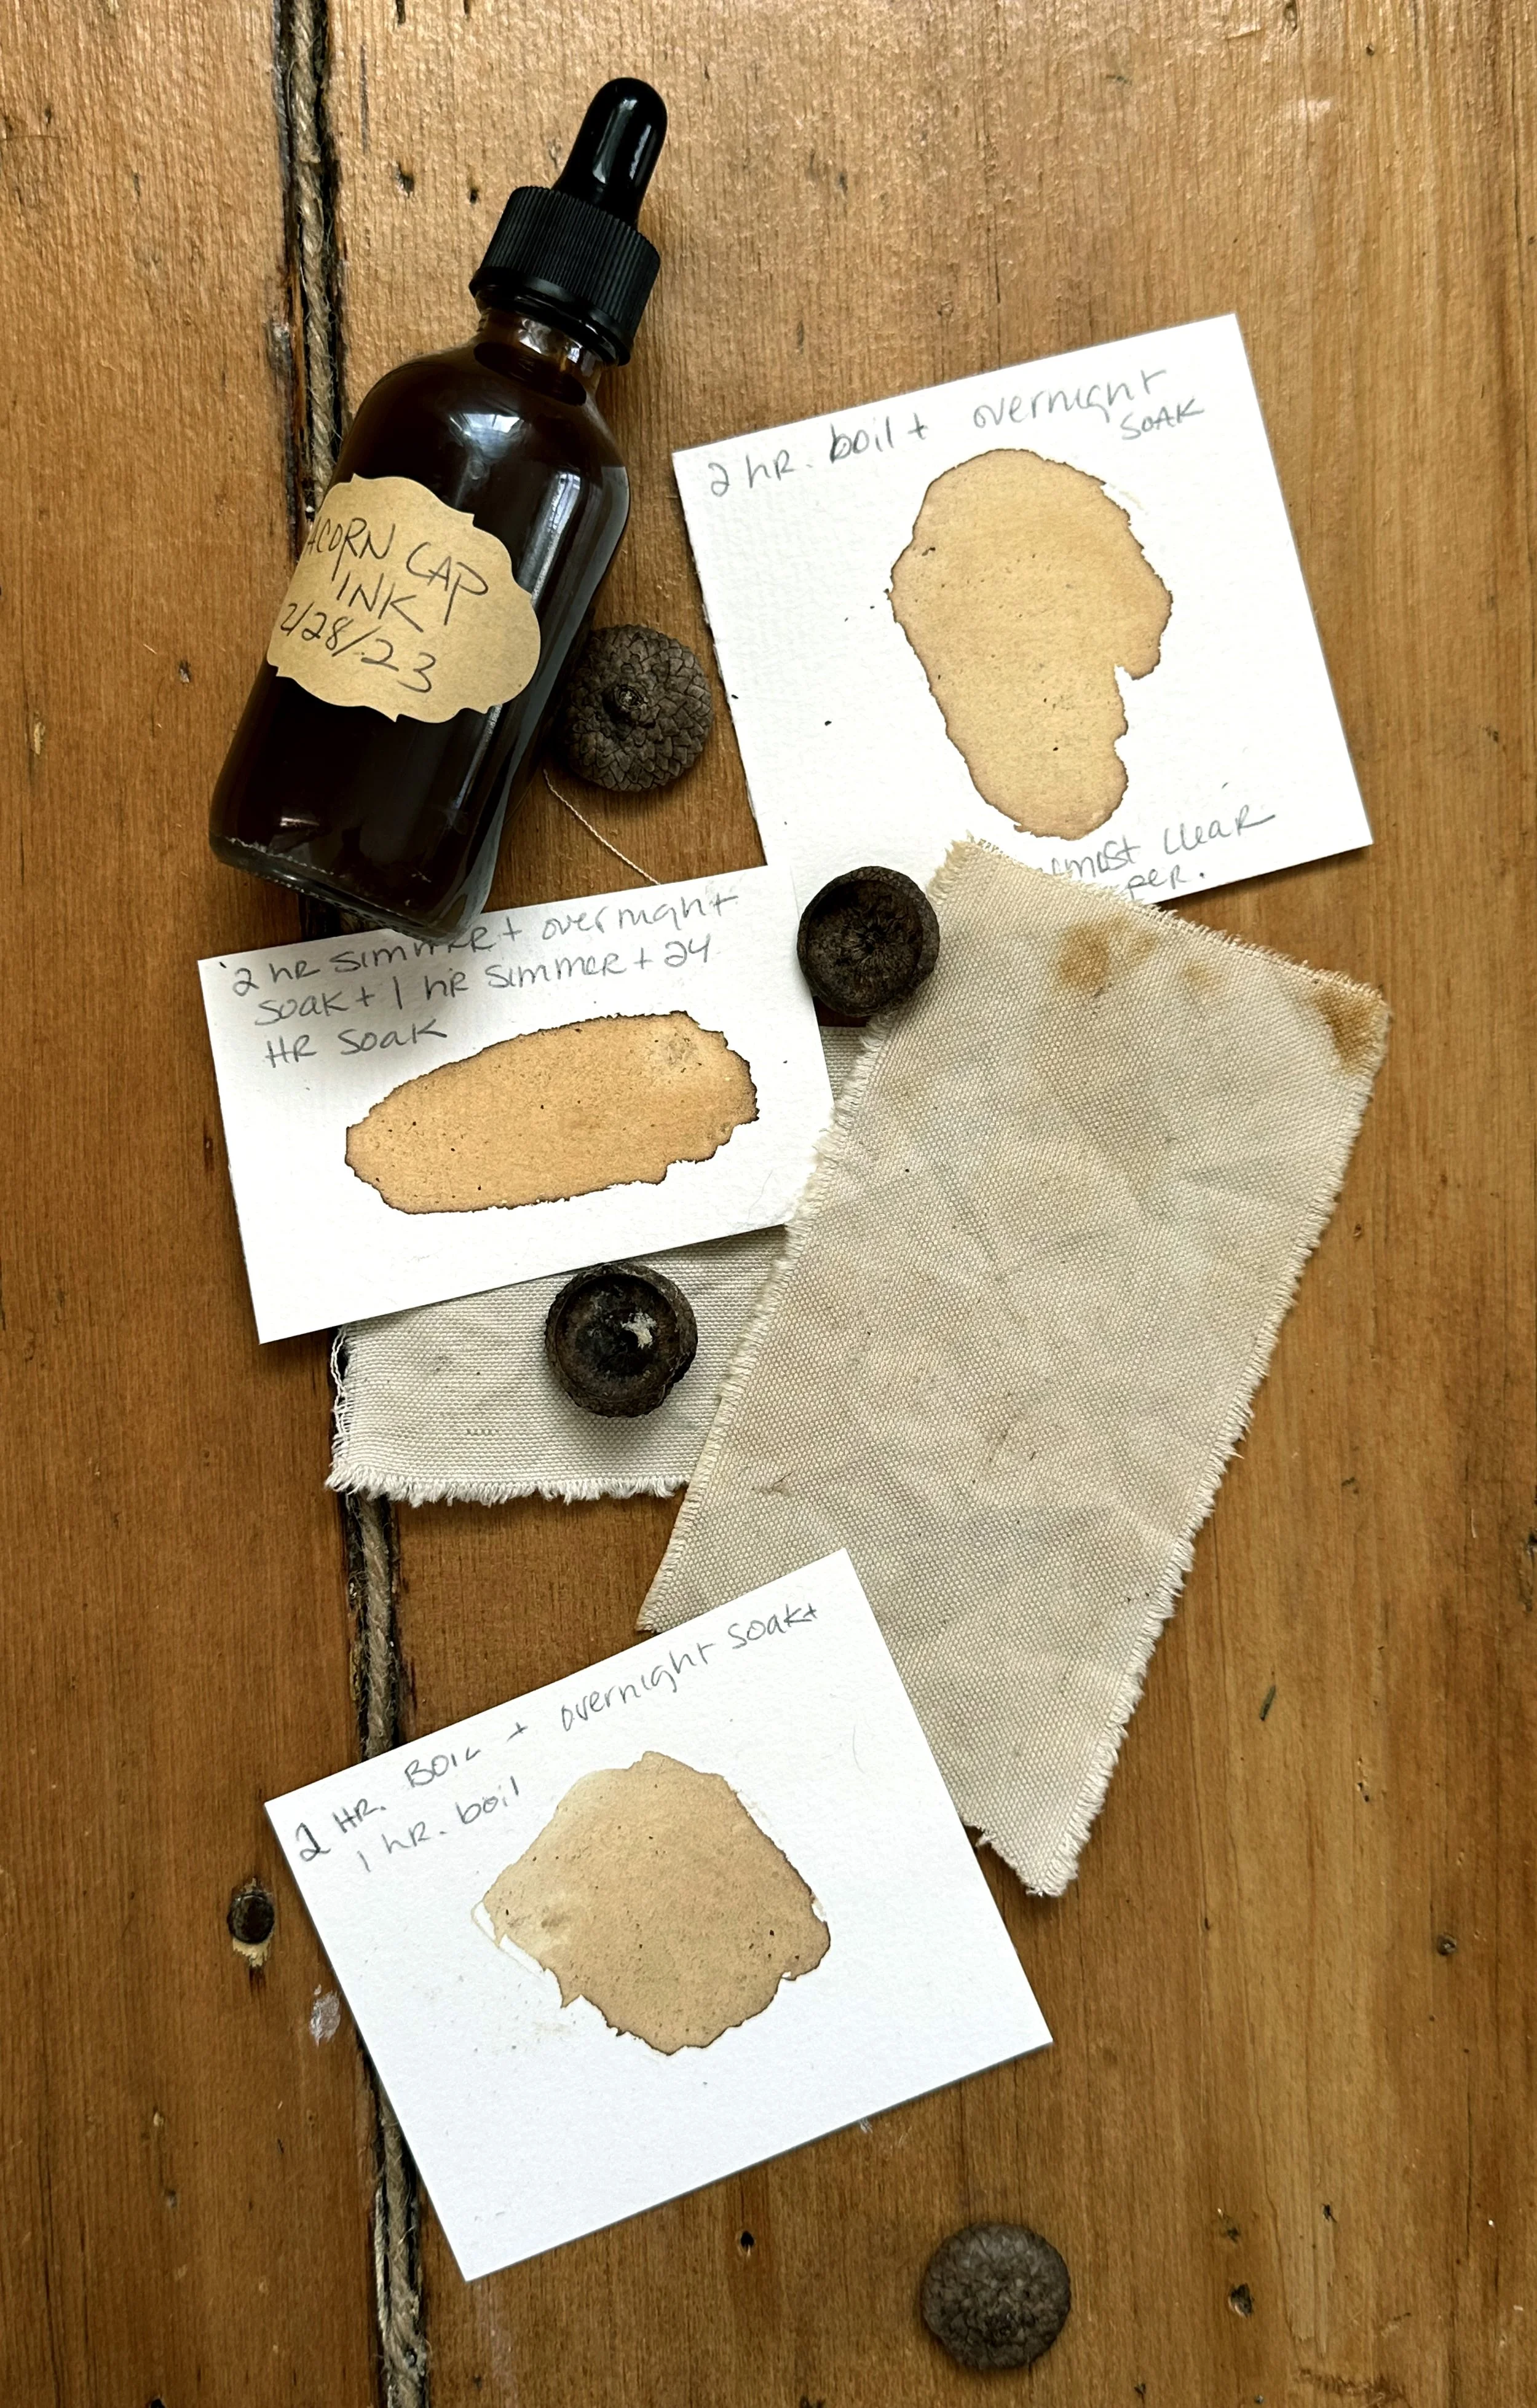
Acorn Cap Ink
“If you rest, you rust.” Helen Hayes
Rust is a key component to giving this acorn cap ink its distinctive brownish-gray color!
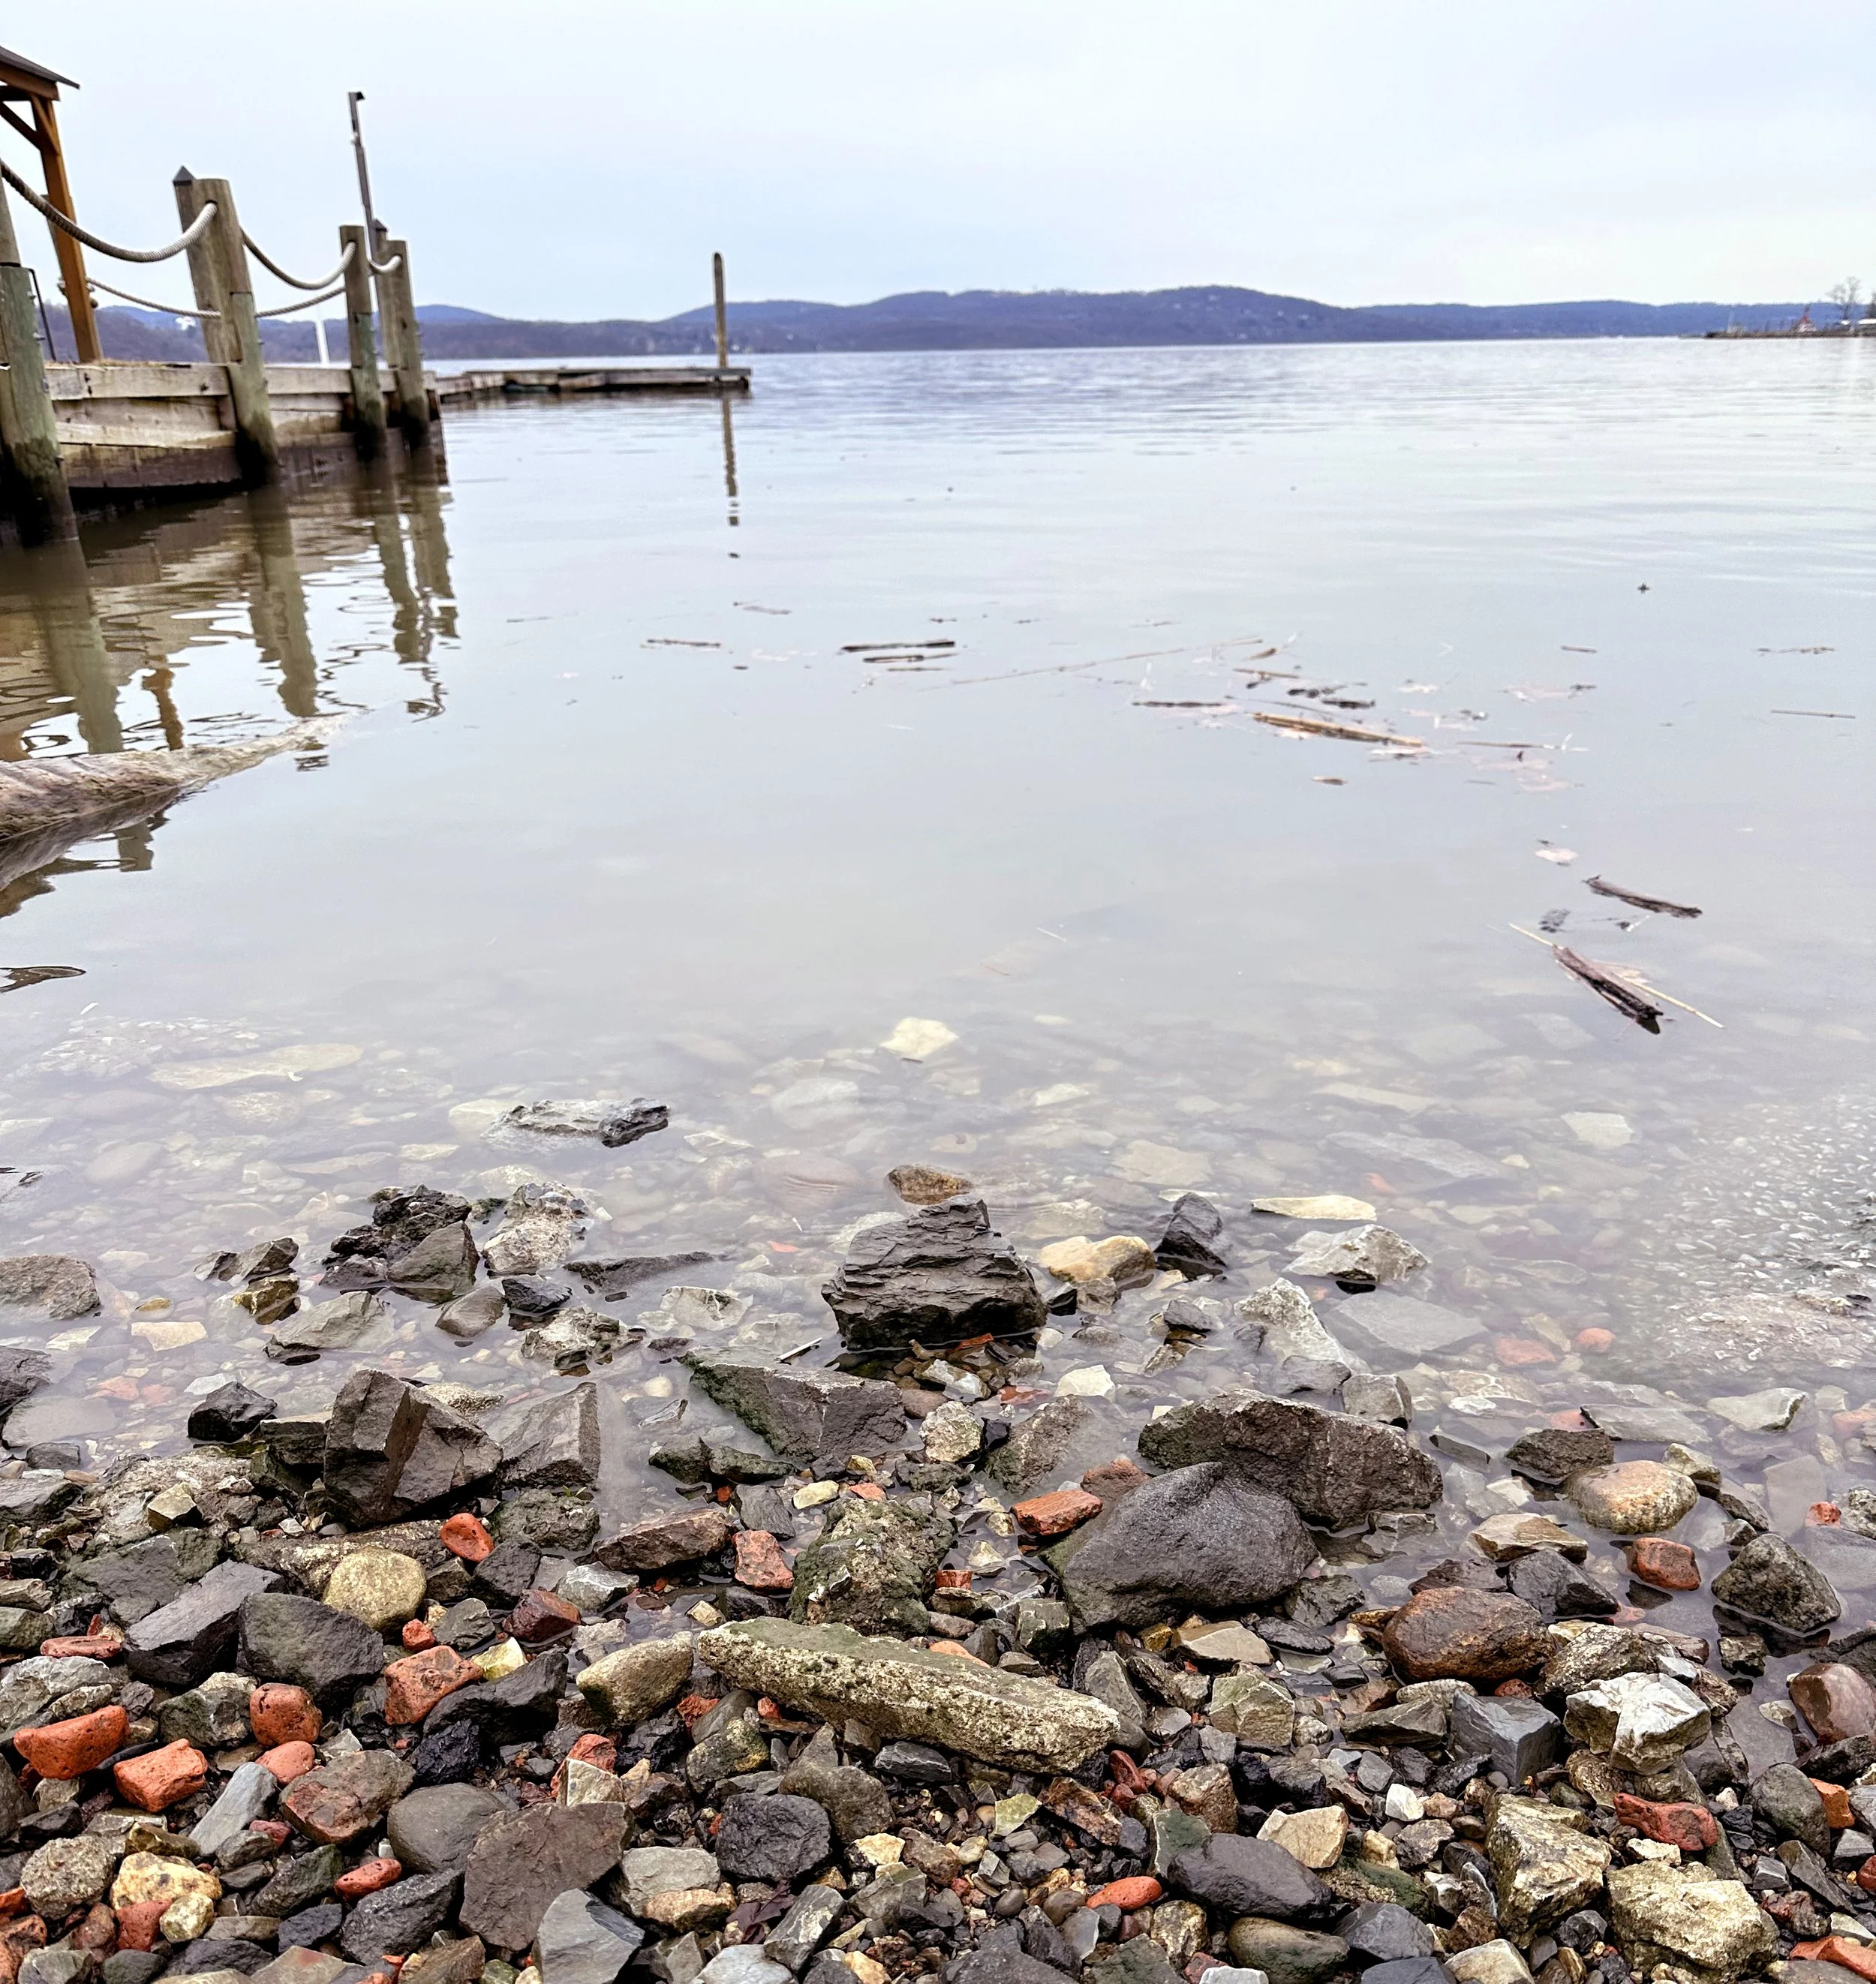
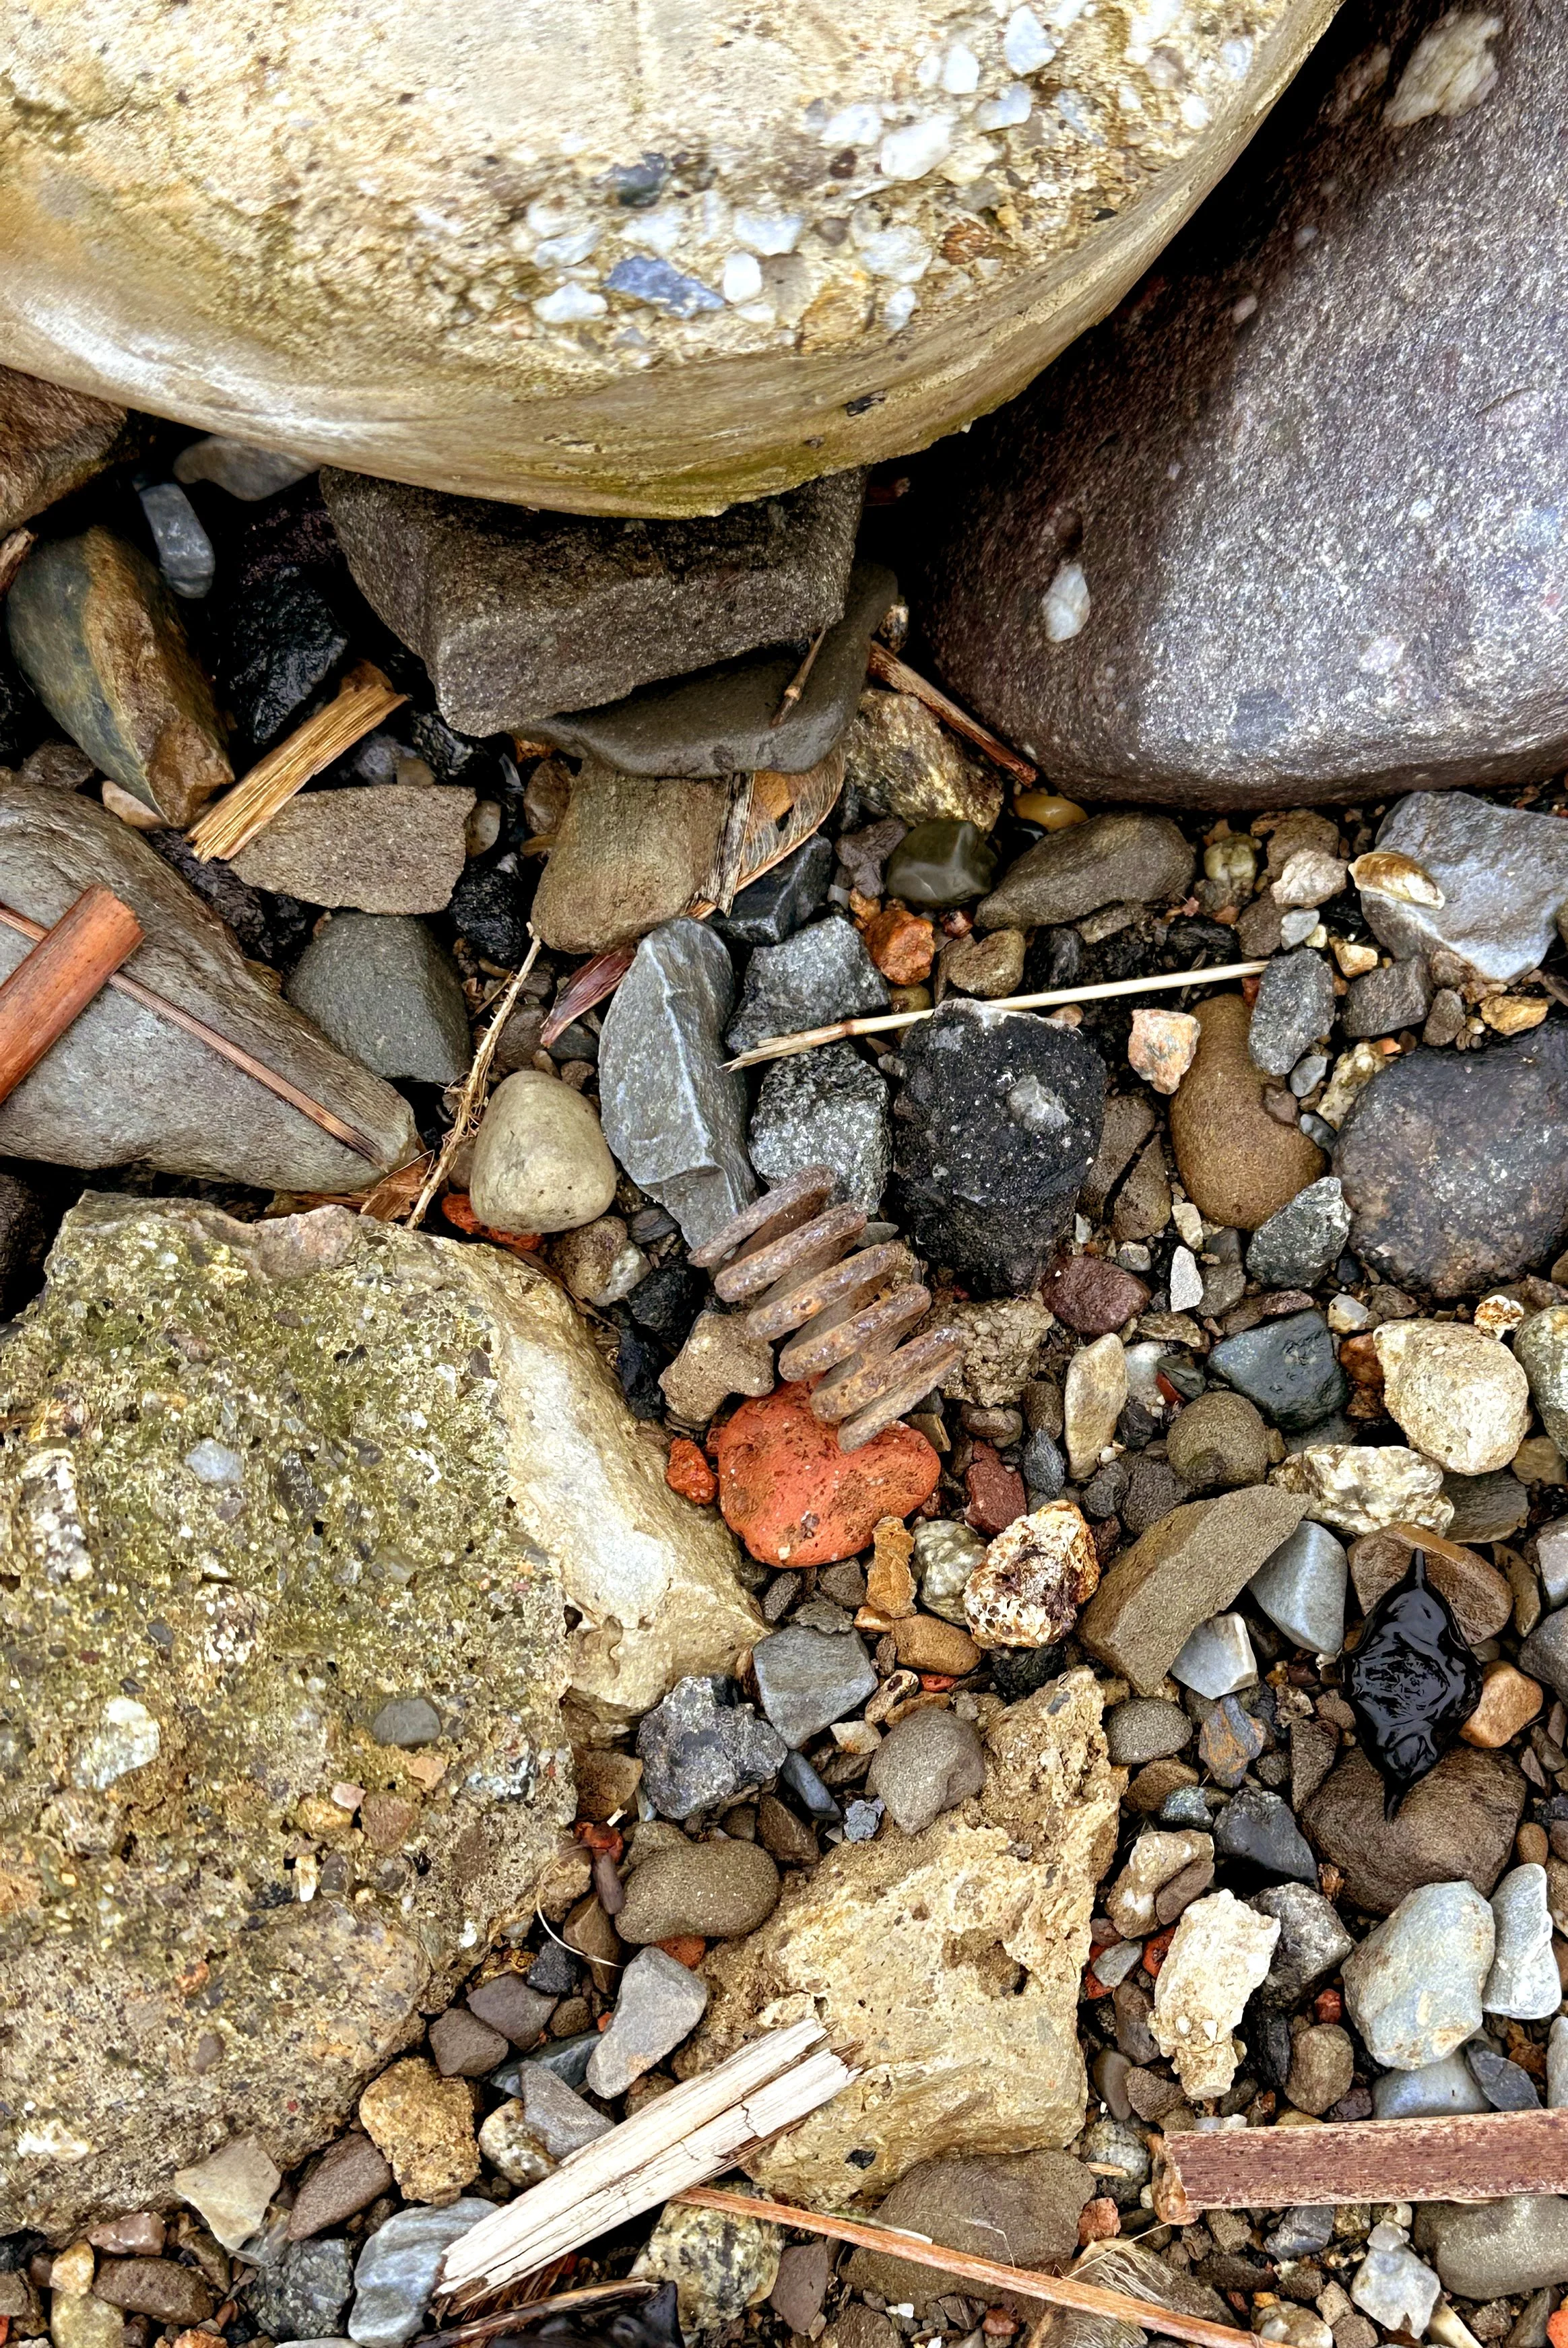
It was very important to me to forage as many ingredients as possible. Instead of buying iron to add, I wanted to find rusted objects that can be used instead! This lead to two walks. One was a neighborhood walk down to the Hudson River which is a few blocks away from our house.
USING IRON AS A MORDANT / COLOR MODIFIER:
There are a few ways that iron can be used as a mordant or color modifier. The most common is to add some ferrous sulfate (aka crushed up iron supplements or powdered iron specifically sourced for dyeing) to the mixture to ‘sadden’ the color. This brings out browner, grayer, greener and/or darker tones in the dye or ink.
If you don’t have ferrous sulfate on hand you can always use a handful of rusty items found on a walk or lurking in your garage.
MAKING RUST VINEGAR:
While researching the best options for creating this dye, I stumbled upon an interesting preparation technique! Rust vinegar can be made in advance and used to either:
dye or color something on its own
make a more powerful mordant / color modifier for any color requiring it.
Creating some rust vinegar is pretty simple. Place a handful of rusty objects into a mason jar with 1 part vinegar and two parts water in a mason jar. Keep in mind that anything used to create dye or ink should never be used for food consumption again. This mason jar is for rust only!
Let the mason jar sit for several weeks, until you’re ready to use it.
As an added bonus: vinegar is a great way to remove rust from tools and other metal objects. Soak the object in the vinegar for 12-24 hours then scrub the rust off! Many of the rusty objects found, like the one in the picture below, were in near pristine condition when I strained them out of the ink!
Our second walk was a winter hike at a popular looping trail nearby at Harriman State Park called the Jackie Jones loop. It’s one of my favorites because the hike takes you right to the ruins of the Orak Mansion which… is Karo spelled backward. Yes, as in the Karo Corn Syrup brand!
I love hiking in winter. You’d think there would be less to see because everything is dead. But, the opposite is true! Especially when it comes to foraging. It’s possible to see so many details that will be covered by greenery in just a few short weeks!
I was able to fill a bag with acorns, oak bark and even oak galls! But more on that in another post.
PREP:
Make sure to wash any foraged materials to remove the dirt.
For the acorn caps: soak them overnight. This will bring out the tannins and make your color more saturated.
Make your rust vinegar solution 3+ weeks in advance. This is quite a waiting game, so it’s a good idea to start one and have it on hand when the times comes. I did not do this step. I was excited to try this out and too impatient to create a true rust vinegar solution. which is why my acorn cap ink is much less gray than I would have preferred. While I love the color, I was hoping for something much more silvery gray-brown than what I ended up with.
I have already started a jar of rust vinegar in my attic for the next batch!

SUPPLIES NEEDED:
You will need to have an extra set of utensils that you will no longer use for cooking food or food consumption when making dye. This recipe for avocado dye uses nontoxic household ingredients but it’s still best practice to have two sets of supplies: for cooking and for ‘other’.
I recommend collecting the following:
12 qt pot with lid
measuring cups
measuring spoons
funnels
mesh strainer
various glass jars to store dye liquid
pH strips.
stainless steel tongs
large spoon
paper and fabric strips for testing
It’s best to use supplies made out of environmentally neutral materials like stainless steel and glass for the best results.
For pH strips, I recommend these.
MATERIALS NEEDED:
2-3 cups of acorn caps, soaked overnight (DO NOT DISCARD WATER)
1 quart of water to start (add more as needed)
1/2 cup of vinegar
handful of rusty objects
wintergreen oil, clove oil or whole cloves
gum arabic (if this will be used as an ink or watercolor)

PROCESS:
Strain the water used to soak the acorn caps into the pot along with 1 quart of water.
crush the acorn caps using a mortar and pestal.
add the crushed acorn caps, 1/2 cup of vinegar and rusty objects to the pot. Or, if you’ve created a rust vinegar solution, add it instead.
simmer for 1-2 hours. Stir occasionally. Add more water if the solution boils down too far.
once the desired color is reached, take off heat.
the mixture will strengthen over time. Leaving the mixture for 1-3 days will help make a much richer color.
Strain the acorn caps and rusty objects from the dye/ink.
add gum arabic if this will be used as an ink or watercolor. I recommend 2-3 drops per bottle, but it’s up to you!
the dye/watercolor/ink is ready for use! Use it now, or store it for later!
REMINDER: if you choose to store it for later, make sure to sterilize your containers and add 1 drop of wintergreen oil or clove oil per oz. Or, you can add 1-2 whole cloves per oz to reduce mold growth.

SAFETY MEASURES:
It’s best to simmer most dyes / inks outside. I especially recommend doing this for this acorn cap ink recipe! The earthy nature of partially decomposed acorns, the acidic sharpness of vinegar and the metallic smell of the rusted iron pieces makes a pretty atrocious smell.
I simmered the concoction on an unseasonably warm Sunday in February with some help from a glass of rosé and my chicken assistants.
In fact, I disliked the smell of this ink so much that I added a few extra drop of Wintergreen Oil to help mask it.

I am looking forward to painting with this color for my next film: Sundays!
For more information on gum arabic, color modifiers, and preserving a naturally sourced dye/ink check out this post.