Making Paint with Eggshells
If I didn’t start painting, I would have raised chickens.” — Grandma Moses
My thoughts: why not do both?!
I have always wanted chickens. My husband and I bought our home and migrated from NYC to the Hudson Valley region in 2020. AKA: “Upstate”.
I knew, that, come Spring 2021… there would be chickens! And, let me tell you, chicken math is REAL. I started with five: Cluck Norris (RIP), Meggatron, Catherhen the Great, Princess Lay-a and TCHICKovsky.
I thought that five would be enough - but it wasn’t! I wanted MORE! So, we ended up with these cuties:

We named them: Yolko Ono (the one looking directly at our cat, Shiny Brite), Eggatha Christie, Carol Shell-by (RIP), Diana rEGG, ChewBAWKA, and Eleanor Roost-evelt.
And, for a short time, we had a rooster named Alice Cooper. He now lives on Jovian Farm in Connecticut. We are allowed to have roosters, but he would NOT shut up, and we were worried about angering our neighbors - we only have .3 of an acre, and wanted to be mindful of everyone around us.
But, we did end up hatching some of his children, and now we have four more hens: Sueshen Surandhen (AKA Sue), Hennifer Coolidge, Alice Cooper the 2nd and Chickaletta (our nephew got to name this one - after the chicken in Paw Patrol!).
Now we have a total of 13 lucky chickens that lay a full rainbow of egg colors:
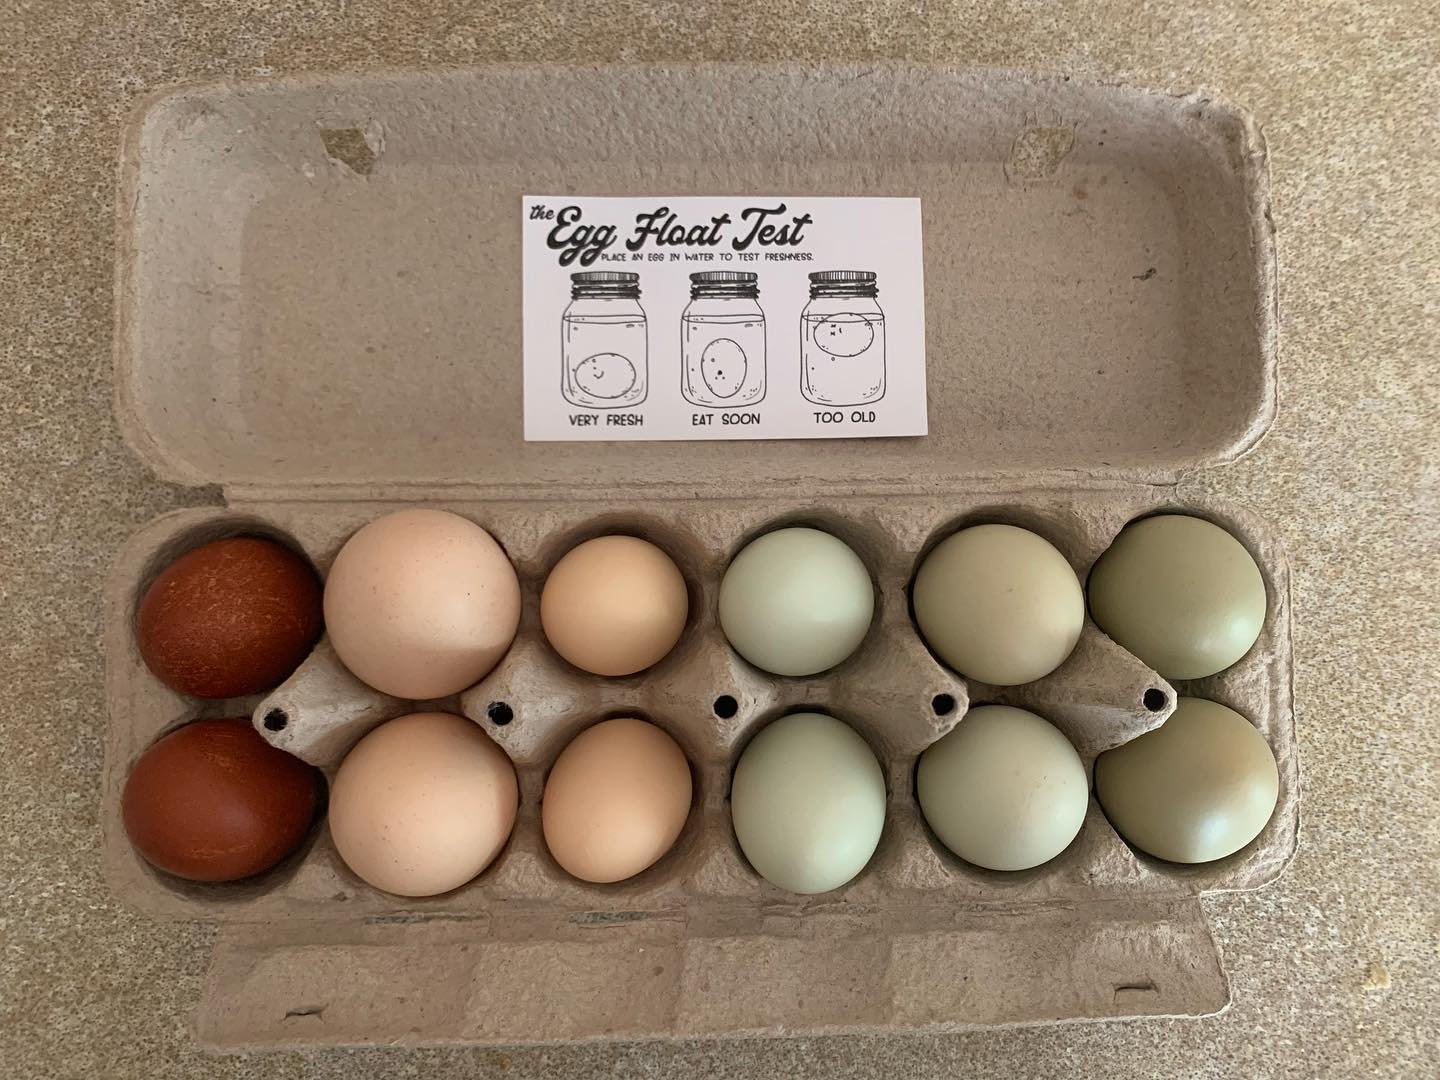
There are only two of us, which means we have a LOT of eggs to eat or give away. Everyone always thanks us for the eggs, but in reality they are doing us and our cholesterol levels a favor!
I have read a lot of interesting things about reusing eggshells by composting them, grinding them up and adding them to the garden and more! We are really throwing ourselves in the homesteading head first, and want to make sure to use everything we generate sustainably.
Chicken keeping is the first hobby I’ve had that is not art or animation related. During the SVA Alumni Panel last fall, I made the quip that: “Eventually I will figure out how to use my chickens for animation, but for now it’s a separate venture.”
Well, I have figured it out!
Now that I’m creating inks, watercolors, pigments and more for my film: Sundays, I thought: why not use the shells to create pigments? With this in mind, I began searching for some ways to use the beautiful eggshells from our hens.
I found a great recipe for chalk, but I really wanted something that I could work with and mix with other wet pigments. Chalk, while fun, wouldn’t really cover it. And, it wouldn’t have the permanence I need.
Watercolors or inks wouldn’t really give me what I needed either - eggshells are grainy, and it would lead to an interesting but not very consistent or opaque result. Especially when I will be using light/white colors to create catchlights in my character’s eyes and other vibrant highlights.
This lead me to making my first acrylic pigments!
COLLECTING AND PREPPING INGREDIENTS:
To start, you need a lot of eggs! The more colorful the better.
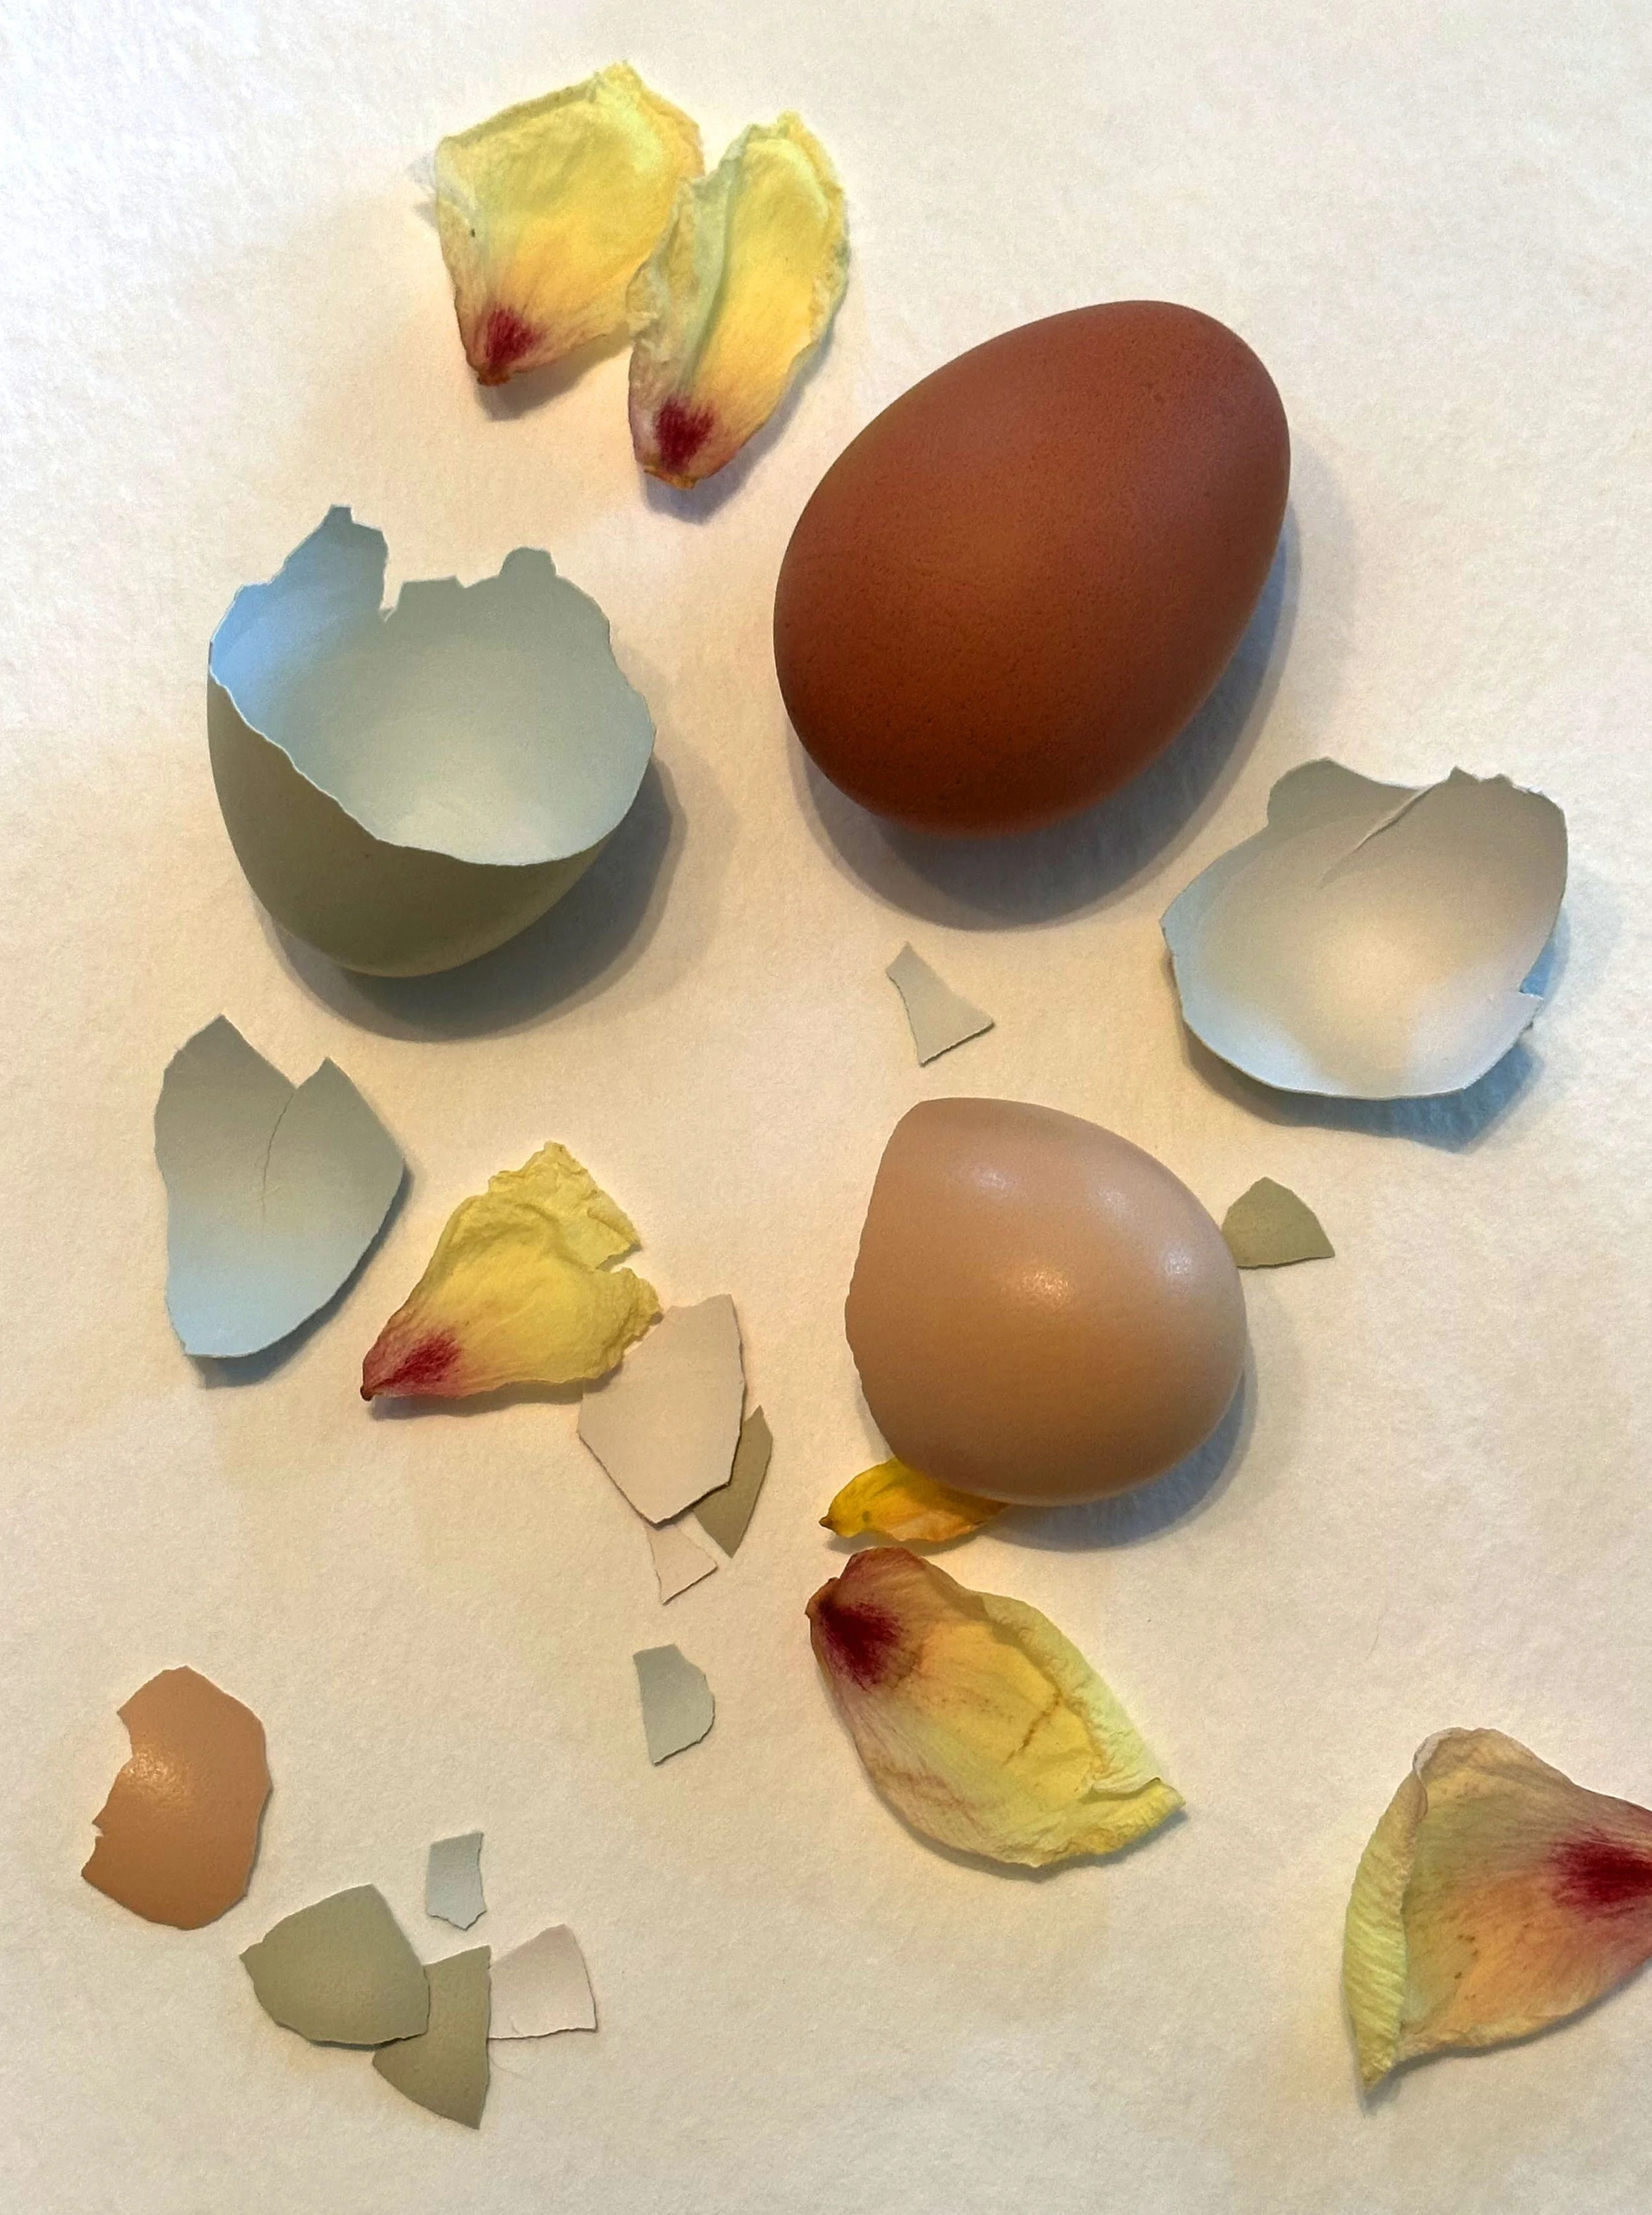
The eggshell is comprised of the shell, then an outer membrane and an inner membrane.
To prep the eggshells for saving, it’s best to remove the membrane after cracking the egg. Don’t save it for a few hours later. If you do, that membrane will dry out and glue itself to the shell, rendering it impossible to remove. You can add the membrane to your compost, too!
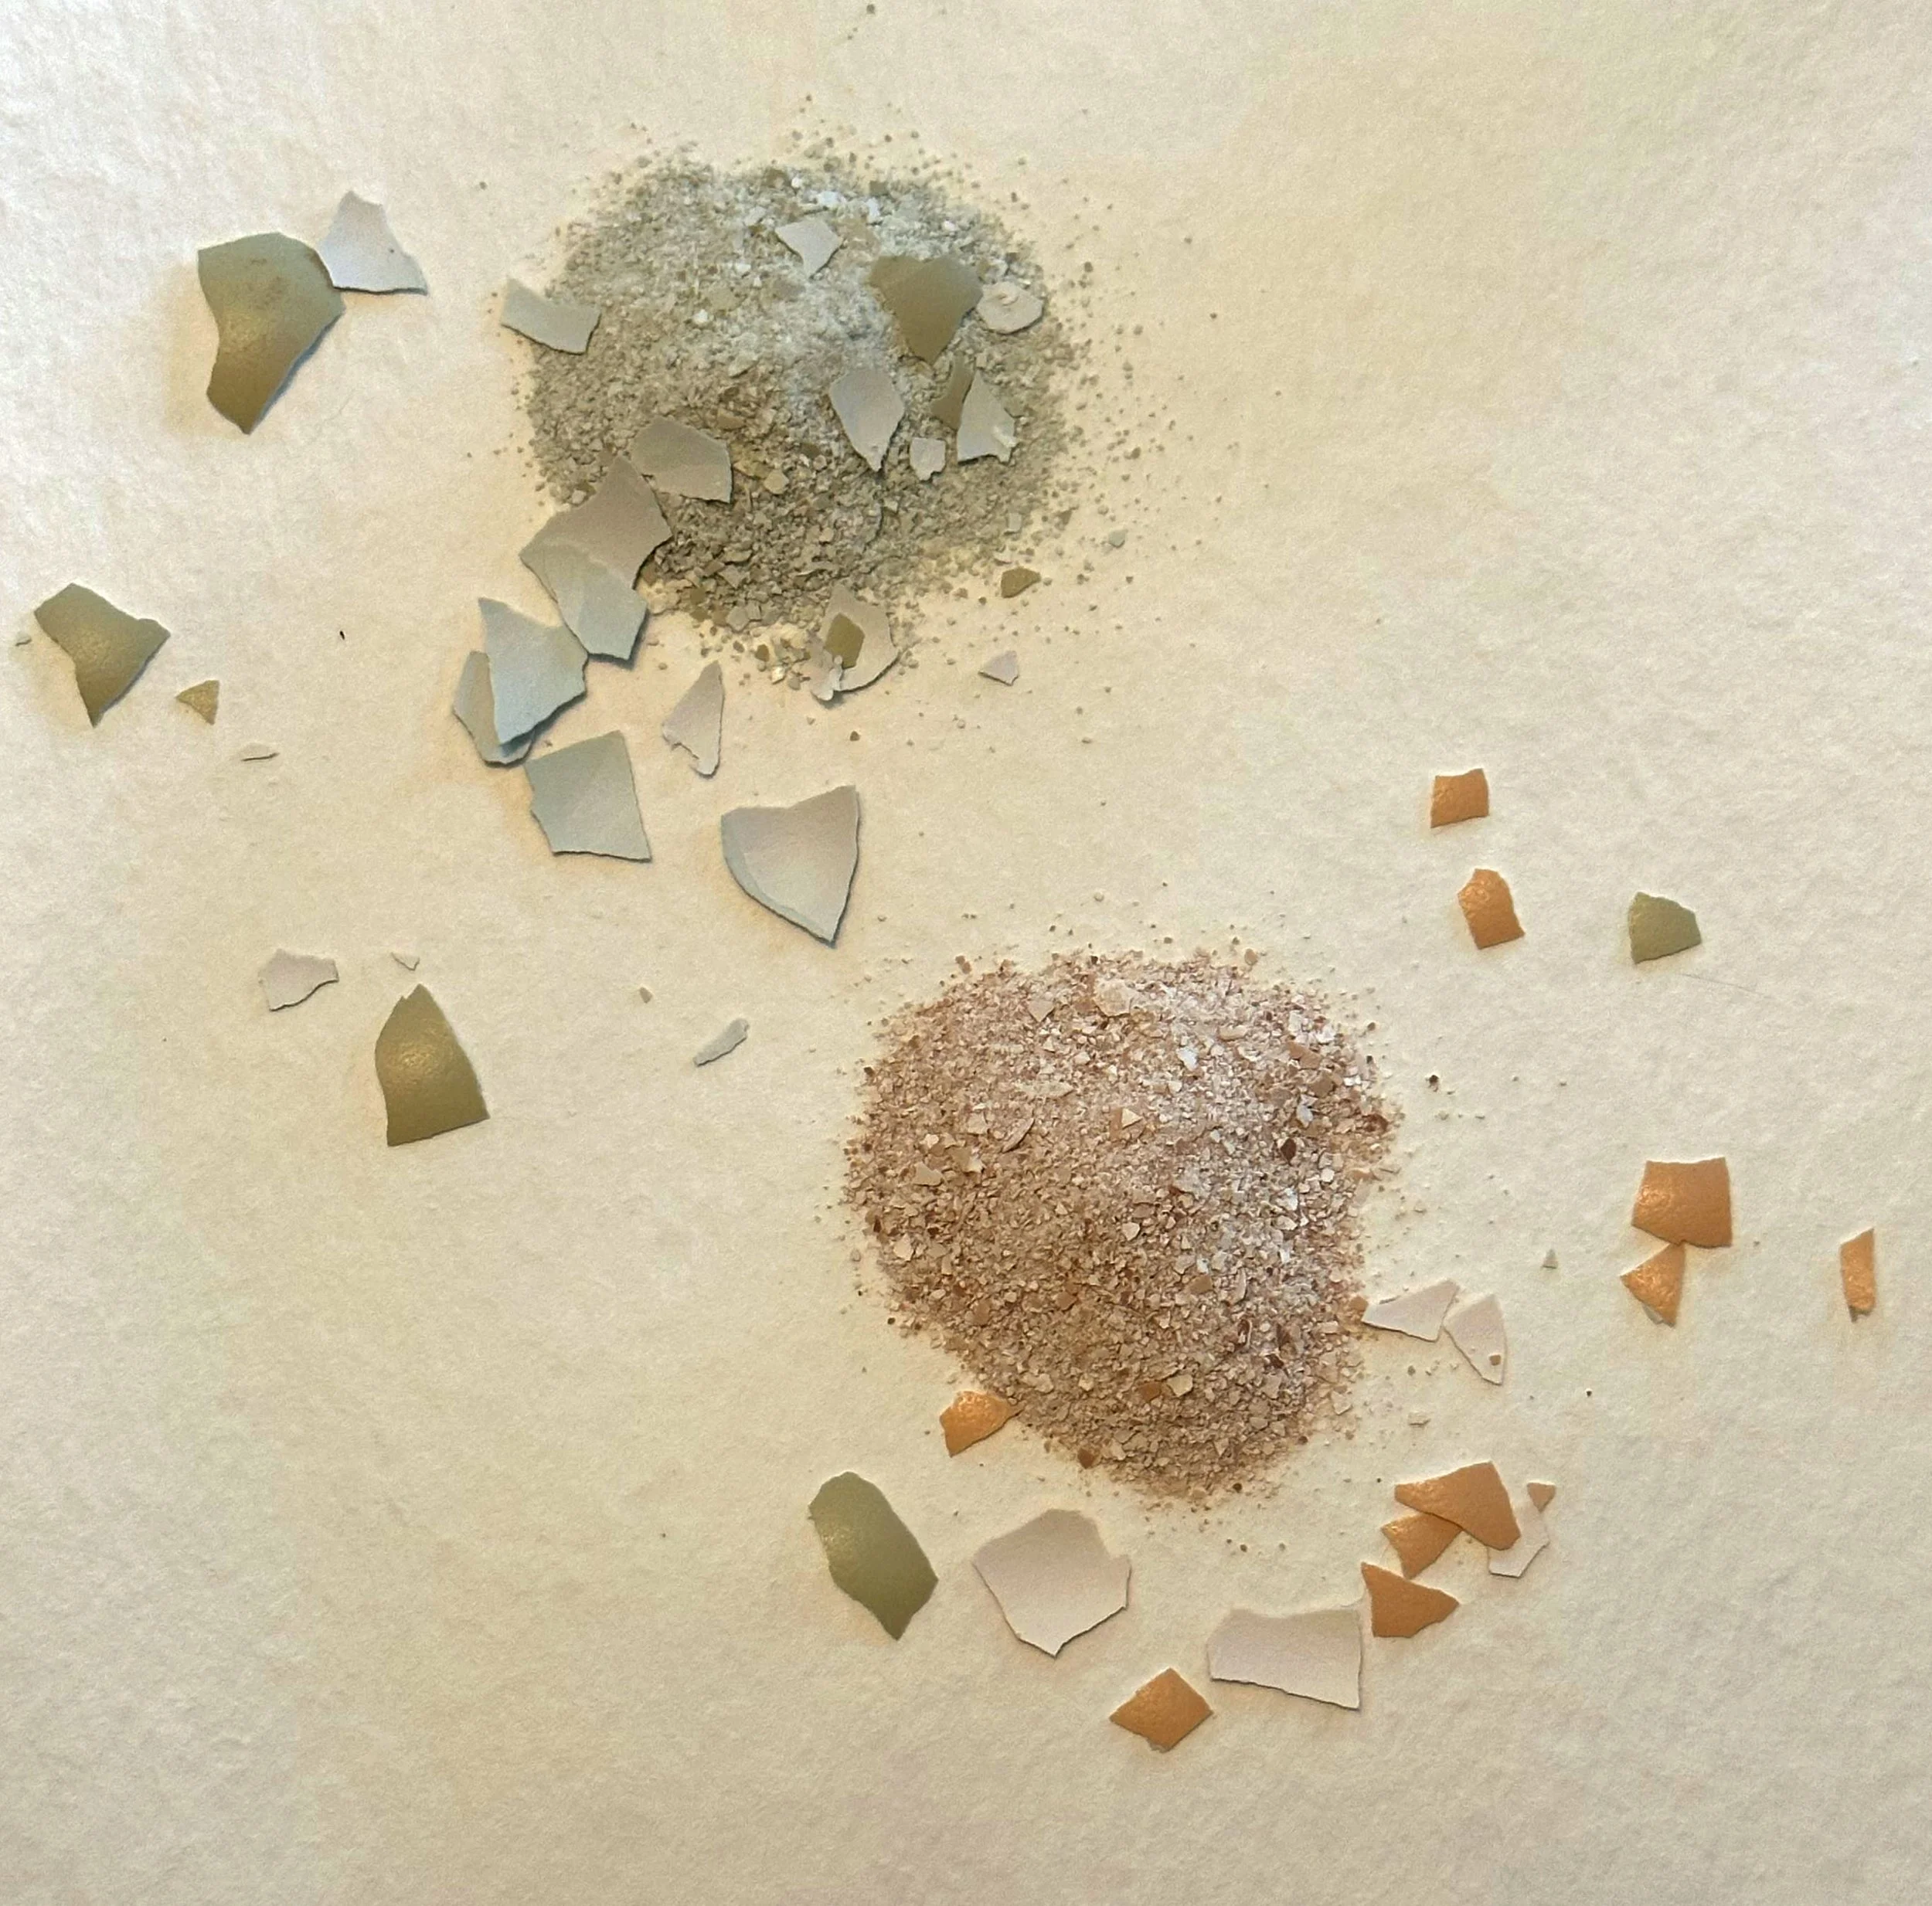
Since my hens lay a variety of colors, I separated the shells into blue/green and tan/brown. I used our old Magic Bullet Blender to crush the shells into a powder. If you don’t have a spare blender, you can also use a mortar and pestle to grind them up.
Once crushed, I strained them into a bowl using a mesh strainer. This caught the larger bits that would be too big to make a pigment with. Those larger pieces were tossed into my summer garden to help add calcium to the soil.
SUPPLIES NEEDED:
You will need to have an extra set of utensils that you will not longer use for cooking food or food consumption when making dyes and pigments.
I recommend collecting the following:
a mortar and pestle
a Magic Bullet Blender or similar
funnels
measuring spoons
glass bowls
mesh strainer
various small jars to hold the final mixture (plastic or glass)
palette knife
glass cutting board (the Dollar Store has a great selection of these!)
glass muller
It’s best to use supplies made out of environmentally neutral materials like stainless steel and glass for the best results and the most accurate color.
MATERIALS NEEDED:
eggshells (a few tablespoons, ground up)
acrylic binder (I used pebeo’s acrylic binder, see below)

WHAT IS A BINDER?
Paints are made up of two key ingredients: the pigment (color) and the binder. The binder determines the properties and mark making ability of the pigment. They can be solids that need water or oil to dissolve them like a puck of watercolor pigment or liquid like oil or acrylic paint.
Some examples of binders include gum arabic, acrylic resin dispersion, linseed oil, alcohol (for alcohol inks), shellac, wax and more.
For my eggshell pigment, I chose to use an acrylic binder. As I mentioned above, I want this to be something that is fairly opaque.
PROCESS:
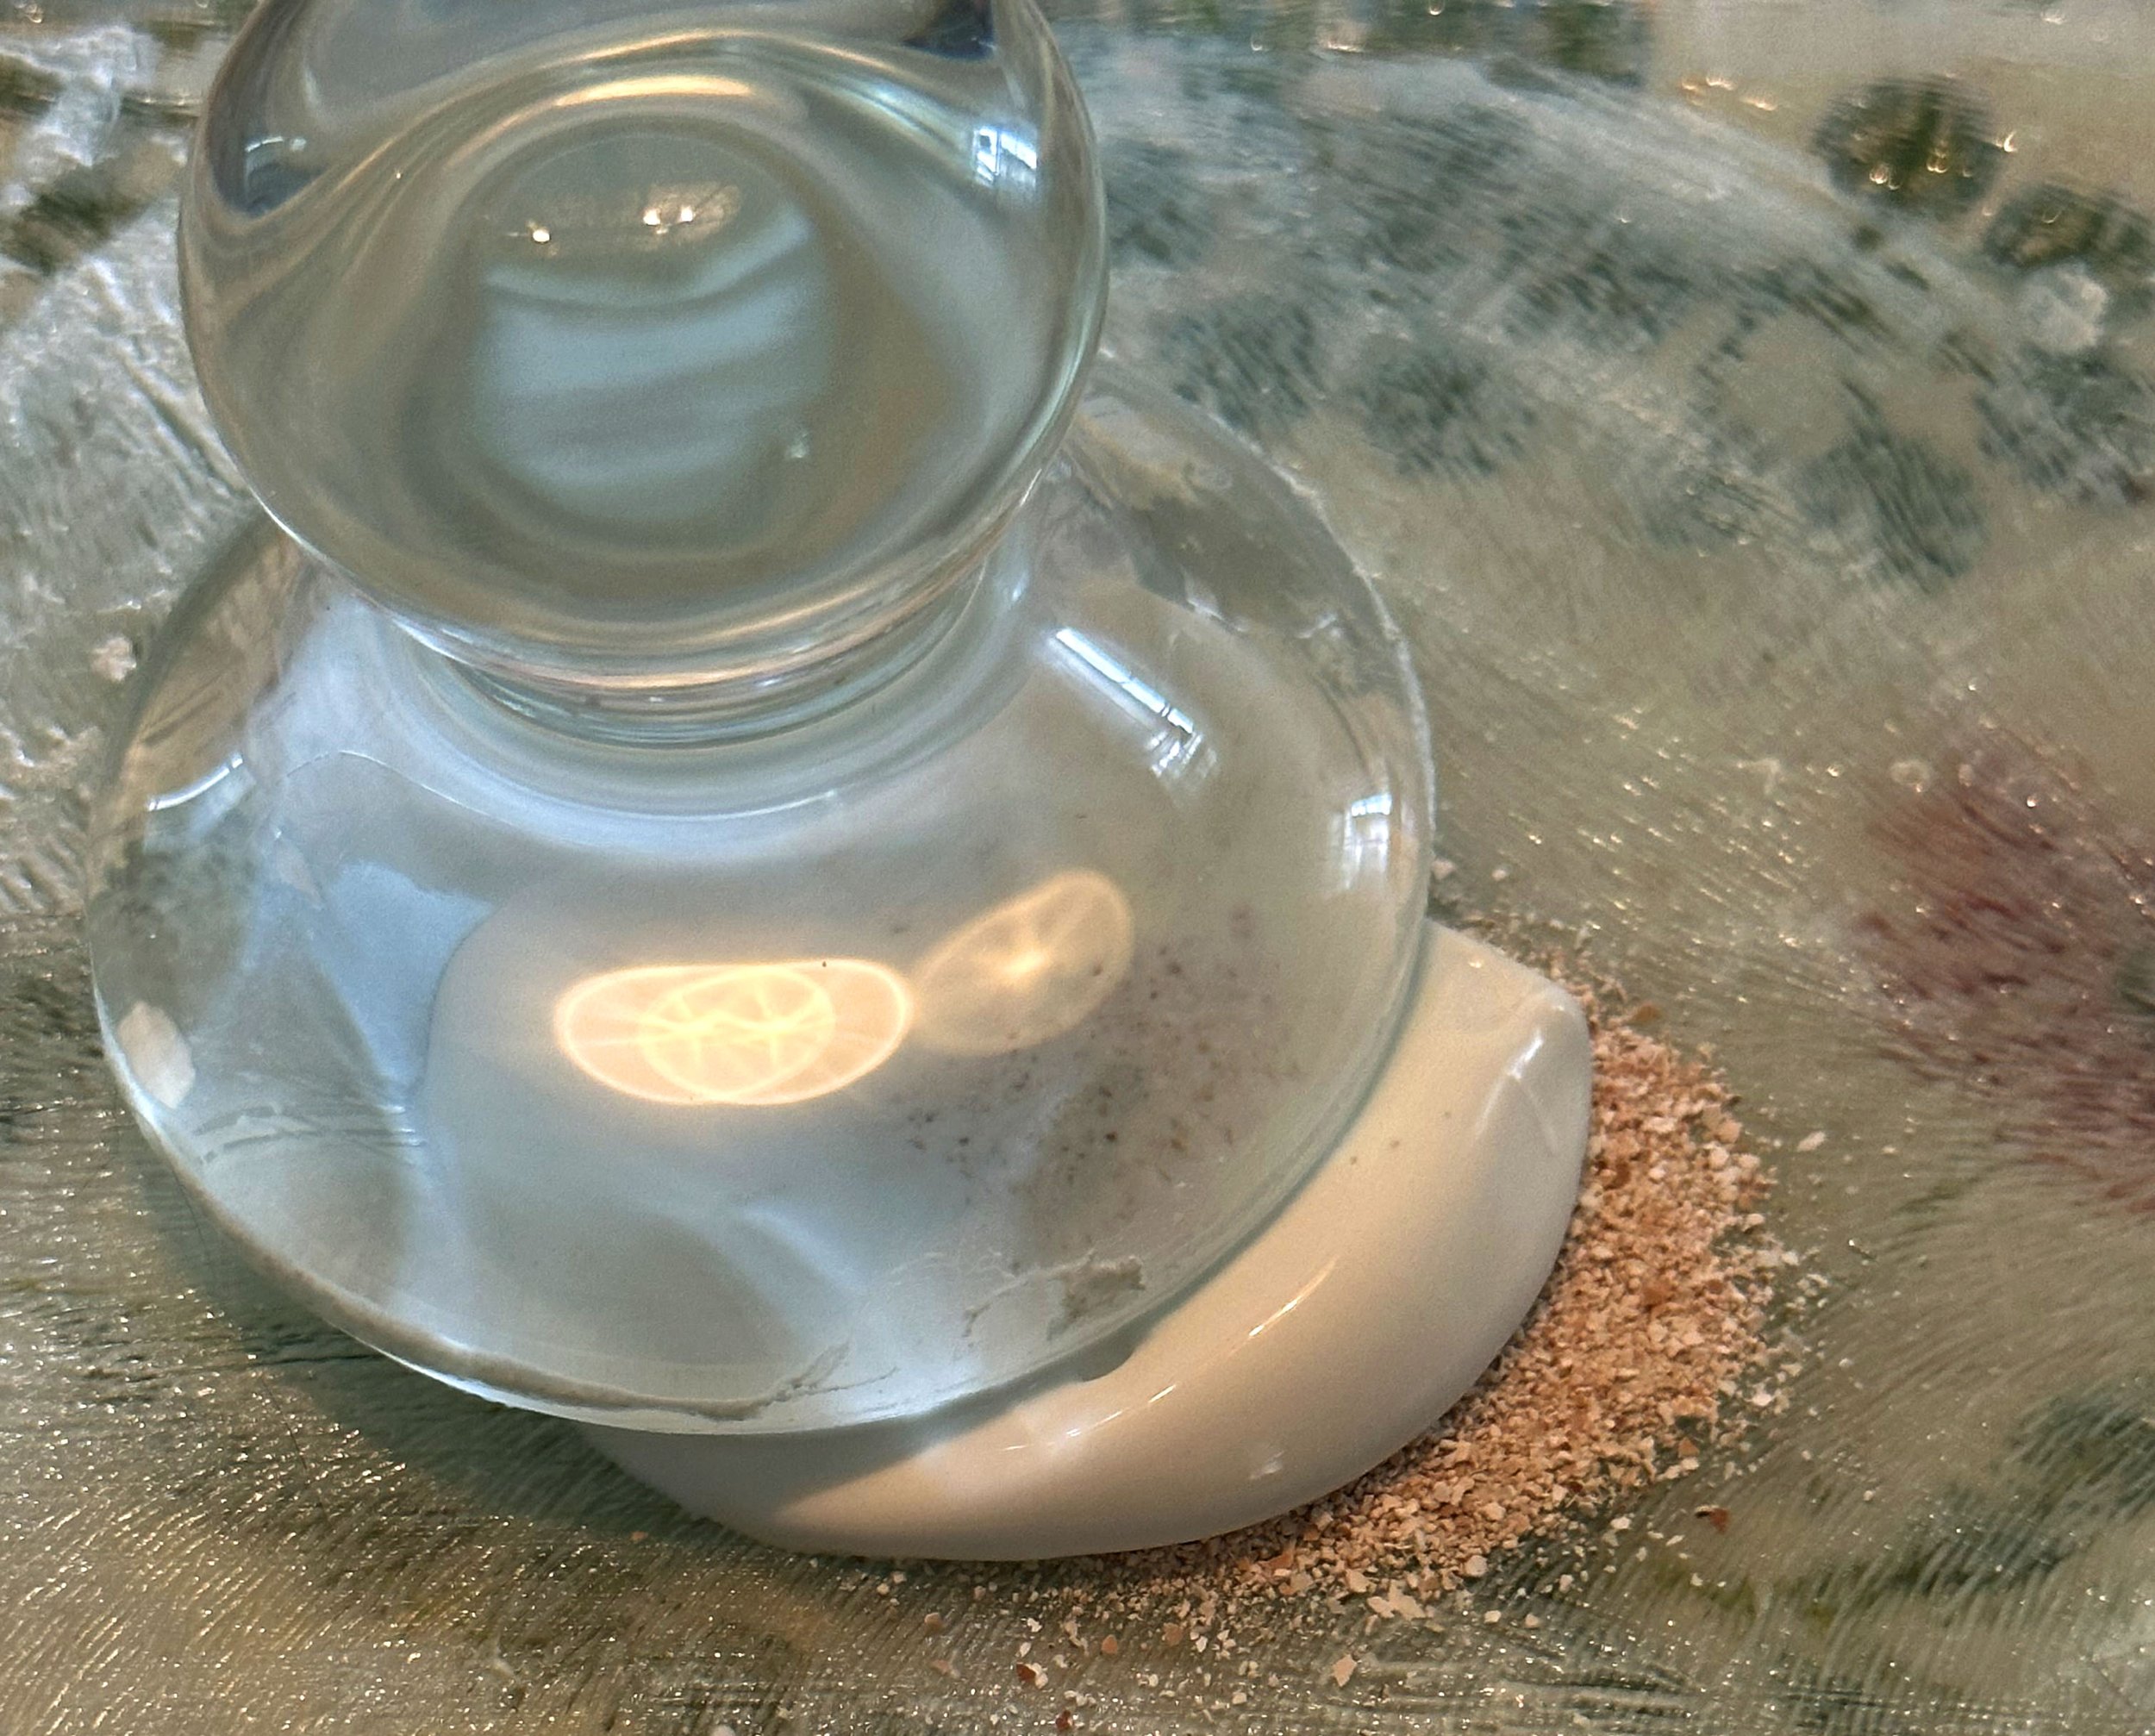
If you haven’t done so already, make sure to grind up the eggshells into a fine dust using the mortar and pestle or a blender.
Siphon the eggshell dust through a fine mesh strainer to remove any large pieces that remain. Save these large pieces for your garden / plants!
Add a teaspoon of the ground eggshell and a dollop of acrylic binder to the glass cutting board.
Using the muller, mix the binder and eggshell together by making a swirling motion on the cutting board.
Continue to do this until the eggshells are finely ground and mixed well with the binder.
Using the palette knife, transfer the finished paint into a sealable container.

I ended up having a lot of eggshells left over after this experiment. The powdered eggshells make a great addition to your garden! All plants (indoor or outdoor) benefit from a sprinkling of eggshells. But, blueberries, eggplants, roses, peppers and tomatoes especially love the extra calcium boost. It will also help prevent blossom-end rot!