Springtime Floral Foraging
“The dandelion’s pallid tube
Astonishes the grass,
And winter instantly becomes
An infinite alas.”
— Emily Dickinson
I find something to love in all four seasons.
Summer is a moment to breathe and relax. It’s a time to have that one extra cocktail and enjoy a lazy day on the porch.
Fall is my favorite! It’s a time for harvesting our garden and my favorite holiday: Halloween.
Winter reminds us to embrace warmth while watching the snow fall.
Then, there is Spring! It’s the most optimistic yet tumultuous season. There is that one violent, beautiful thunderstorm that will lead to those first yellow blooms and green shoots poking through the dormant earth.
My husband, Ben, and I purchased a house in 2020 and moved out of New York City. I called NYC my home for 11 years so this was quite the change for both of us. We fell in love with a historic Carpenter Gothic style house in a lower Hudson Valley town called Stony Point.
I love being surrounded by the history of the Hudson Valley and was eager to learn a lot about the Town of Stony Point. To sum it up quickly, Stony Point is a small town with a population of about 15,000. When I try to explain where we live to someone that hasn’t heard of it, yet lives in NY, I tell them we are next to Bear Mountain! It’s true! Bear Mountain is just down the street from us. And yes, there are bears on Bear Mountain! While we live in the town center, we do get a confused black bear walking down our street about once a year. I have yet to see this, but our neighbors have!
During the American Revolution, Stony Point played a significant role as a strategic location for the American and British Forces. This resulted in the Battle of Stony Point!
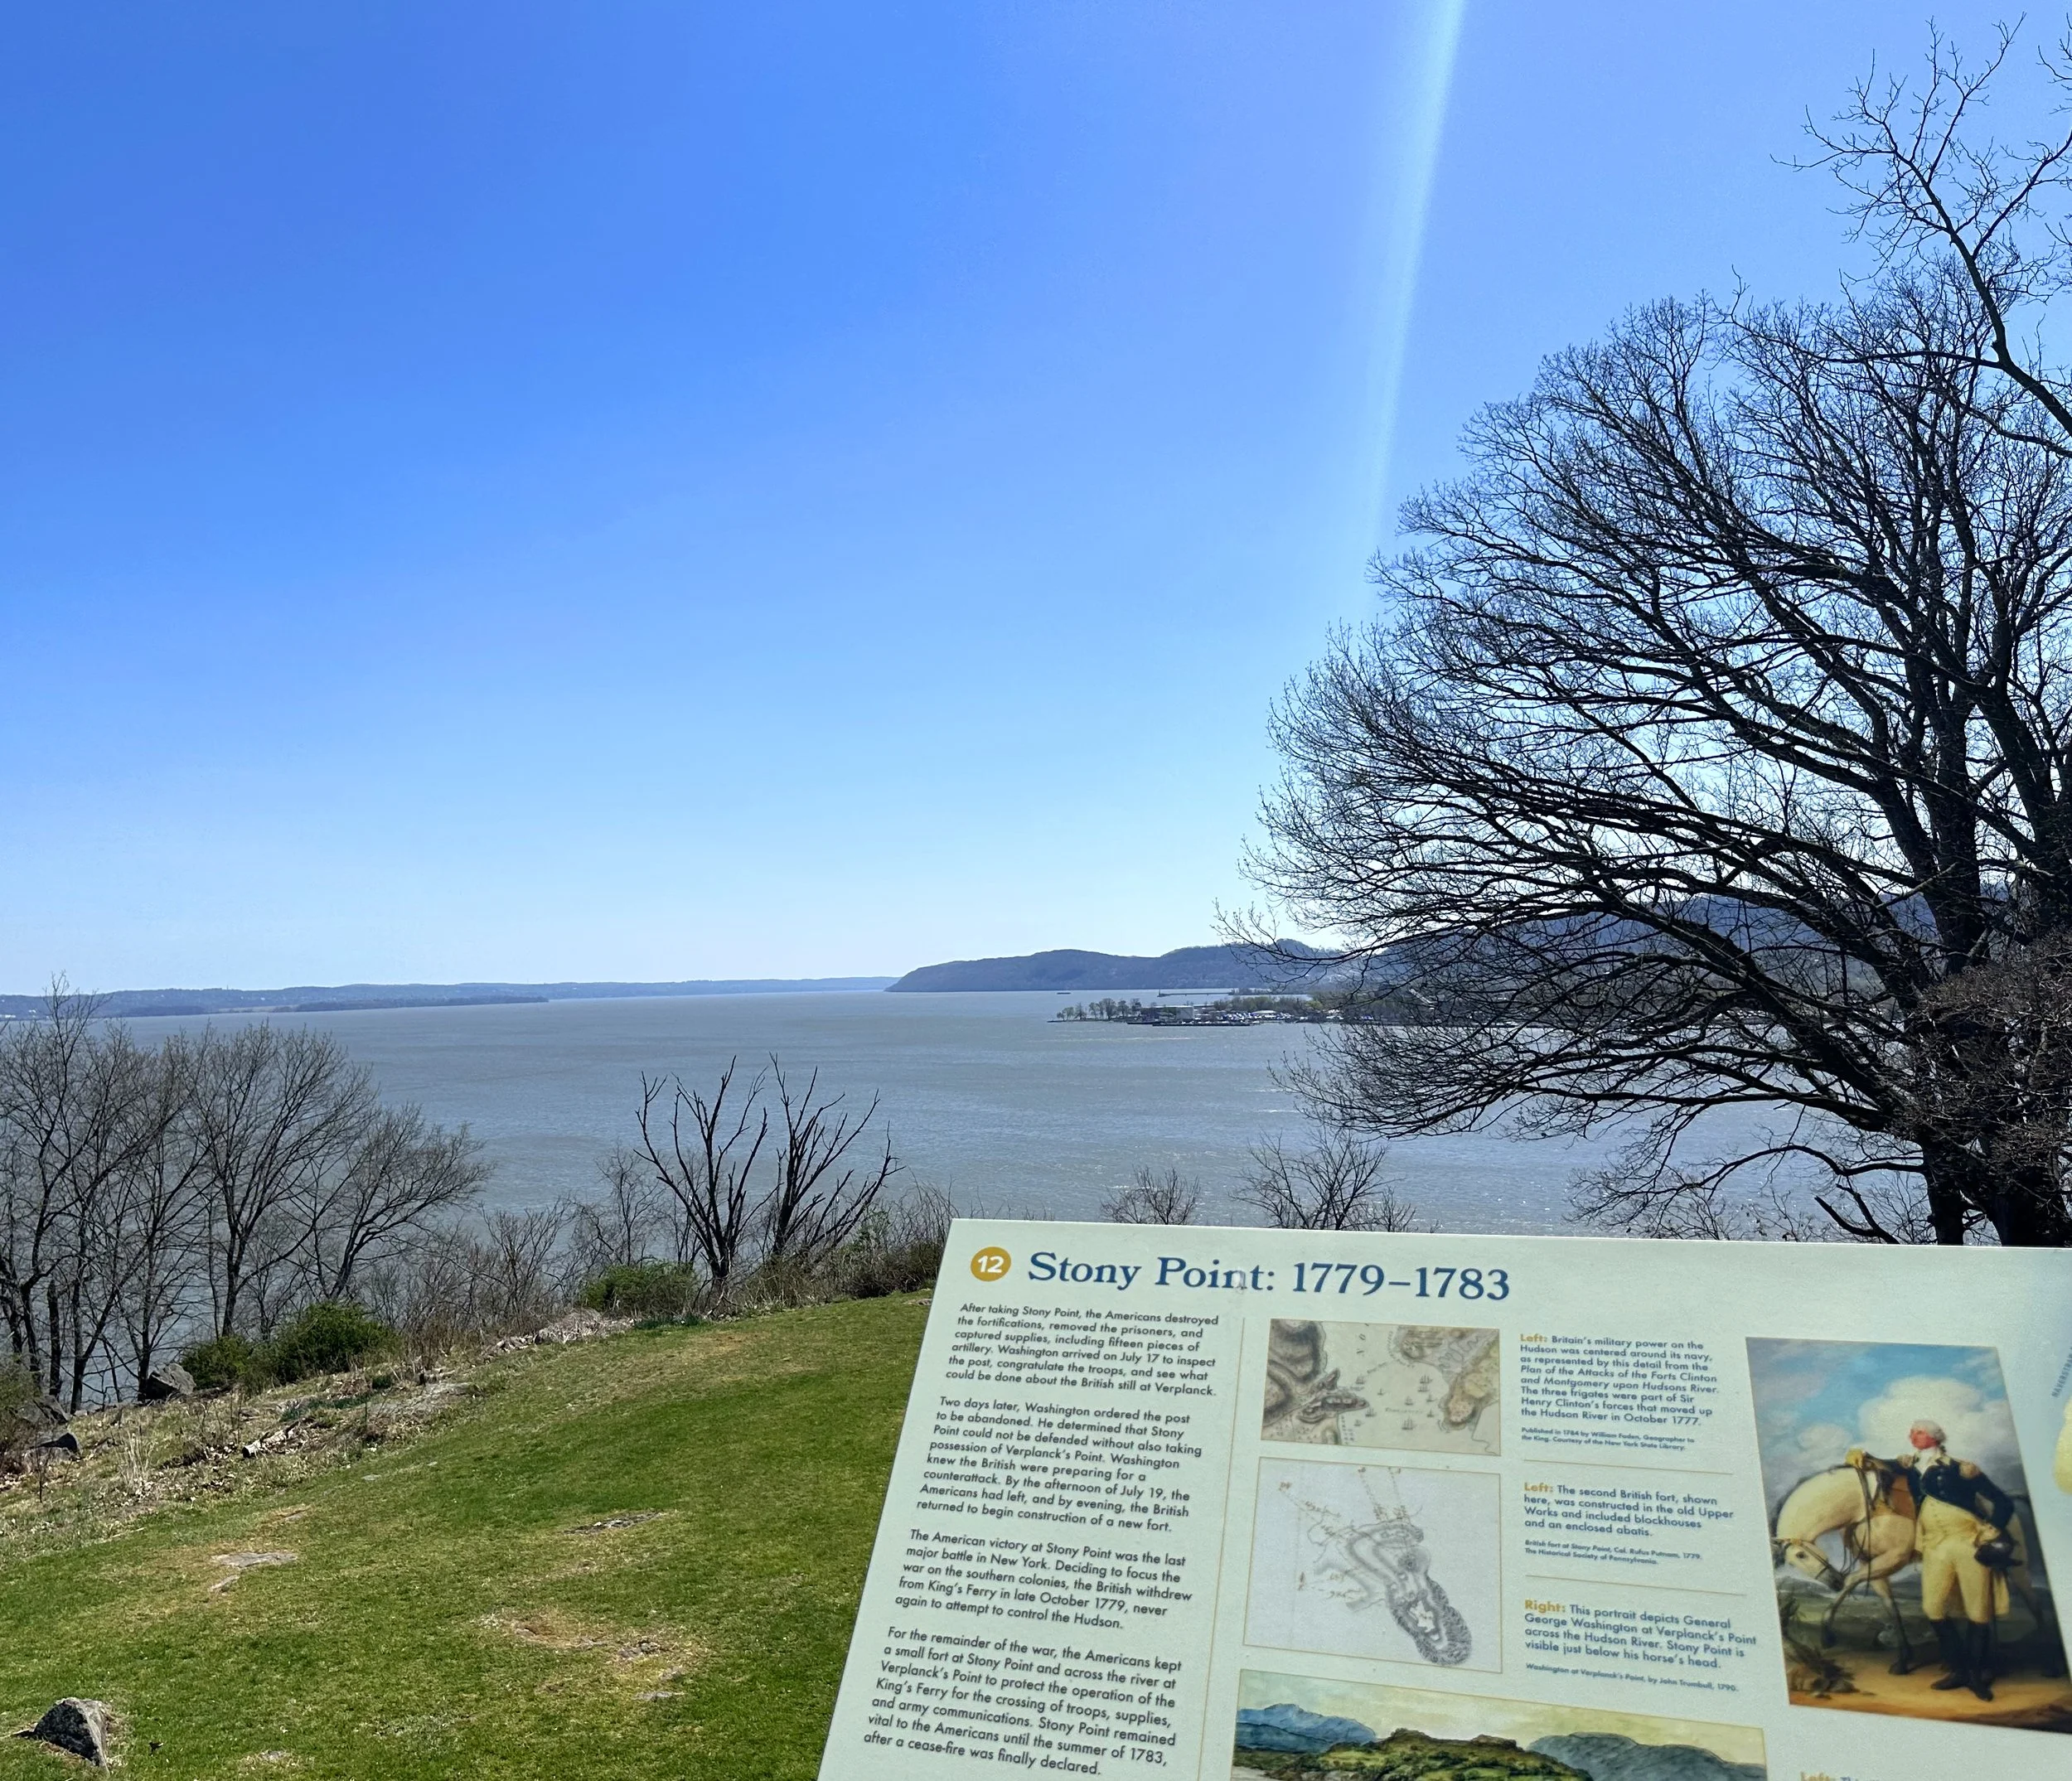
The Stony Point Battlefield (now a historic site) is one of our favorite places to bring visitors. It’s a small park perfect for some exercise and a history lesson! And, if you’re lucky (I was!) you may spot the resident bald eagles there.

But, this April, Ben and I visited the battlefield for some research purposes! He was taking photographs of the area to use in his most recent comic: We Are Scarlet Twilight. I was foraging for a springtime favorite: dandelions!
THE BATTLE OF STONY POINT:
The Battle of Stony Point was a Revolutionary War battle fought on July 16, 1779. Stony Point, the town, was not yet named. Instead, the “Stony Point” this refers to is a 1/4 mile long triangular protrusion of rock and marsh that extends into the Hudson River.
The British had captured Stony Point earlier in the year and turned it into a heavily fortified stronghold. But, General Anthony Wayne planned a surprise attack plan that involved storming the fortress with bayonets and unloaded muskets. The Americans successfully overran the British and captured the fort. This was considered a significant victory for Americans and a turning point in who was in control of the Hudson Valley. All of this took less than 30 minutes!
If that wasn’t enough , there is a very special landmark now located on the property: The Stony Point Lighthouse!
Built in 1826, it is the oldest lighthouse on the Hudson River! It’s about 30 feet tall and built out of stone.

There’s another thing the Stony Point Battlefield had: tons and tons of dandelions ready to be picked! I ended up with a hefty bag full!
COLLECTING AND PREPPING INGREDIENTS:
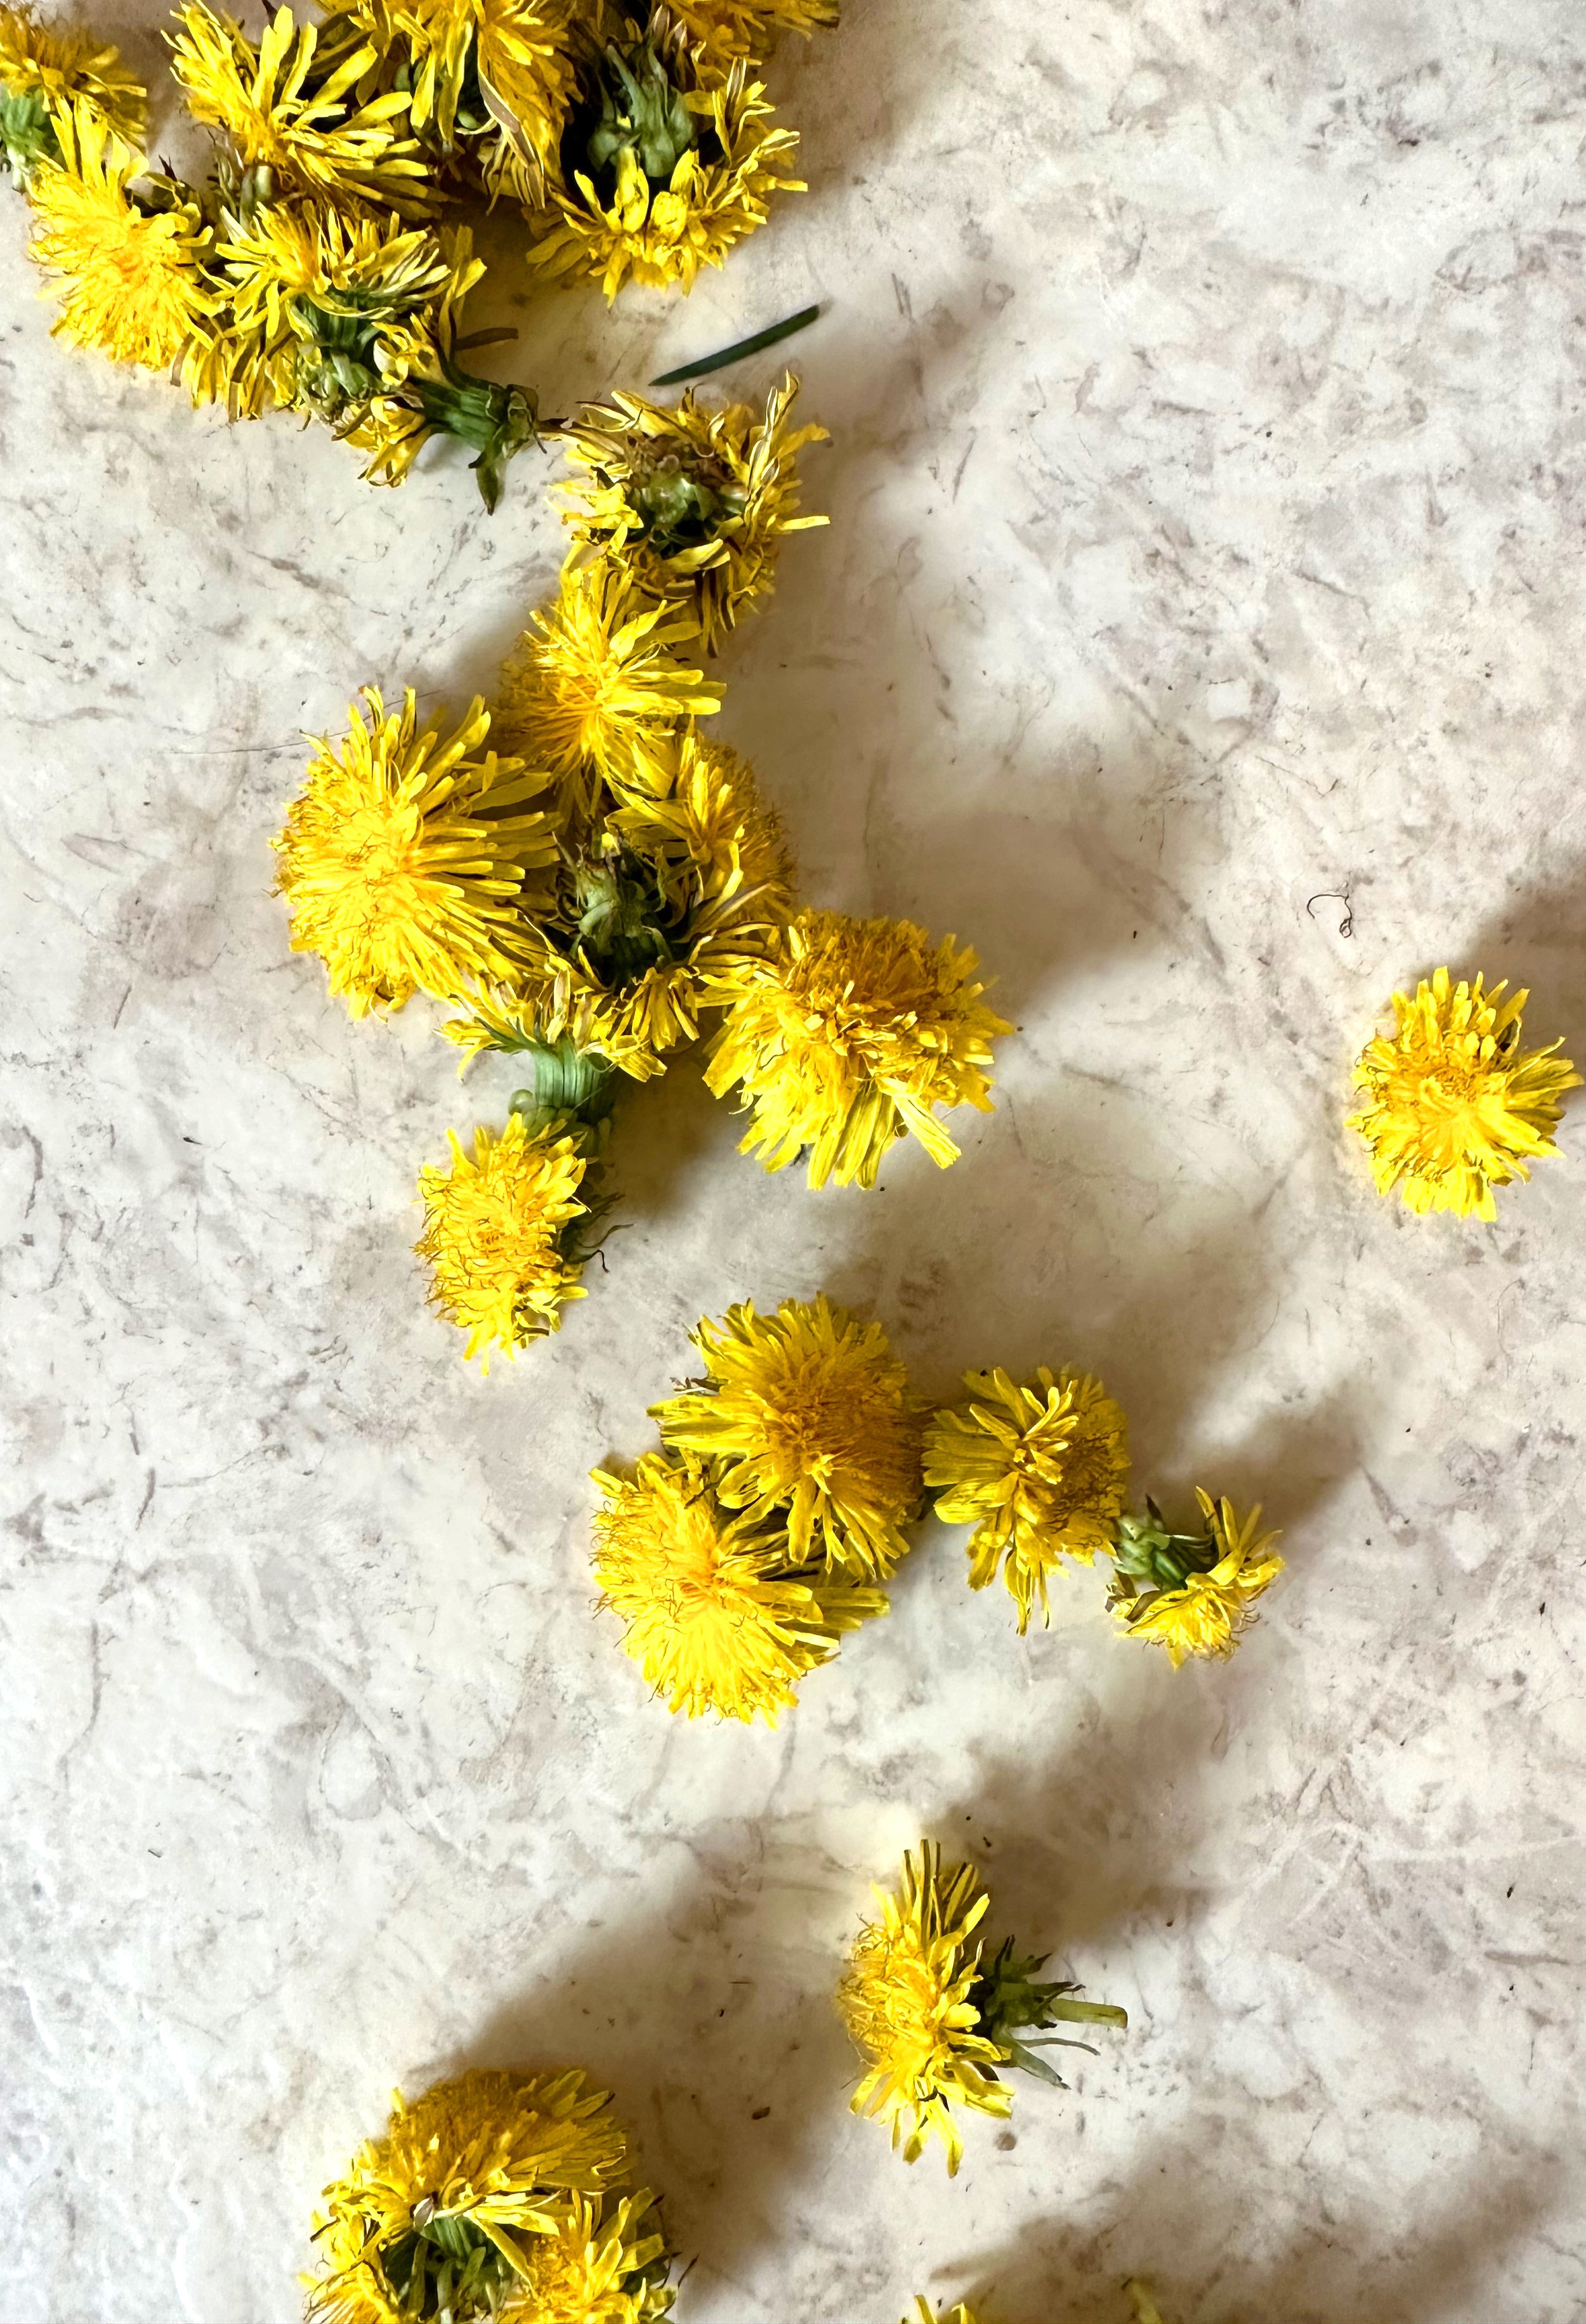
The best pigment comes from the flower of the dandelion! Once collected, they will start to wilt pretty quickly. I recommend storing them in the fridge as you collect them and to use them within a few days of picking.
To prep the ingredients, I recommend using scissors to cut the petals away from the green base of the flower’s head. This will help keep the result a beautiful, bright yellow!
SUPPLIES NEEDED:
You will need to have an extra set of utensils that you will no longer use for cooking food or food consumption when making dye. It’s still best practice to have two sets of supplies: for cooking and for ‘other’.
I recommend collecting the following:
12 qt pot with lid
measuring cups
measuring spoons
funnels
mesh strainer
various glass jars to store dye liquid
pH strips.
stainless steel tongs
large spoon
paper and fabric strips for testing
It’s best to use supplies made out of environmentally neutral materials like stainless steel and glass for the best results and most accurate color.
For pH strips, I recommend these.
MATERIALS NEEDED:
2-3 cups of dandelion heads
1-2 tsp of alum OR ferrous sulfate (iron)
1 quart of water
wintergreen oil, clove oil or whole cloves
gum arabic (if this will be used as an ink or watercolor)
PROCESS:
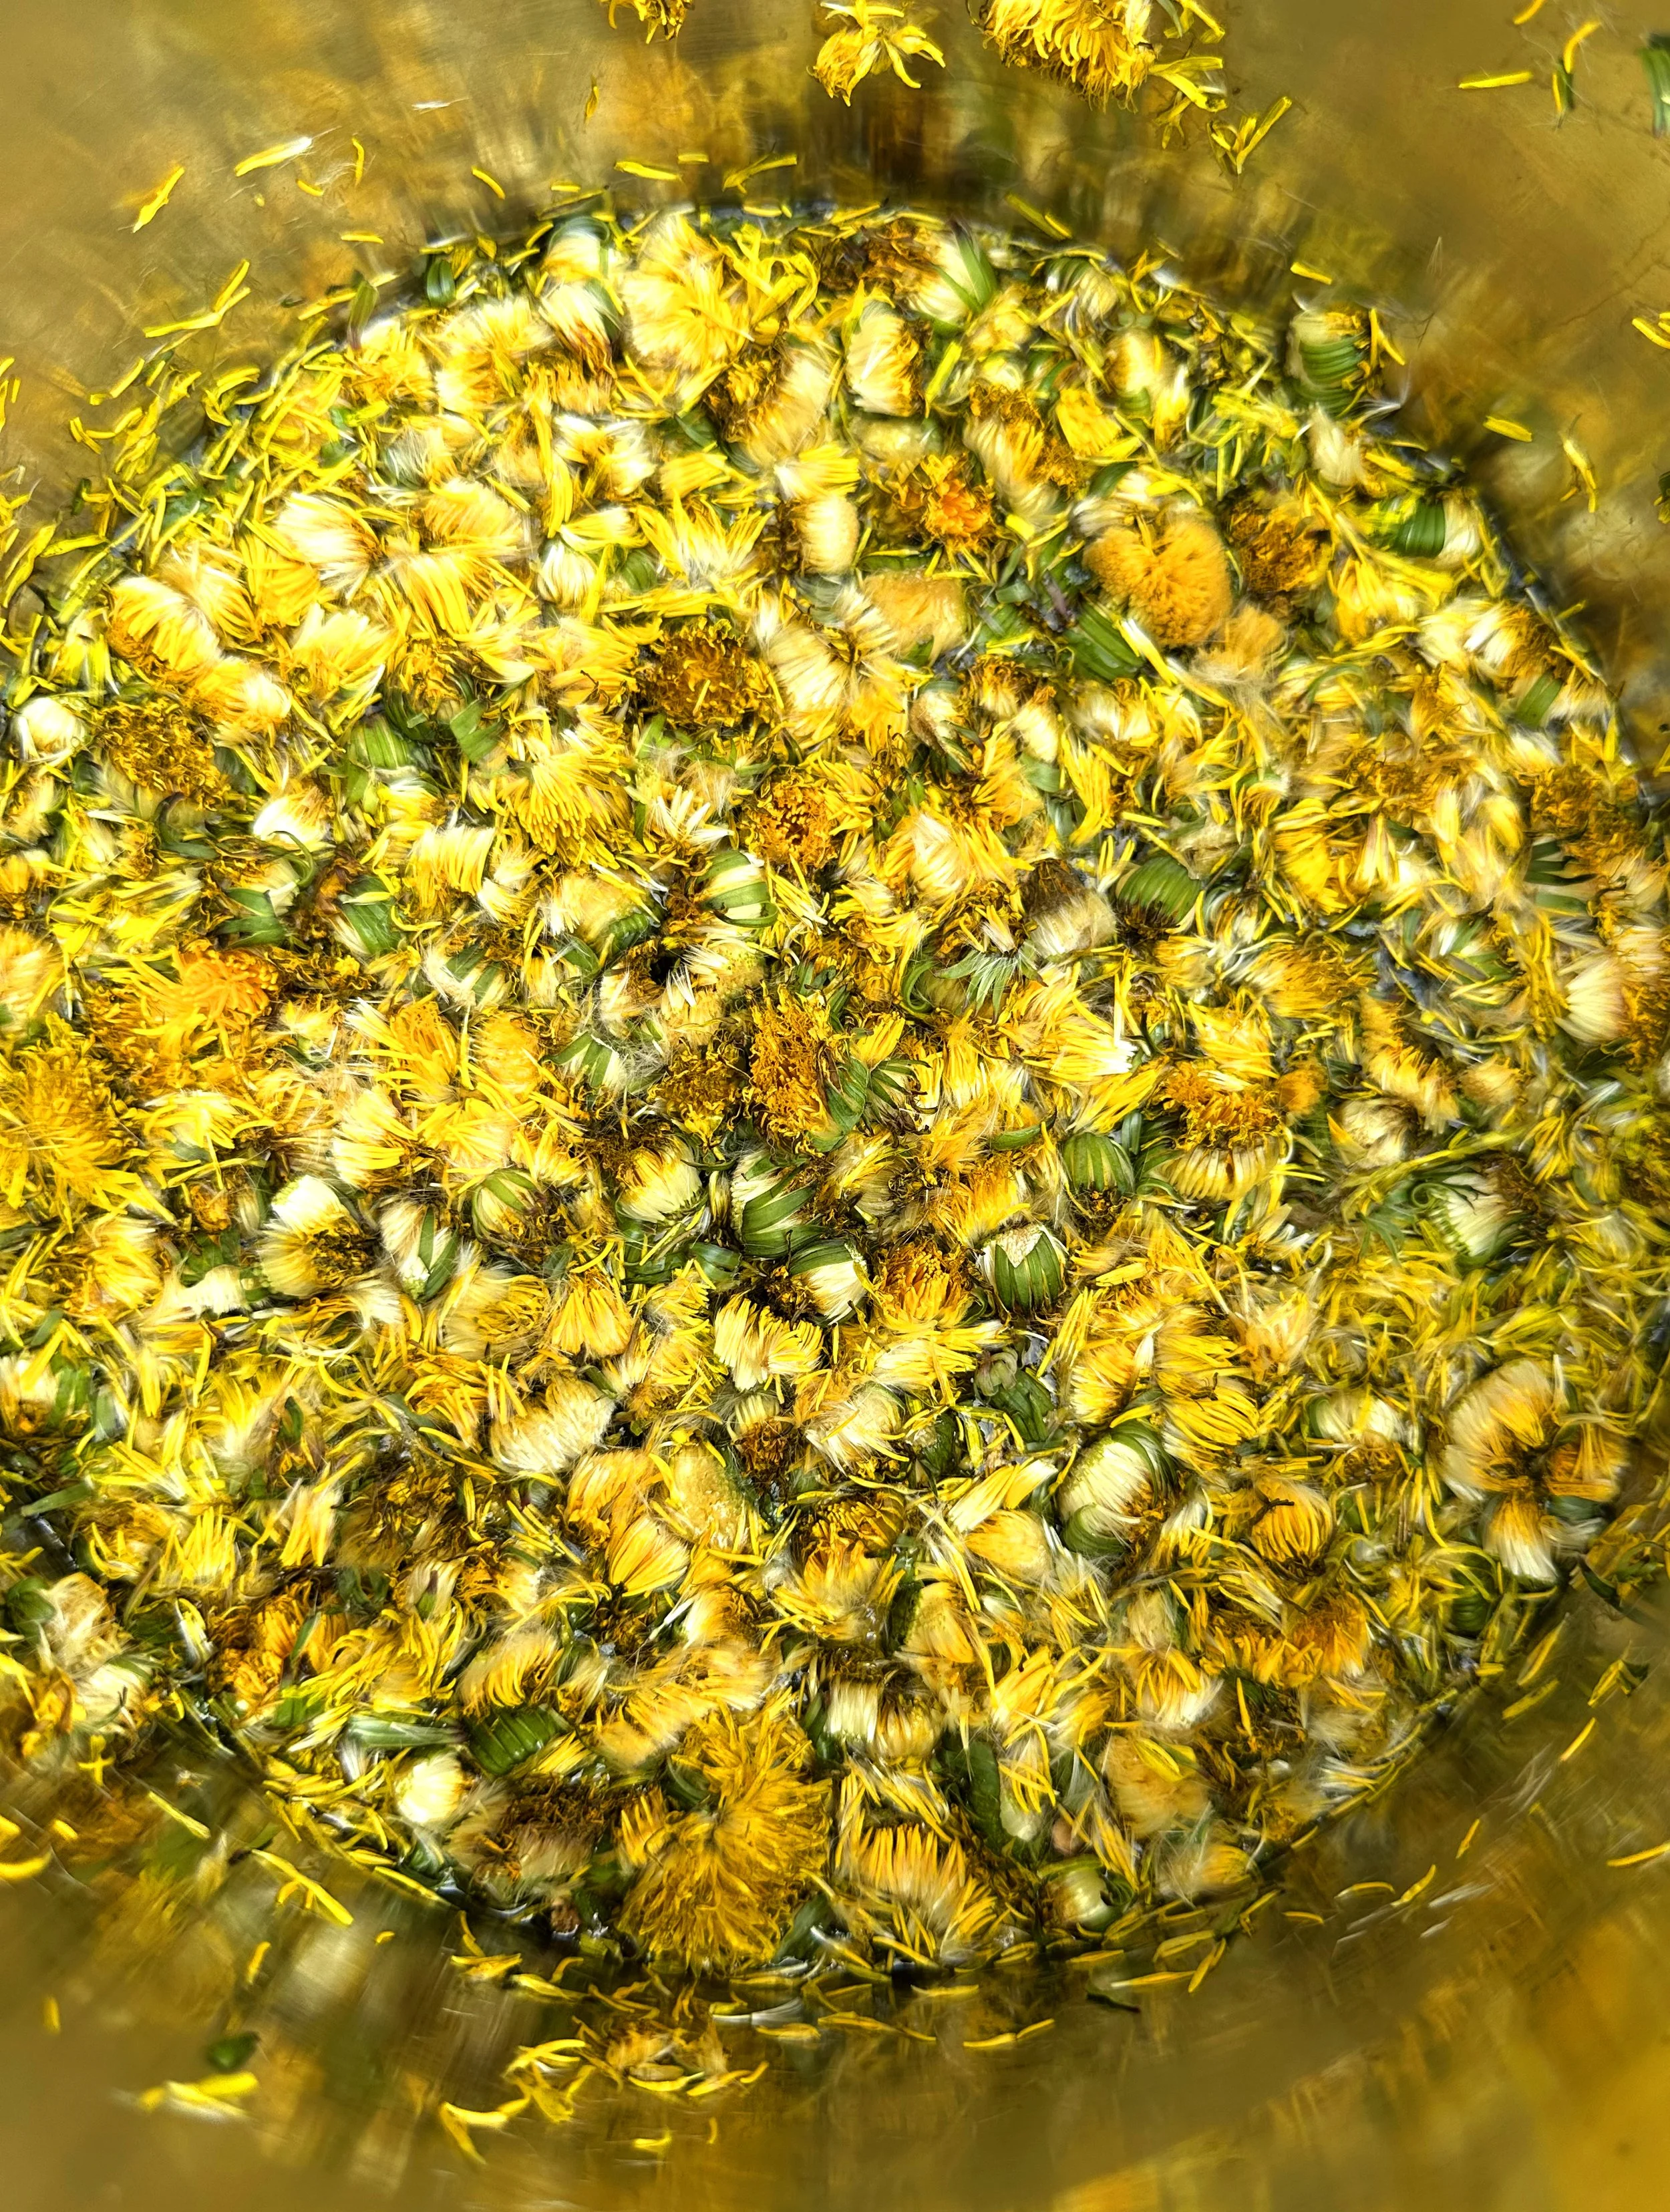
add the dandelion heads to the water.
simmer for up to 60 minutes. Make sure to stir every 10-15 minutes.
once the desired color is reached, take the mixture off heat.
leave the mixture overnight so that the color can continue to strengthen. I added a piece of fabric to see how the color would absorb over a long dye period.
the next day: strain all contents into two separate bowls.
In bowl #1: add 1 tsp or more of alum. This will not do anything to the dye color, but will make the dandelion more colorfast / lightfast as it is used on fabric, paper and more.
In bowl #2: add 1/4 a tsp of iron to start. Stir this in. Continue adding small amounts of iron until the desired color is achieved. A small amount of iron will “sadden” the color, making it green. Too much iron and it will become a rich brown color.
add gum arabic if this will be used as an ink or watercolor. I recommend 2-3 drops per 2 oz. bottle, but it’s up to you!
the dye/watercolor/ink is ready for use! Use it now, or store it later!
REMINDER: if you choose to store it for later, make sure to sterilize your containers and add 1 drop of wintergreen or clove oil per oz. Or, you can add 1-2 whole cloves per oz to reduce mold growth.

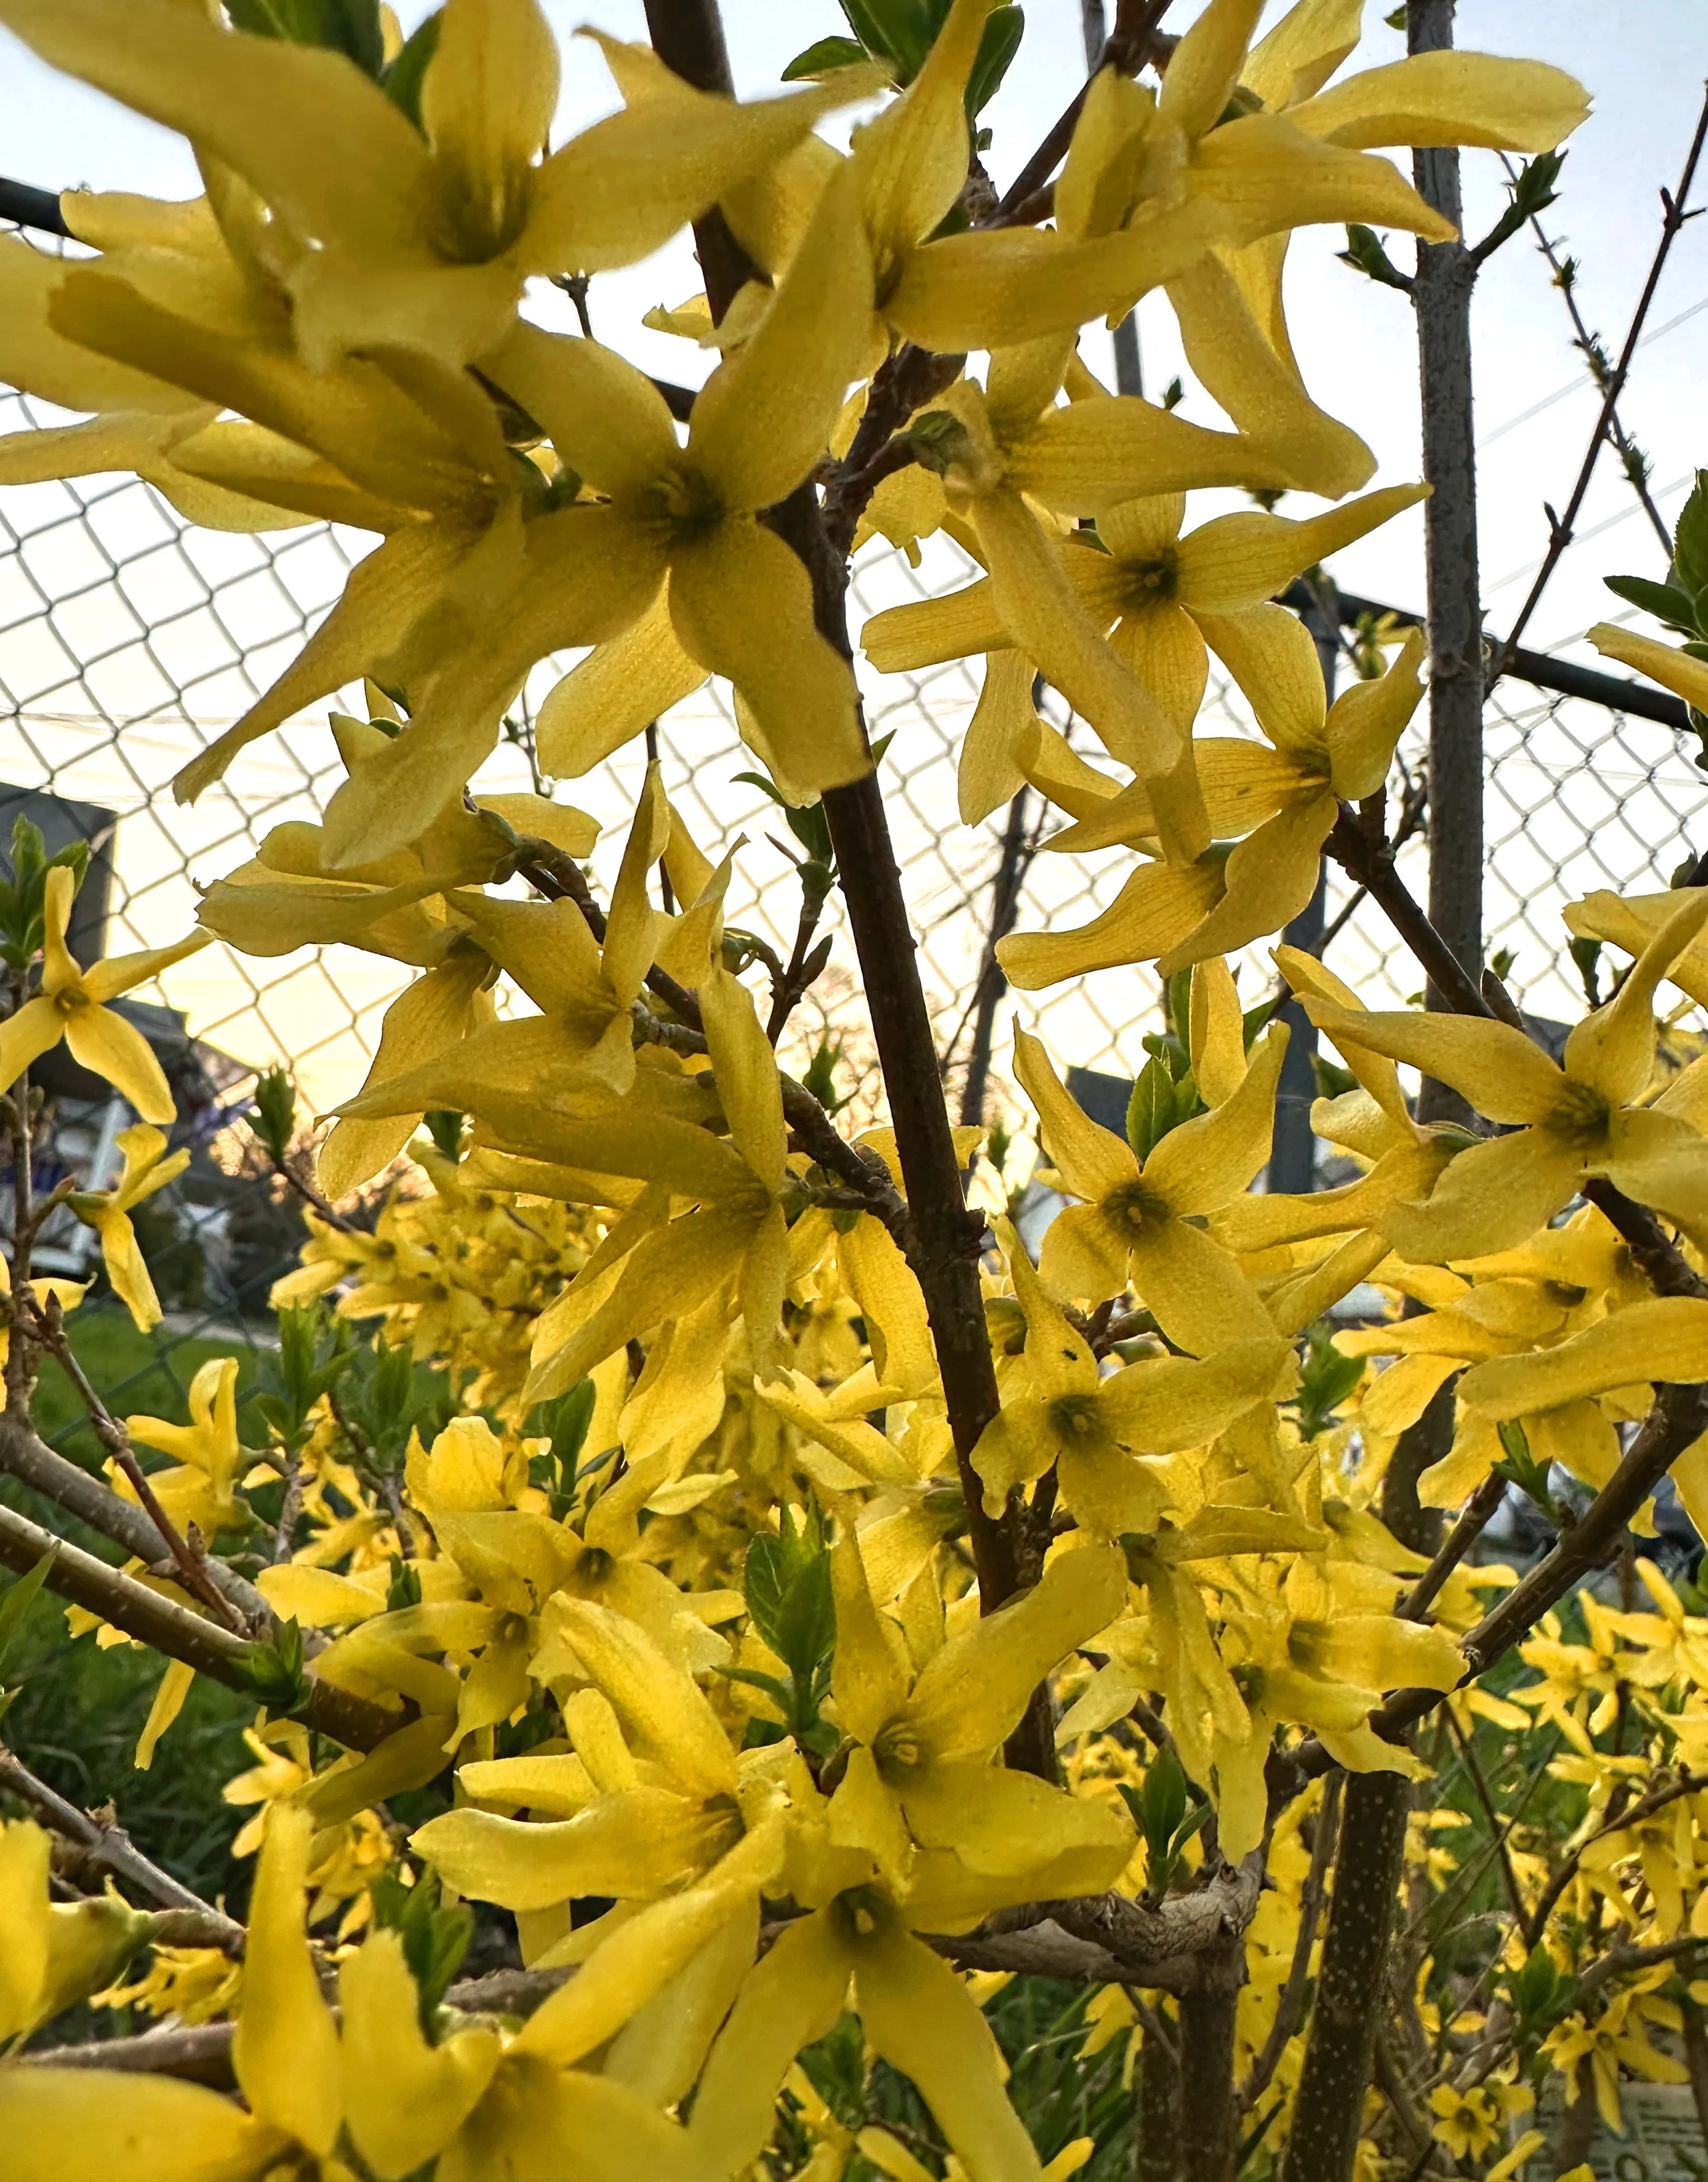
One of my favorite Springtime blooms is the forsythia bush. It starts blooming so early in the year that it’s all alone in its splendor! By the time it’s done blooming, everything else is coming up. I love the shock of bright yellow in the early spring so much that we have two forsythia bushes in our yard now!
So, for this foraging experiment, I didn’t have to go too far - just to my backyard!
COLLECTING AND PREPPING INGREDIENTS:
Just like the dandelion, I recommend using these right away. This will allow you to get the best color!
MATERIALS NEEDED:
2-3 cups of forythia flowers
1-2 tsp of alum
1 quart of water
wintergreen oil, clove oil or whole cloves
gum arabic (if this will be used as an ink or watercolor)

PROCESS:
add the forsythia blossoms to the water along with 1-2 tsp of alum.
simmer for up to 60 minutes. Make sure to stir every 10-15 minutes.
once the desired color is reached, take the mixture off heat.
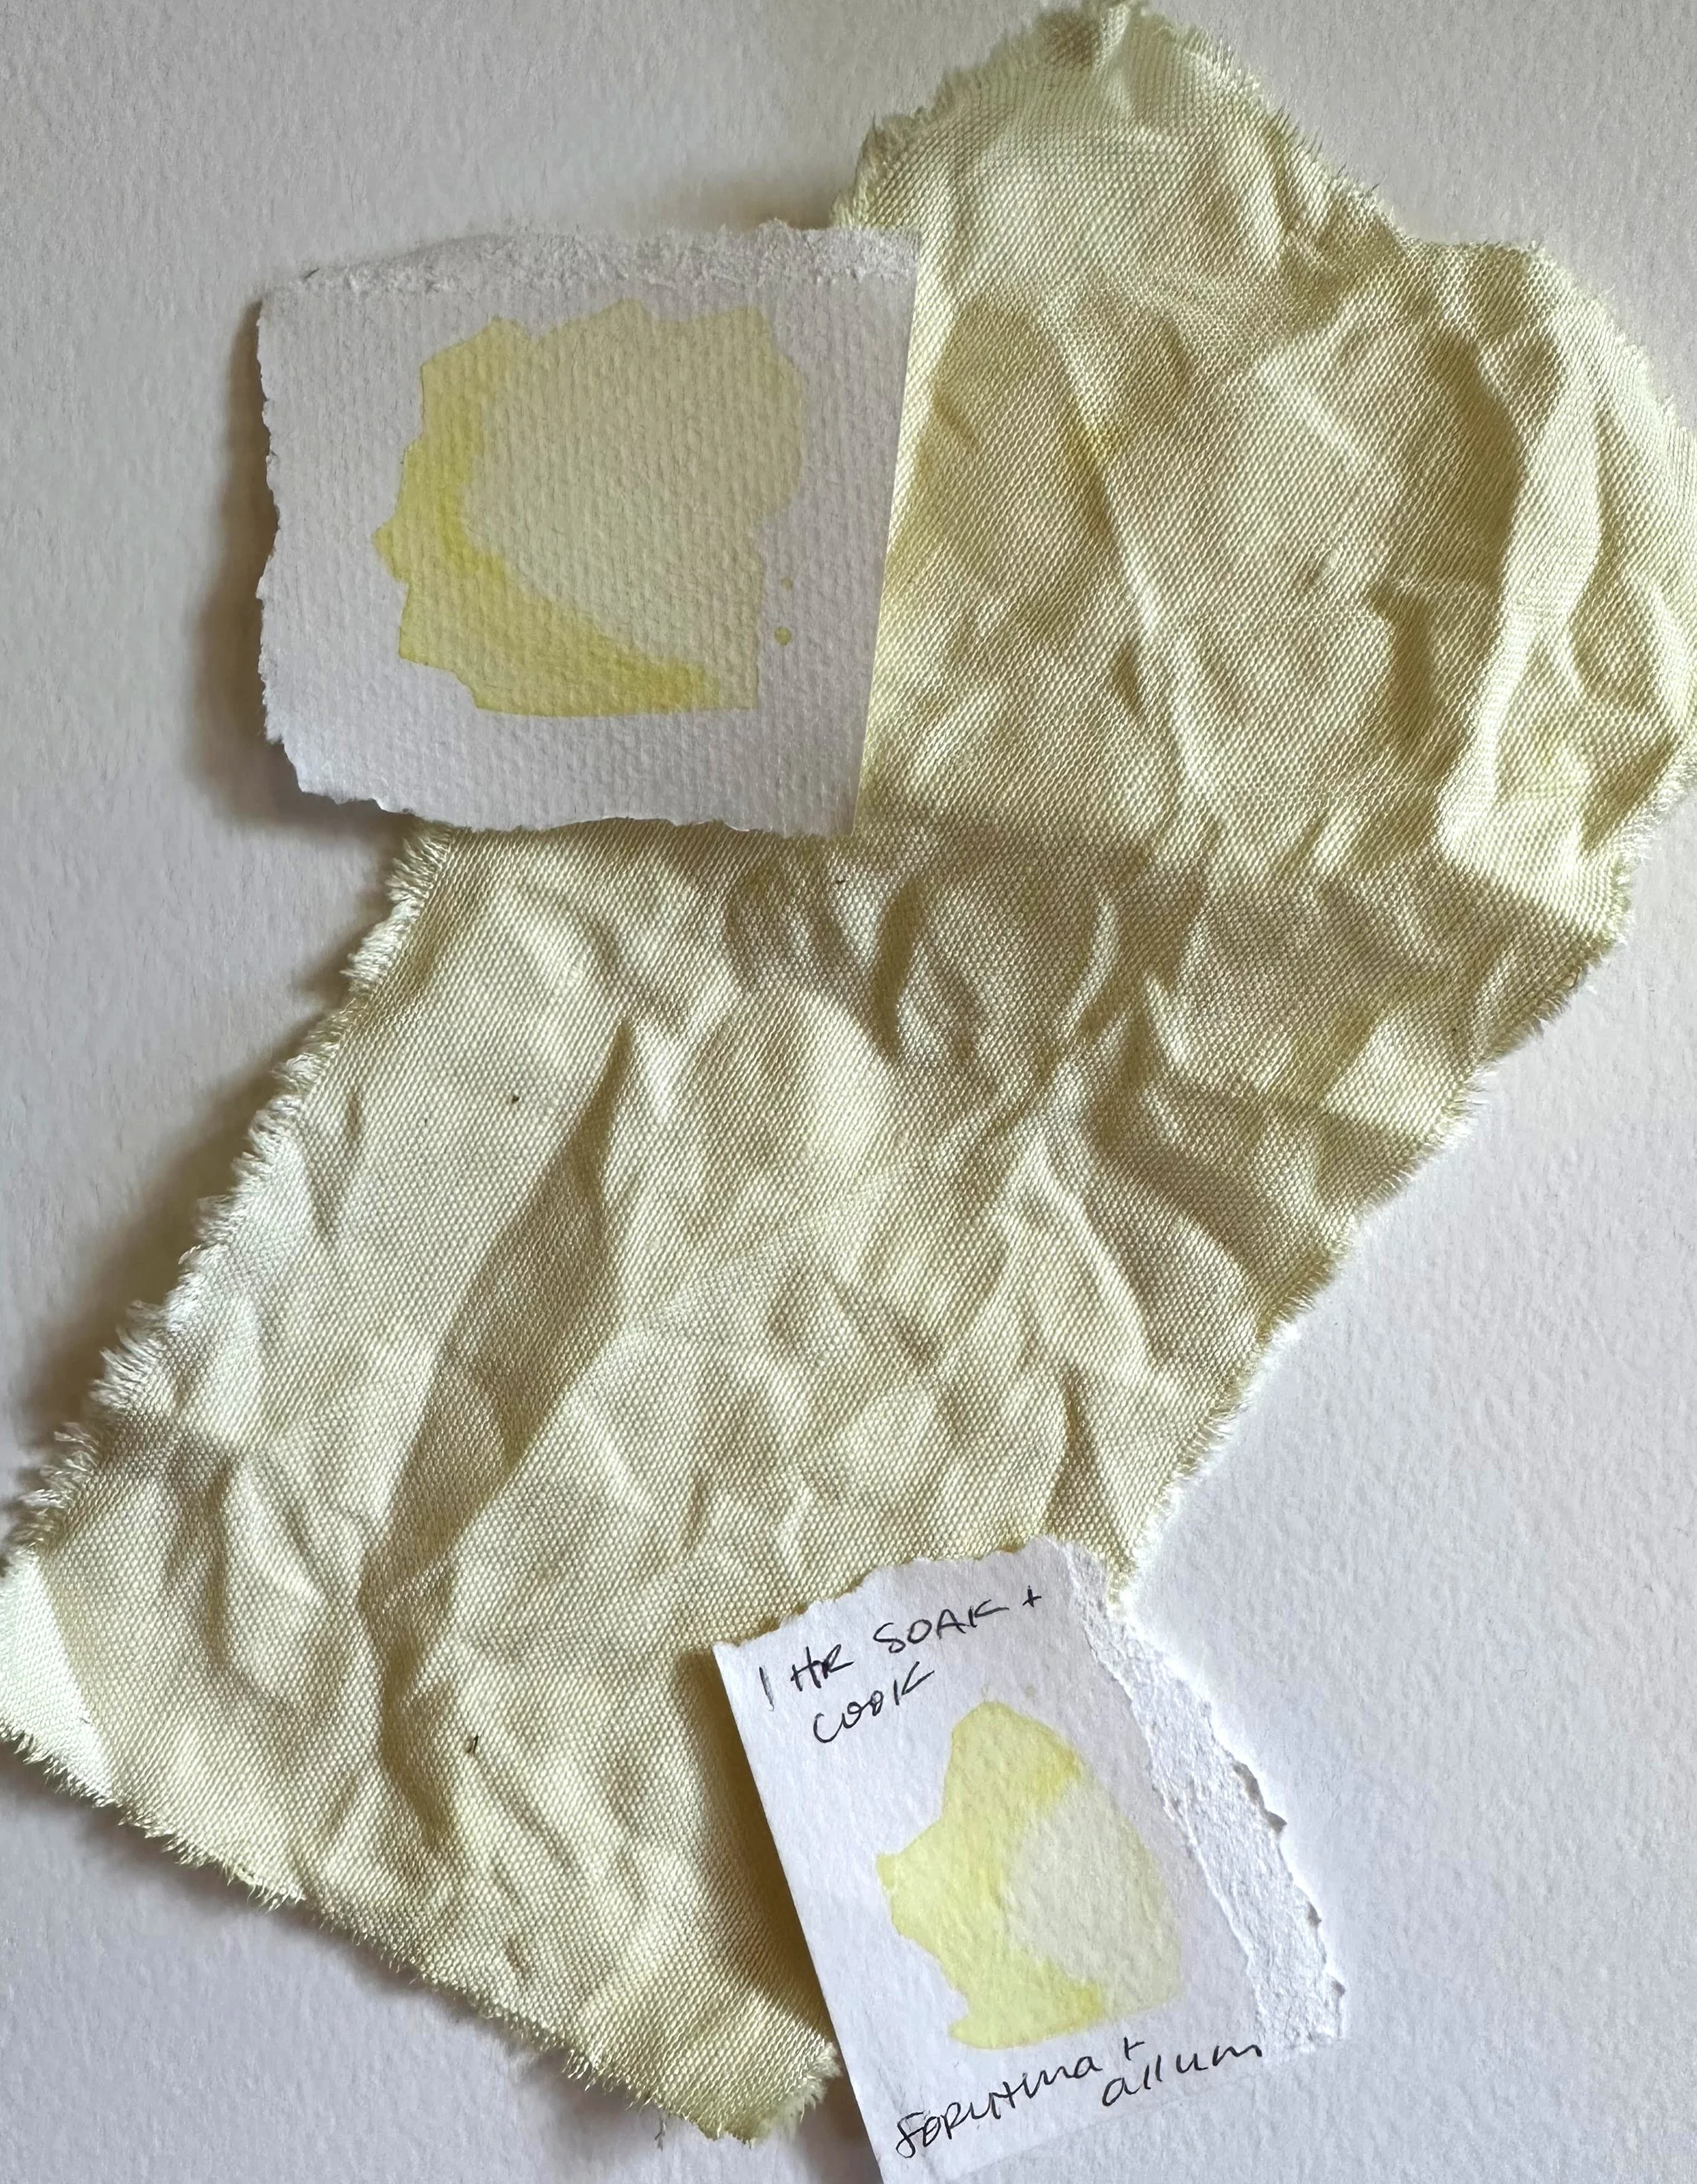
leave the mixture overnight so that the color can continue to strengthen. I added a piece of fabric to see how the color would absorb over a long dye period.
the next day: strain all contents into two separate bowls.
add gum arabic if this will be used as an ink or watercolor. I recommend 2-3 drops per 2 oz. bottle, but it’s up to you!
the dye/watercolor/ink is ready for use! Use it now, or store it later!
REMINDER: if you choose to store it for later, make sure to sterilize your containers and add 1 drop of wintergreen or clove oil per oz. Or, you can add 1-2 whole cloves per oz to reduce mold growth.
Both of these smelled amazing as they simmered on my stove.
A FEW THOUGHTS:
Between the two, I think I prefer the buttery yellow produced by the forsythia. It’s such a warm, soft yellow - the perfect springtime color!
With the dandelion / iron color: I was a little heavy handed with the iron. I wish that I would have started with just a pinch and taken it from there. I do like the color that was produced but I was hoping for something a tad greener.
Either way, all three of these colors will find a home in my next film: Sundays!